Now this is a story, all about how my life got flipped-turned upside down, and I’d like to take a minute just sit right there, and I’ll tell you how I refurbished a grungy old Olympus OM-1 analog SLR film camera from the mid 70’s.
This project started like all others, out of boredom. My vacation time was coming up. At work, it was silent. Nothing was happening. I was hot from the evening sun hitting my apartment, really hot, and I was bored, really bored. My new job was supplying me with an income since leaving university as a poor student, which means I had plenty of cash to throw around. I have been into digital photography for some time, mostly from taking photos of the things I cook and bake. But once again my always present drive to be different and unique was getting the the best of me. It was speaking to me saying “Hey, digital? Supremely lame. Analog though…”, and so it goes.
Boredom + time + money = ?????
Enter Olympus OM-1.
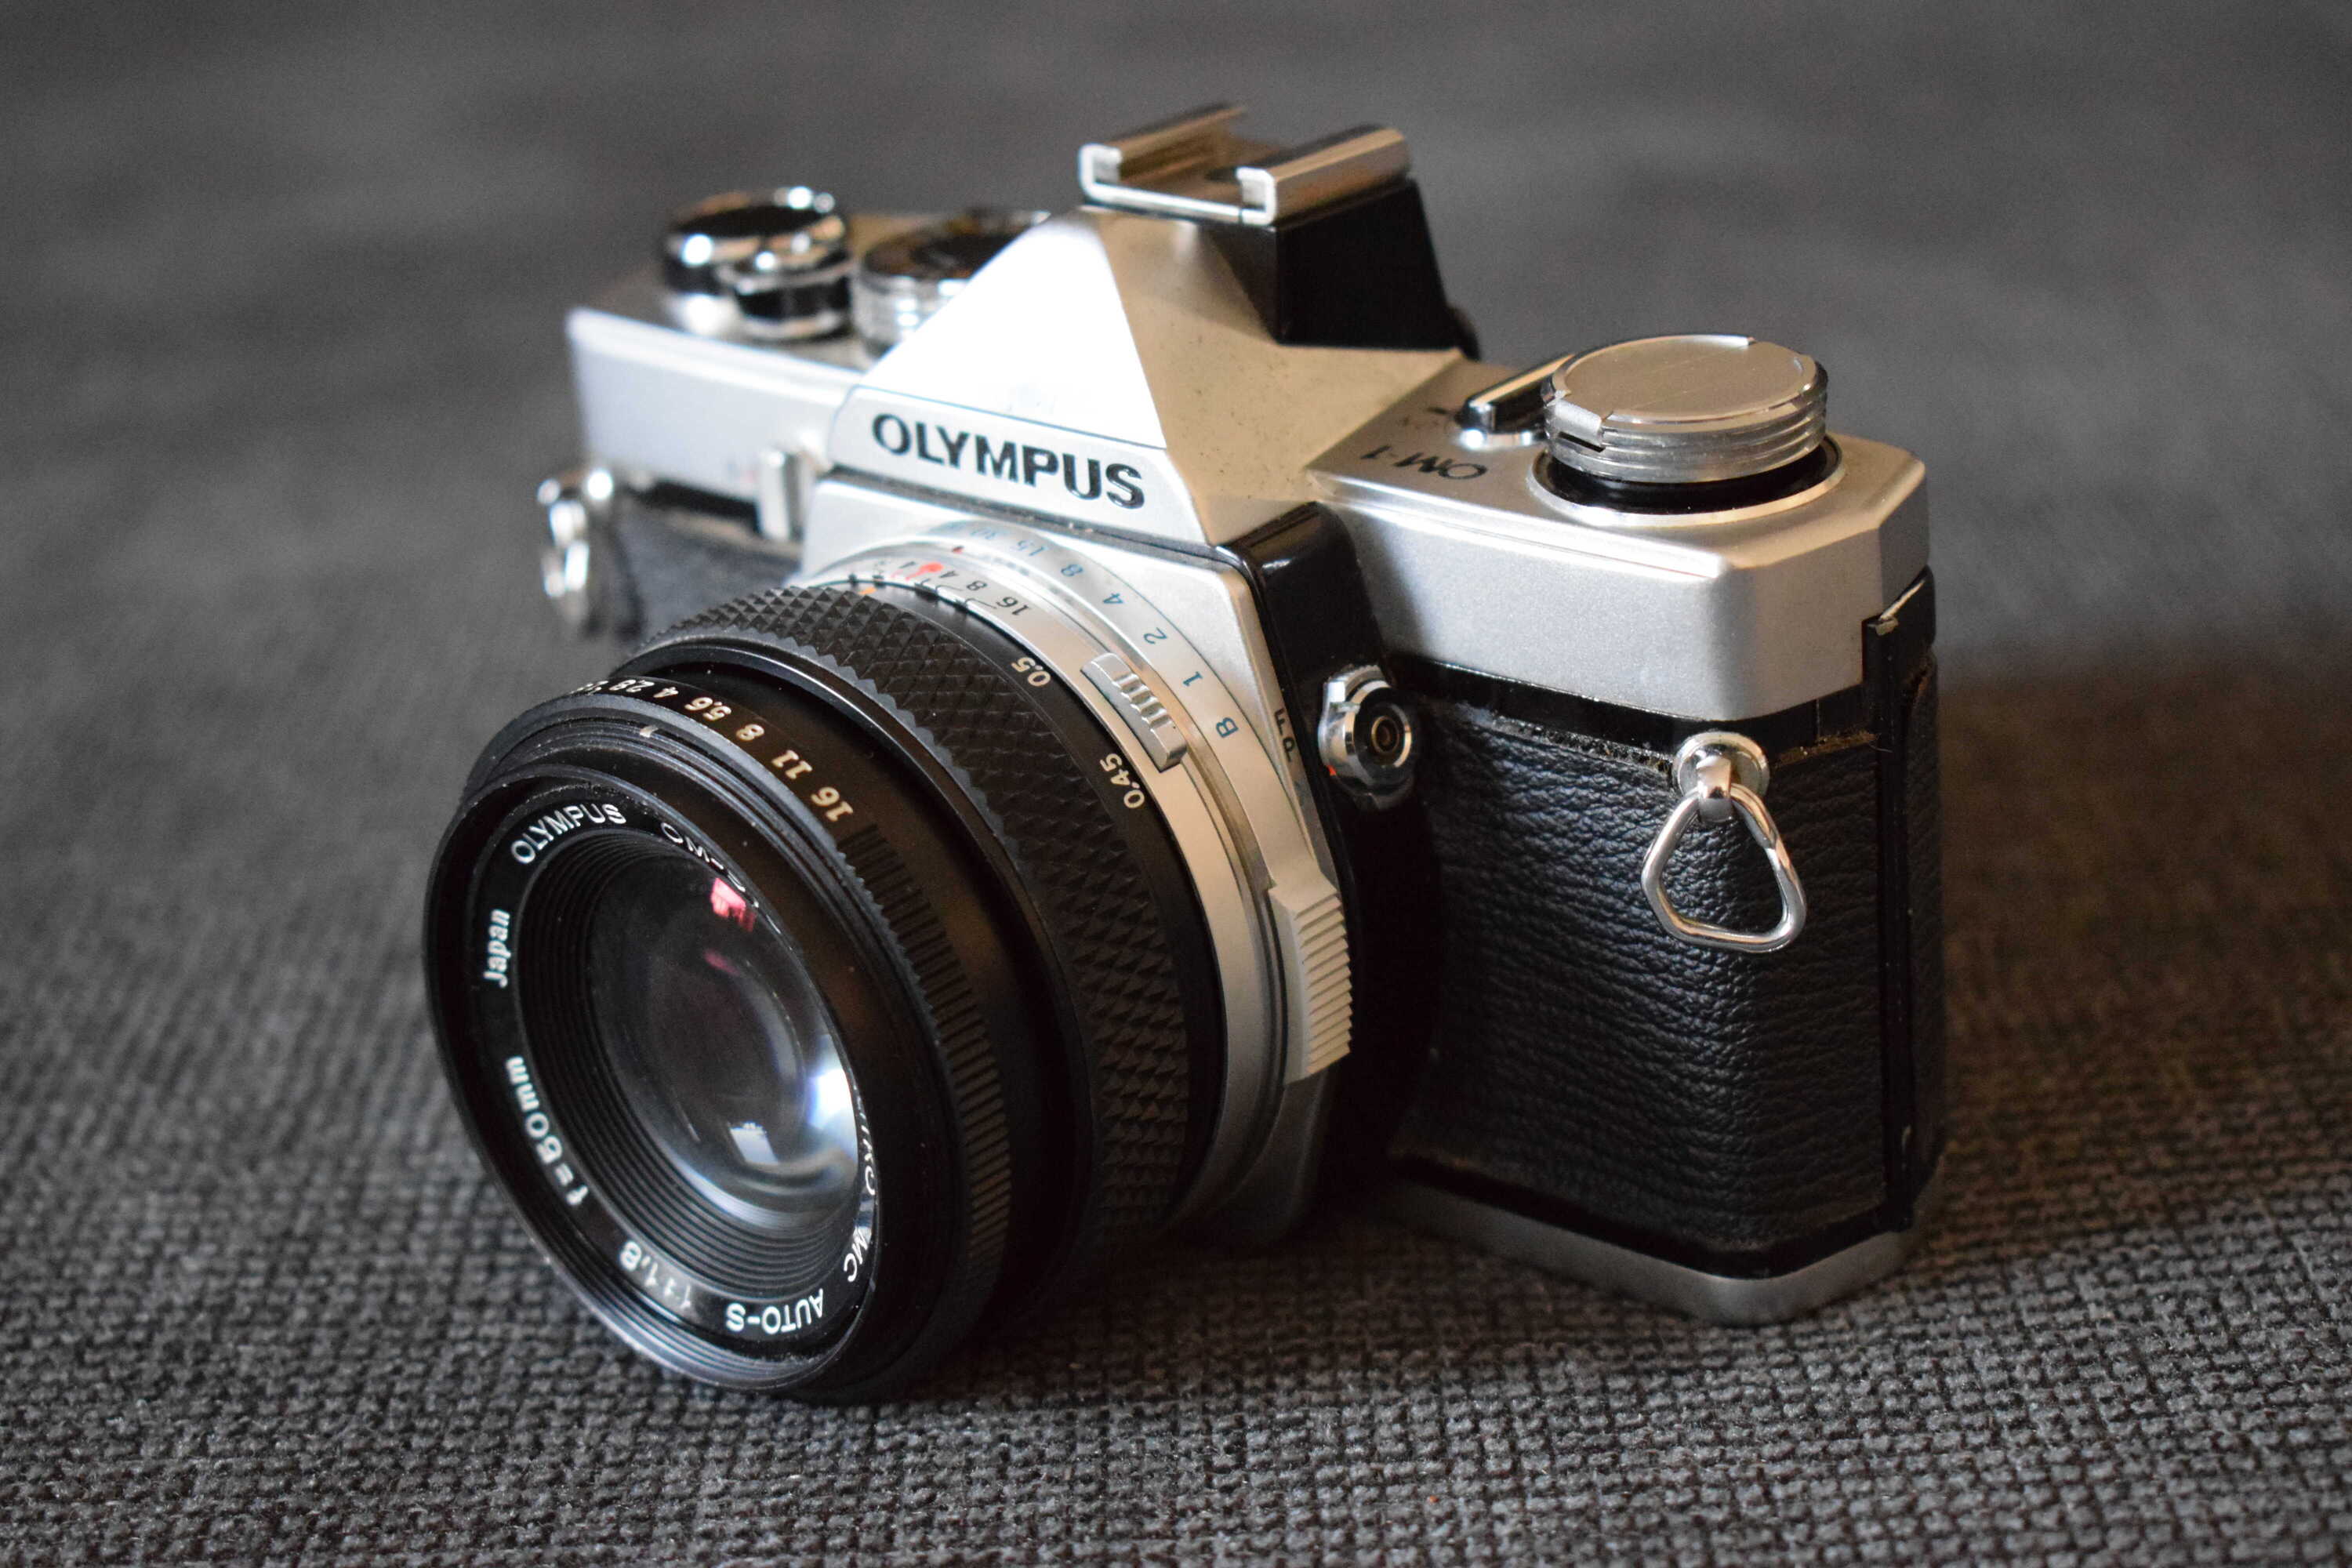
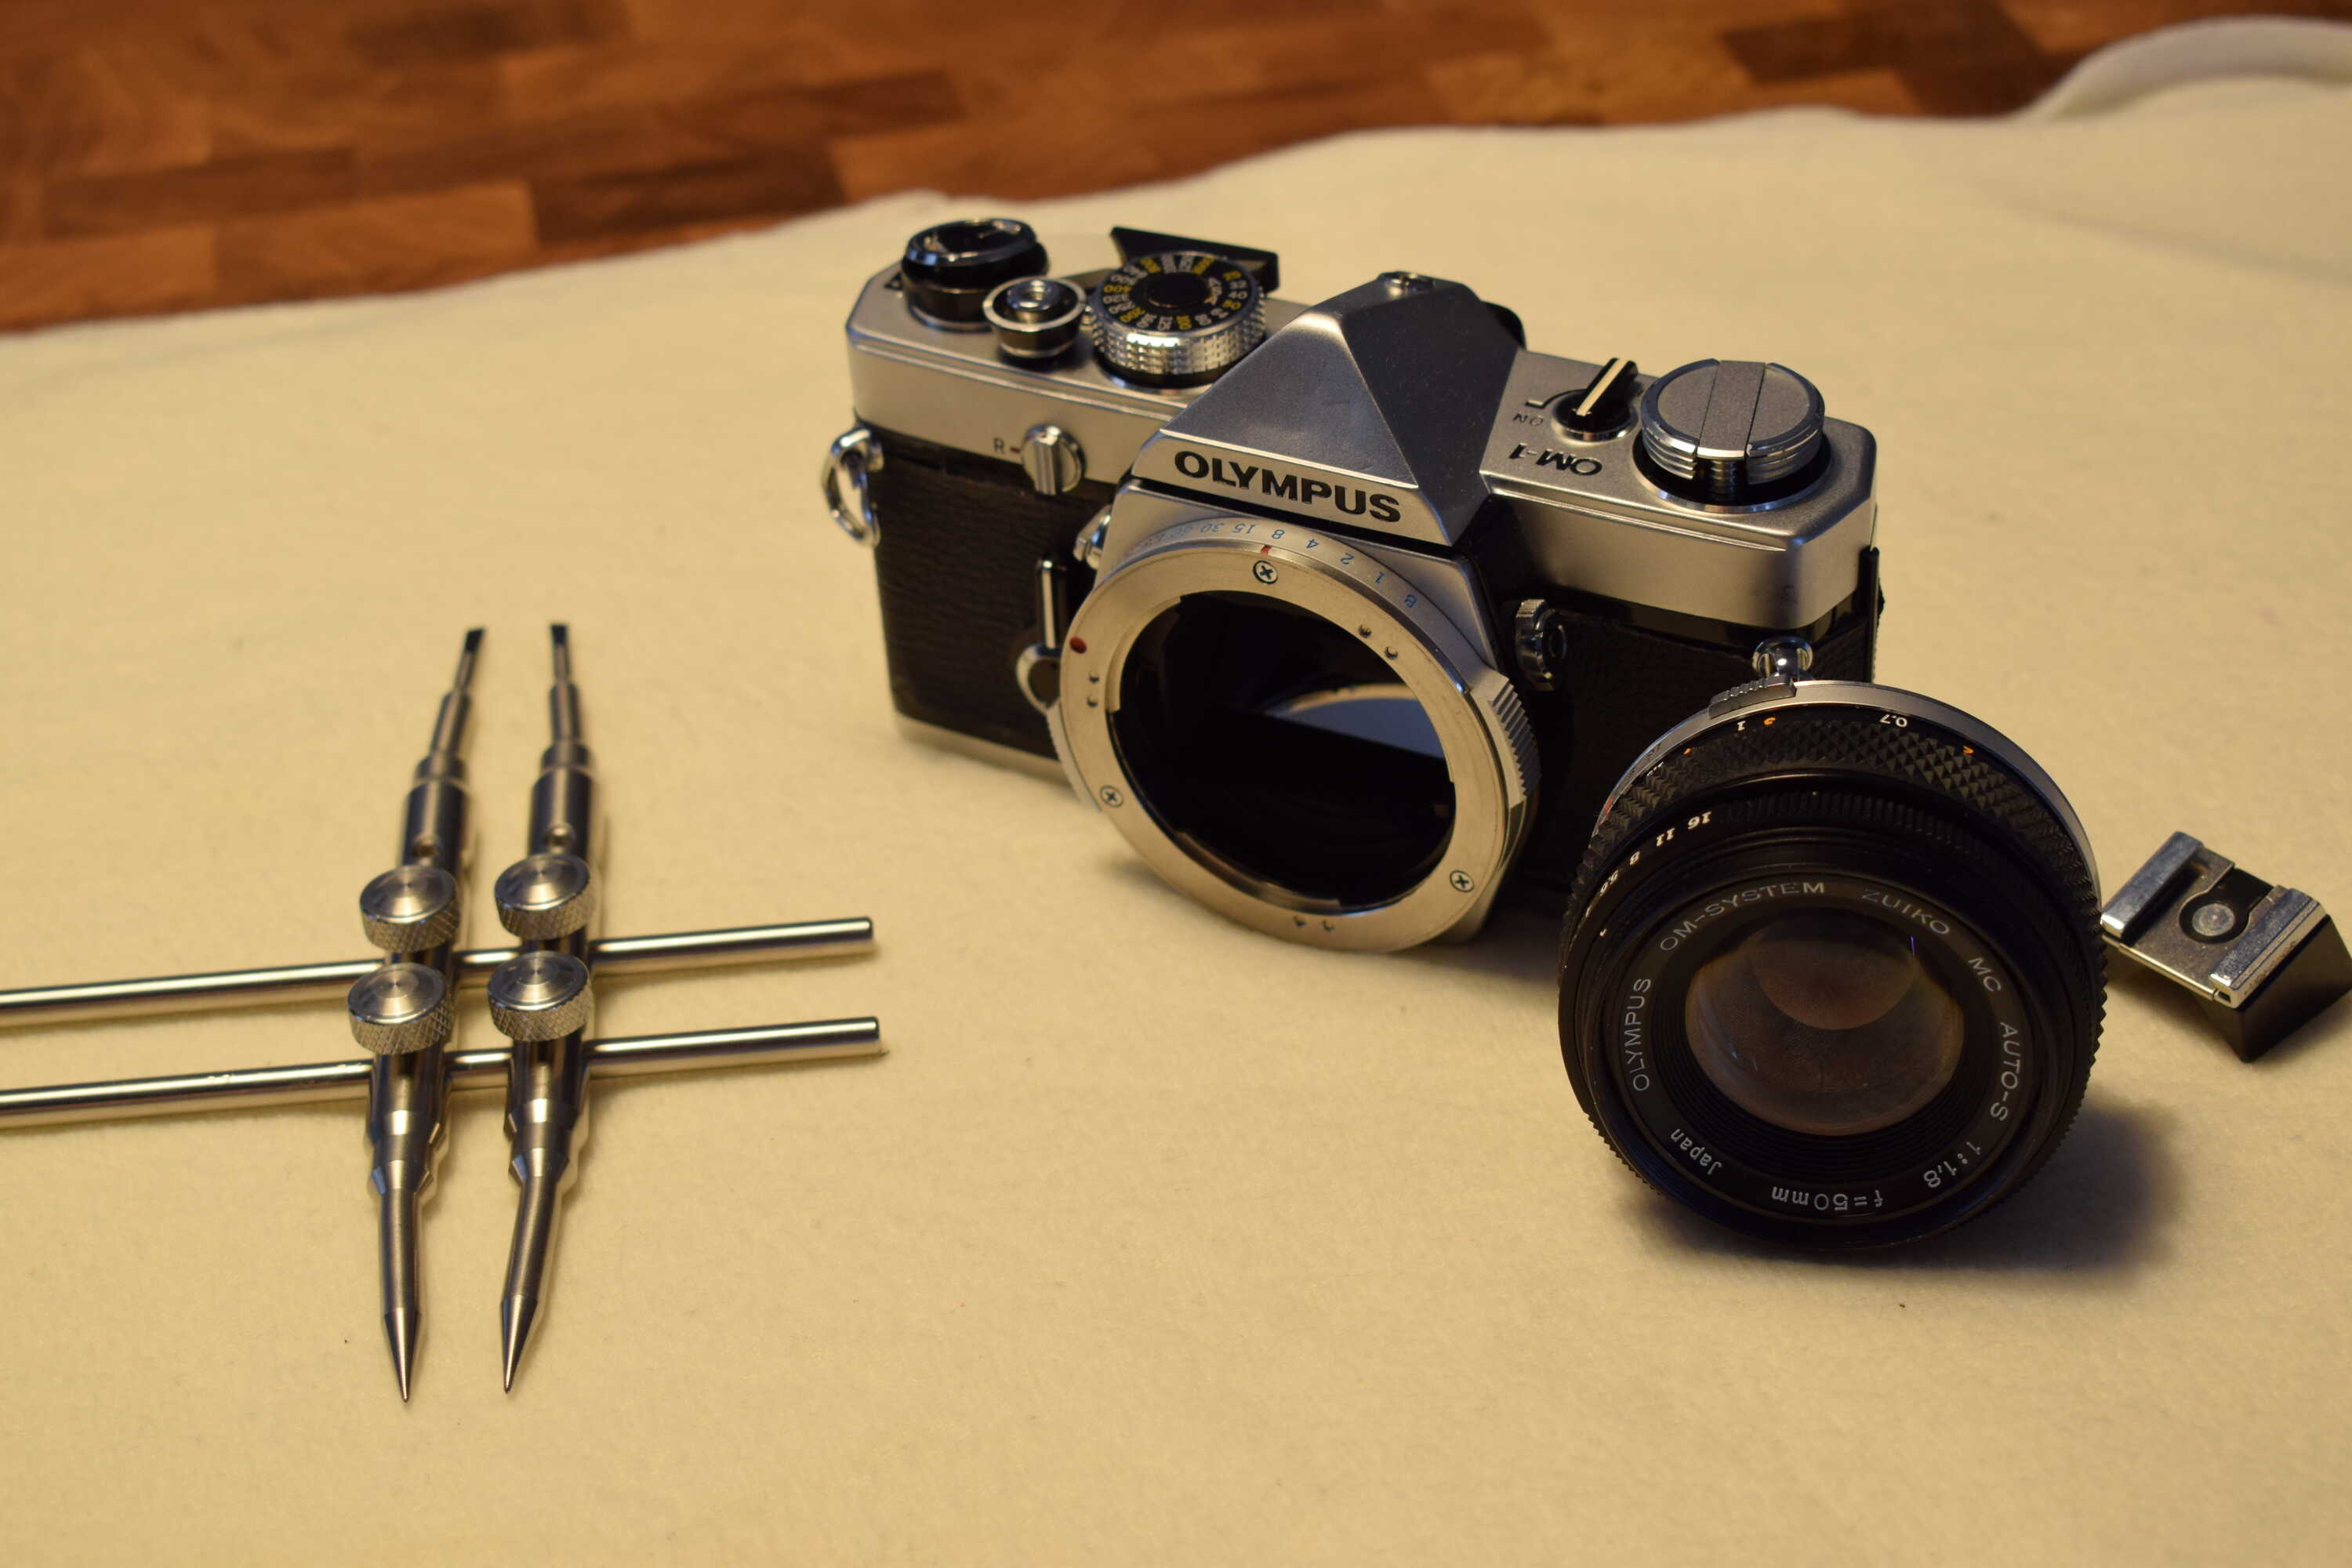
The Olympus OM-1 is an analog SLR camera using 35mm film. The OM-1 model(there were several different ones) were in production from 1972 until 1988. At the time it was the smallest 35mm film camera that existed, and it was very popular. A new Olympus OM-1 in 1972 would run you around $1,900 in todays money unites. My grimy old OM-1 I eBay’d from Japan? $200. The way I came about picking this specific camera to try to fix up is simply because I thought it looked cool. There were several other contenders, like the similarly aged Pentax or Minolta models, but I settled on the Olympus because it looks the most interesting, is small, and has the coolest name. Olympusss.
The Olympus OM-1 is a single-lens reflex camera(SLR) and it includes a full-aperture TTL Cadmium-sulphide (CdS) exposure meter inside powered by a Mercury battery that hasn’t been sold ever since humans realized mercury is incredibly toxic. That would have to be figured out if I wanted the exposure meter to work, which I did. From looking at the serial number on the camera, and doing some researching I was able to figure out that the camera was manufactured in late 1972 early 1973. Which would make the camera 50 years young. It came with a 50mm f/1.8 Zuiko lens. The lens was a little foggy, there is some fungus inside it, but this would have to be a separate project. After getting it from Japan(impressively quickly I might add), the first order of business was to inspect the state of the camera. After an initial wipe down which removed a ton of sticky gunk covering every surface, I was left with what’s in the following images.
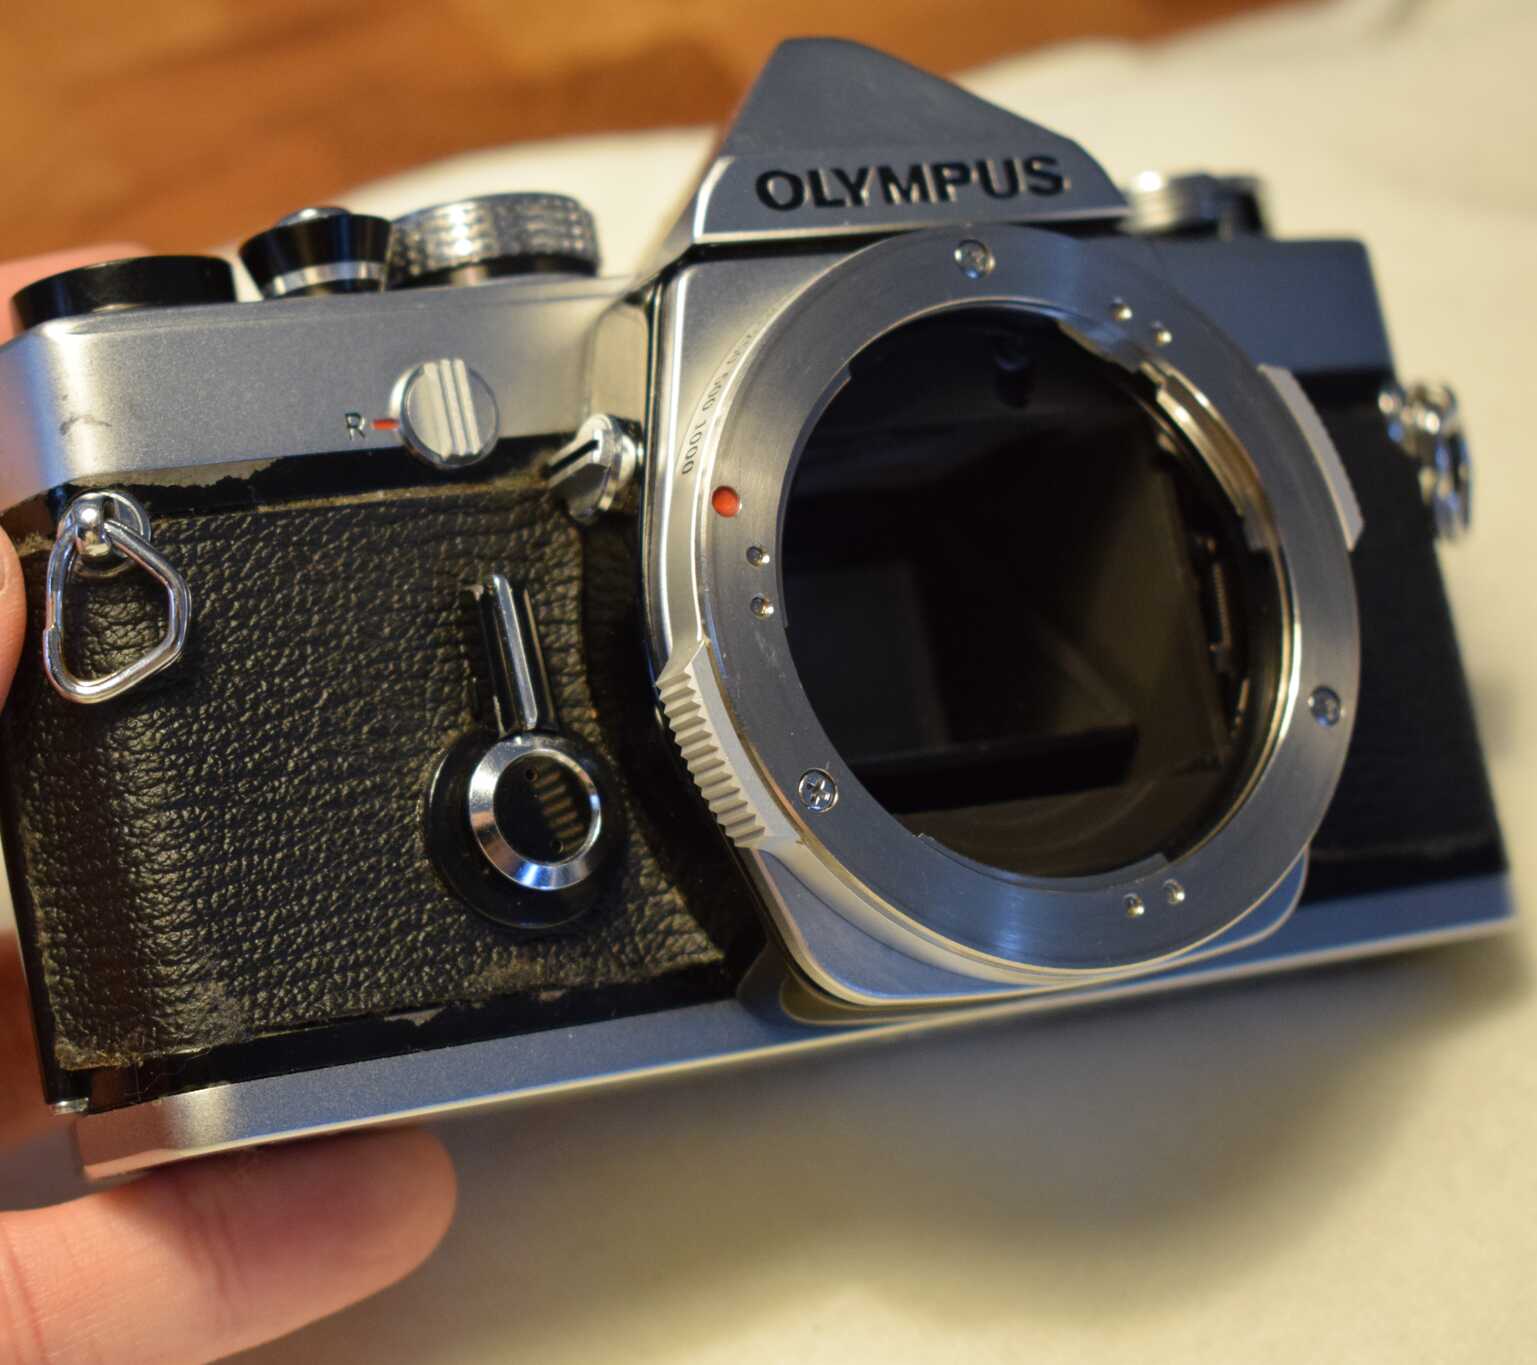
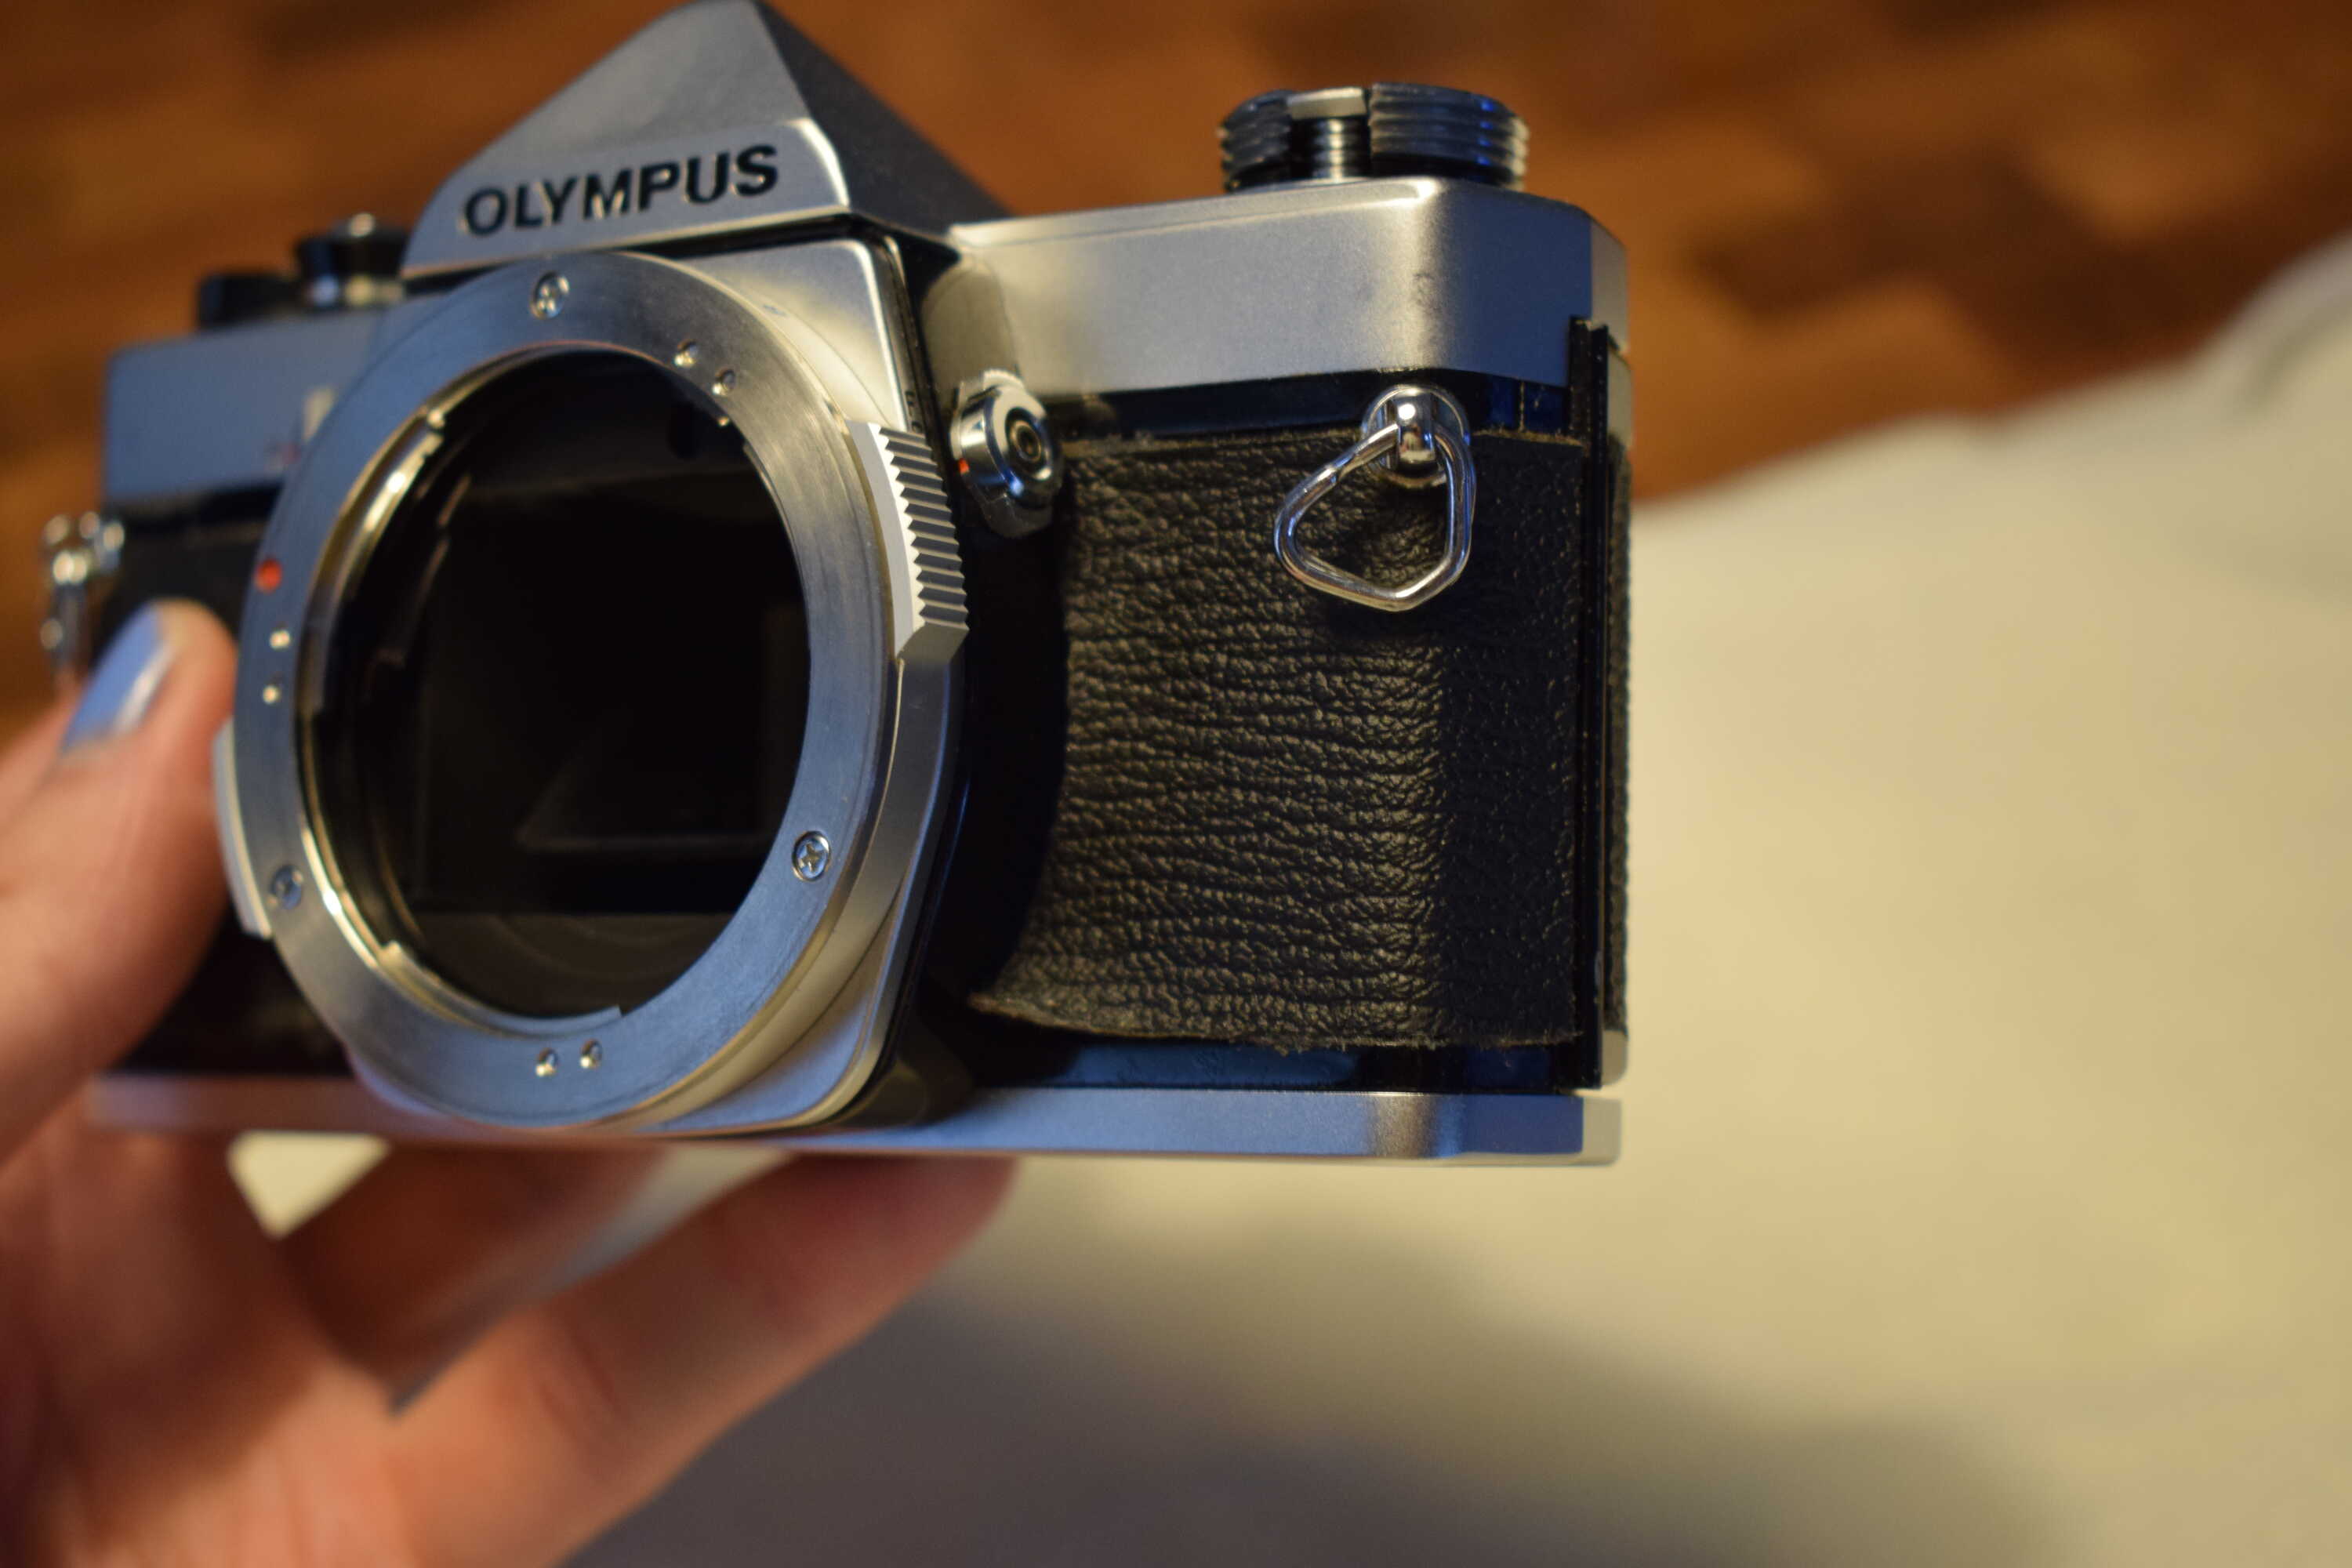
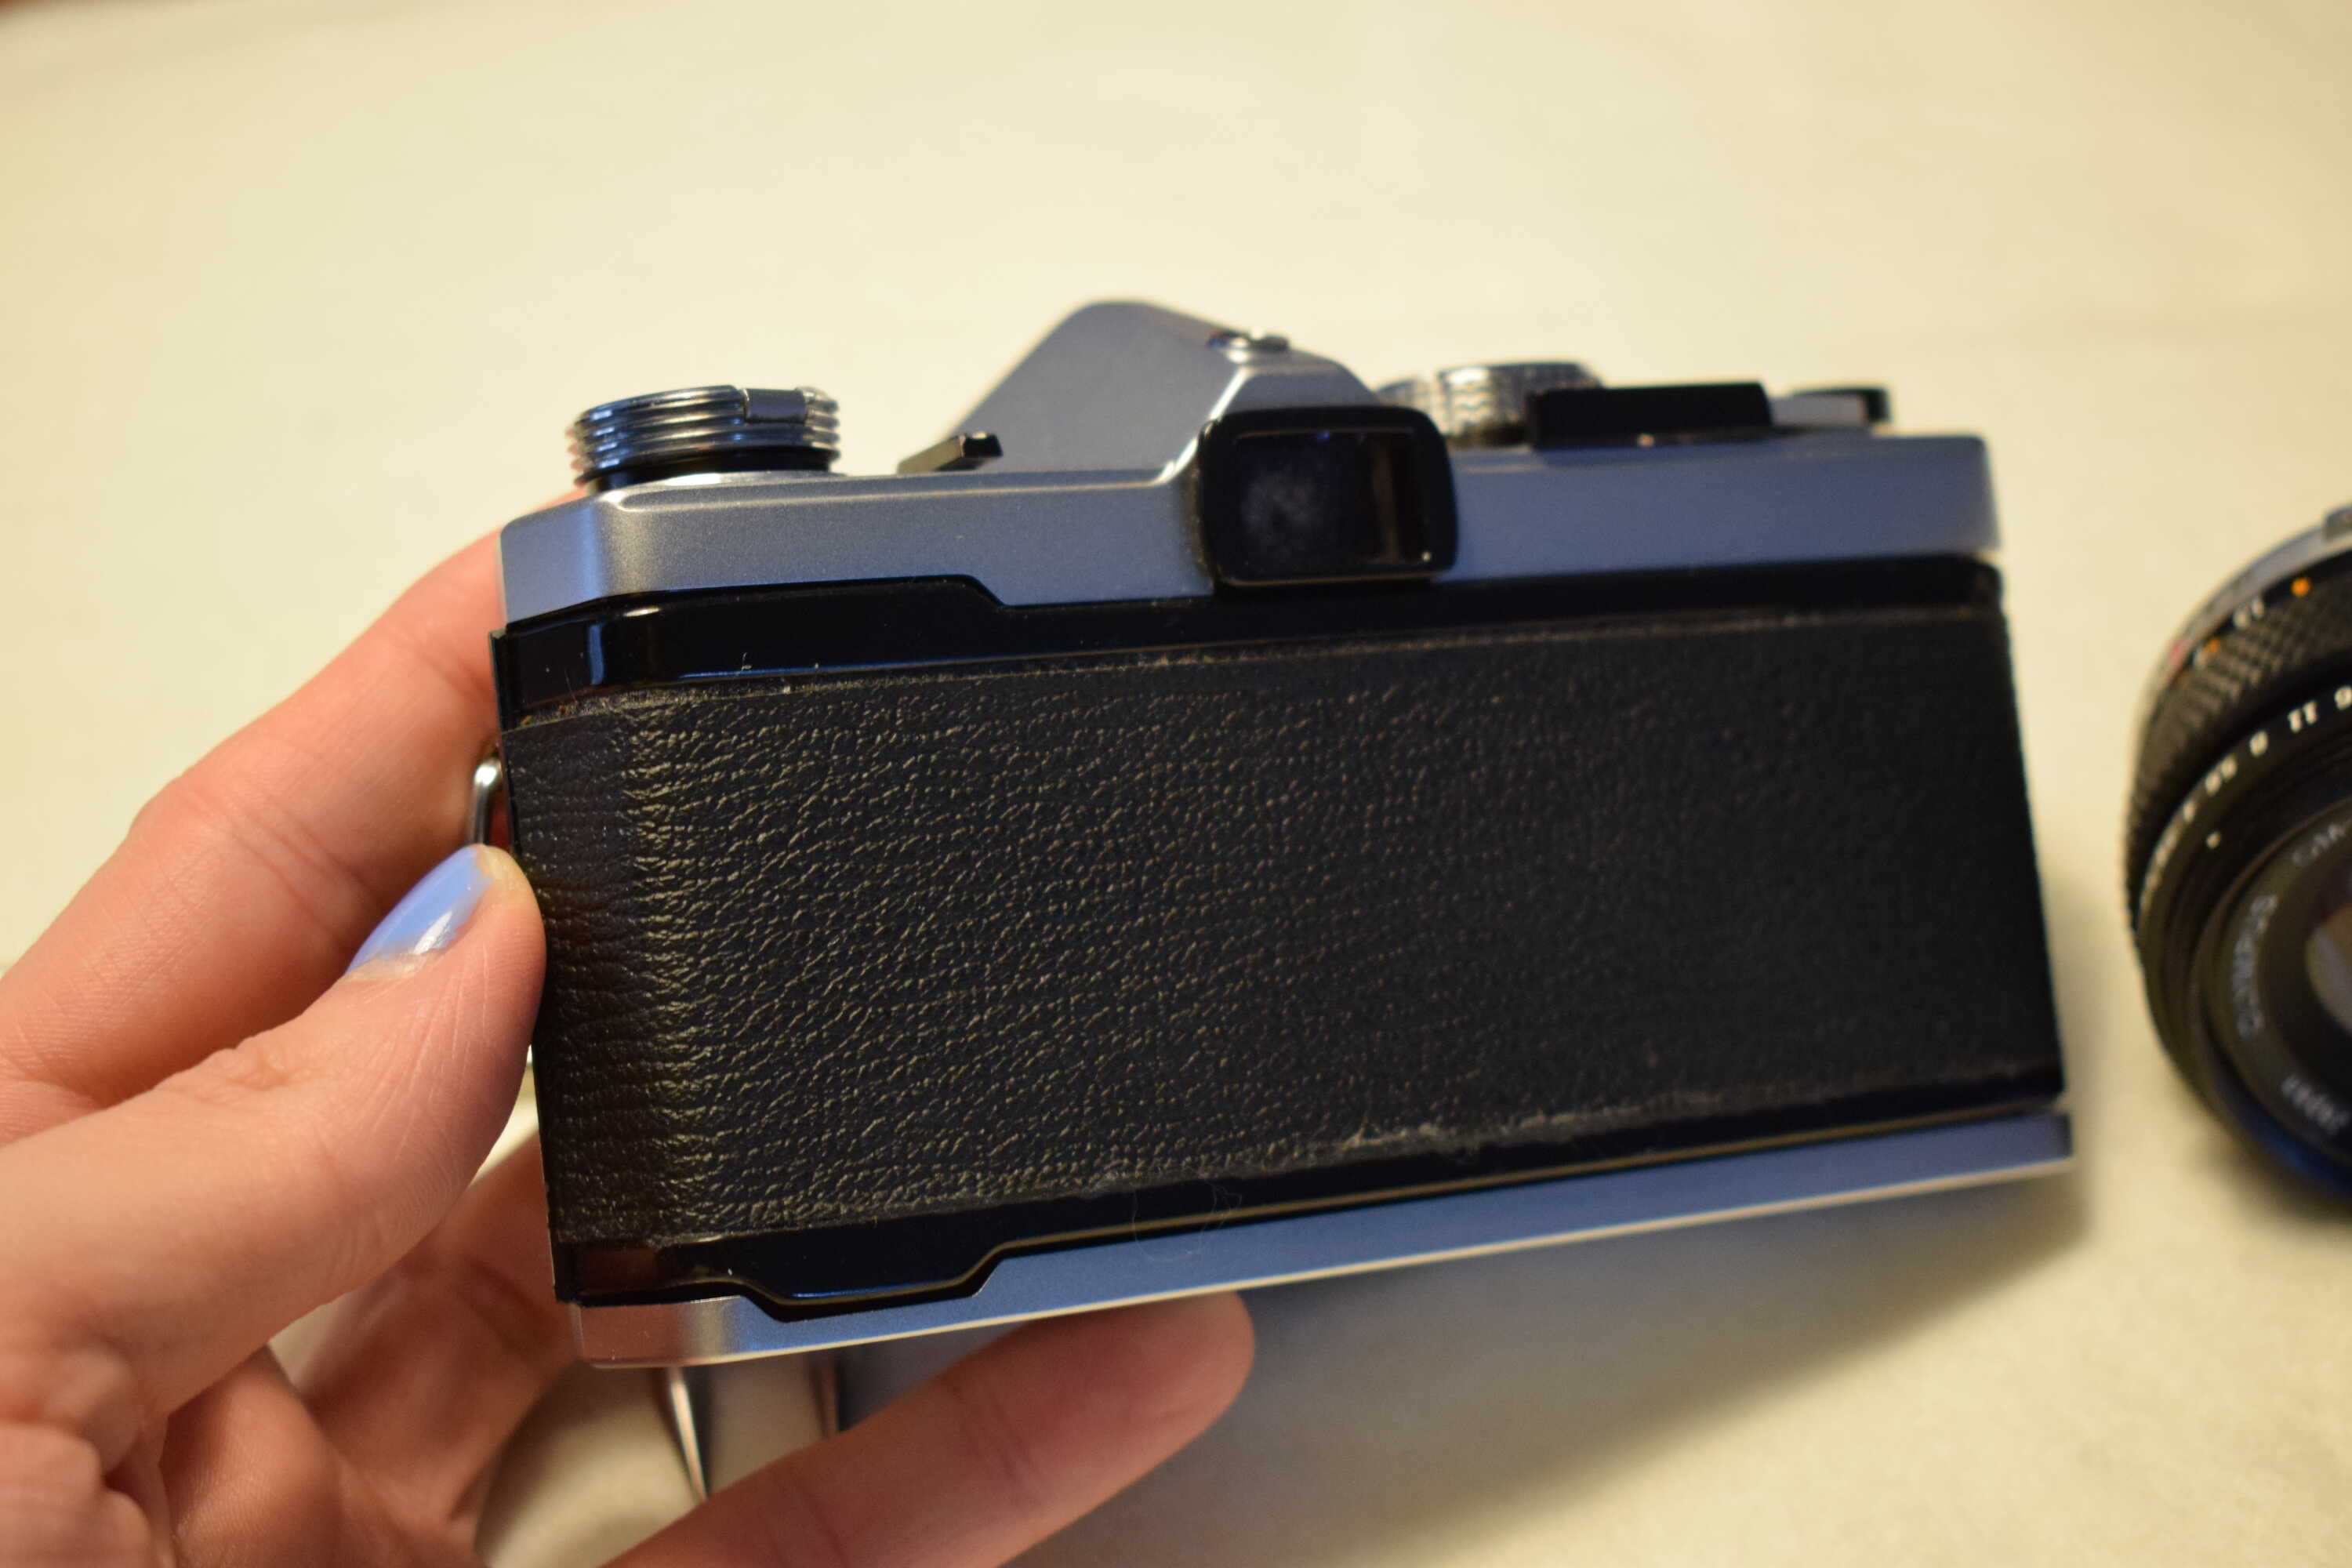
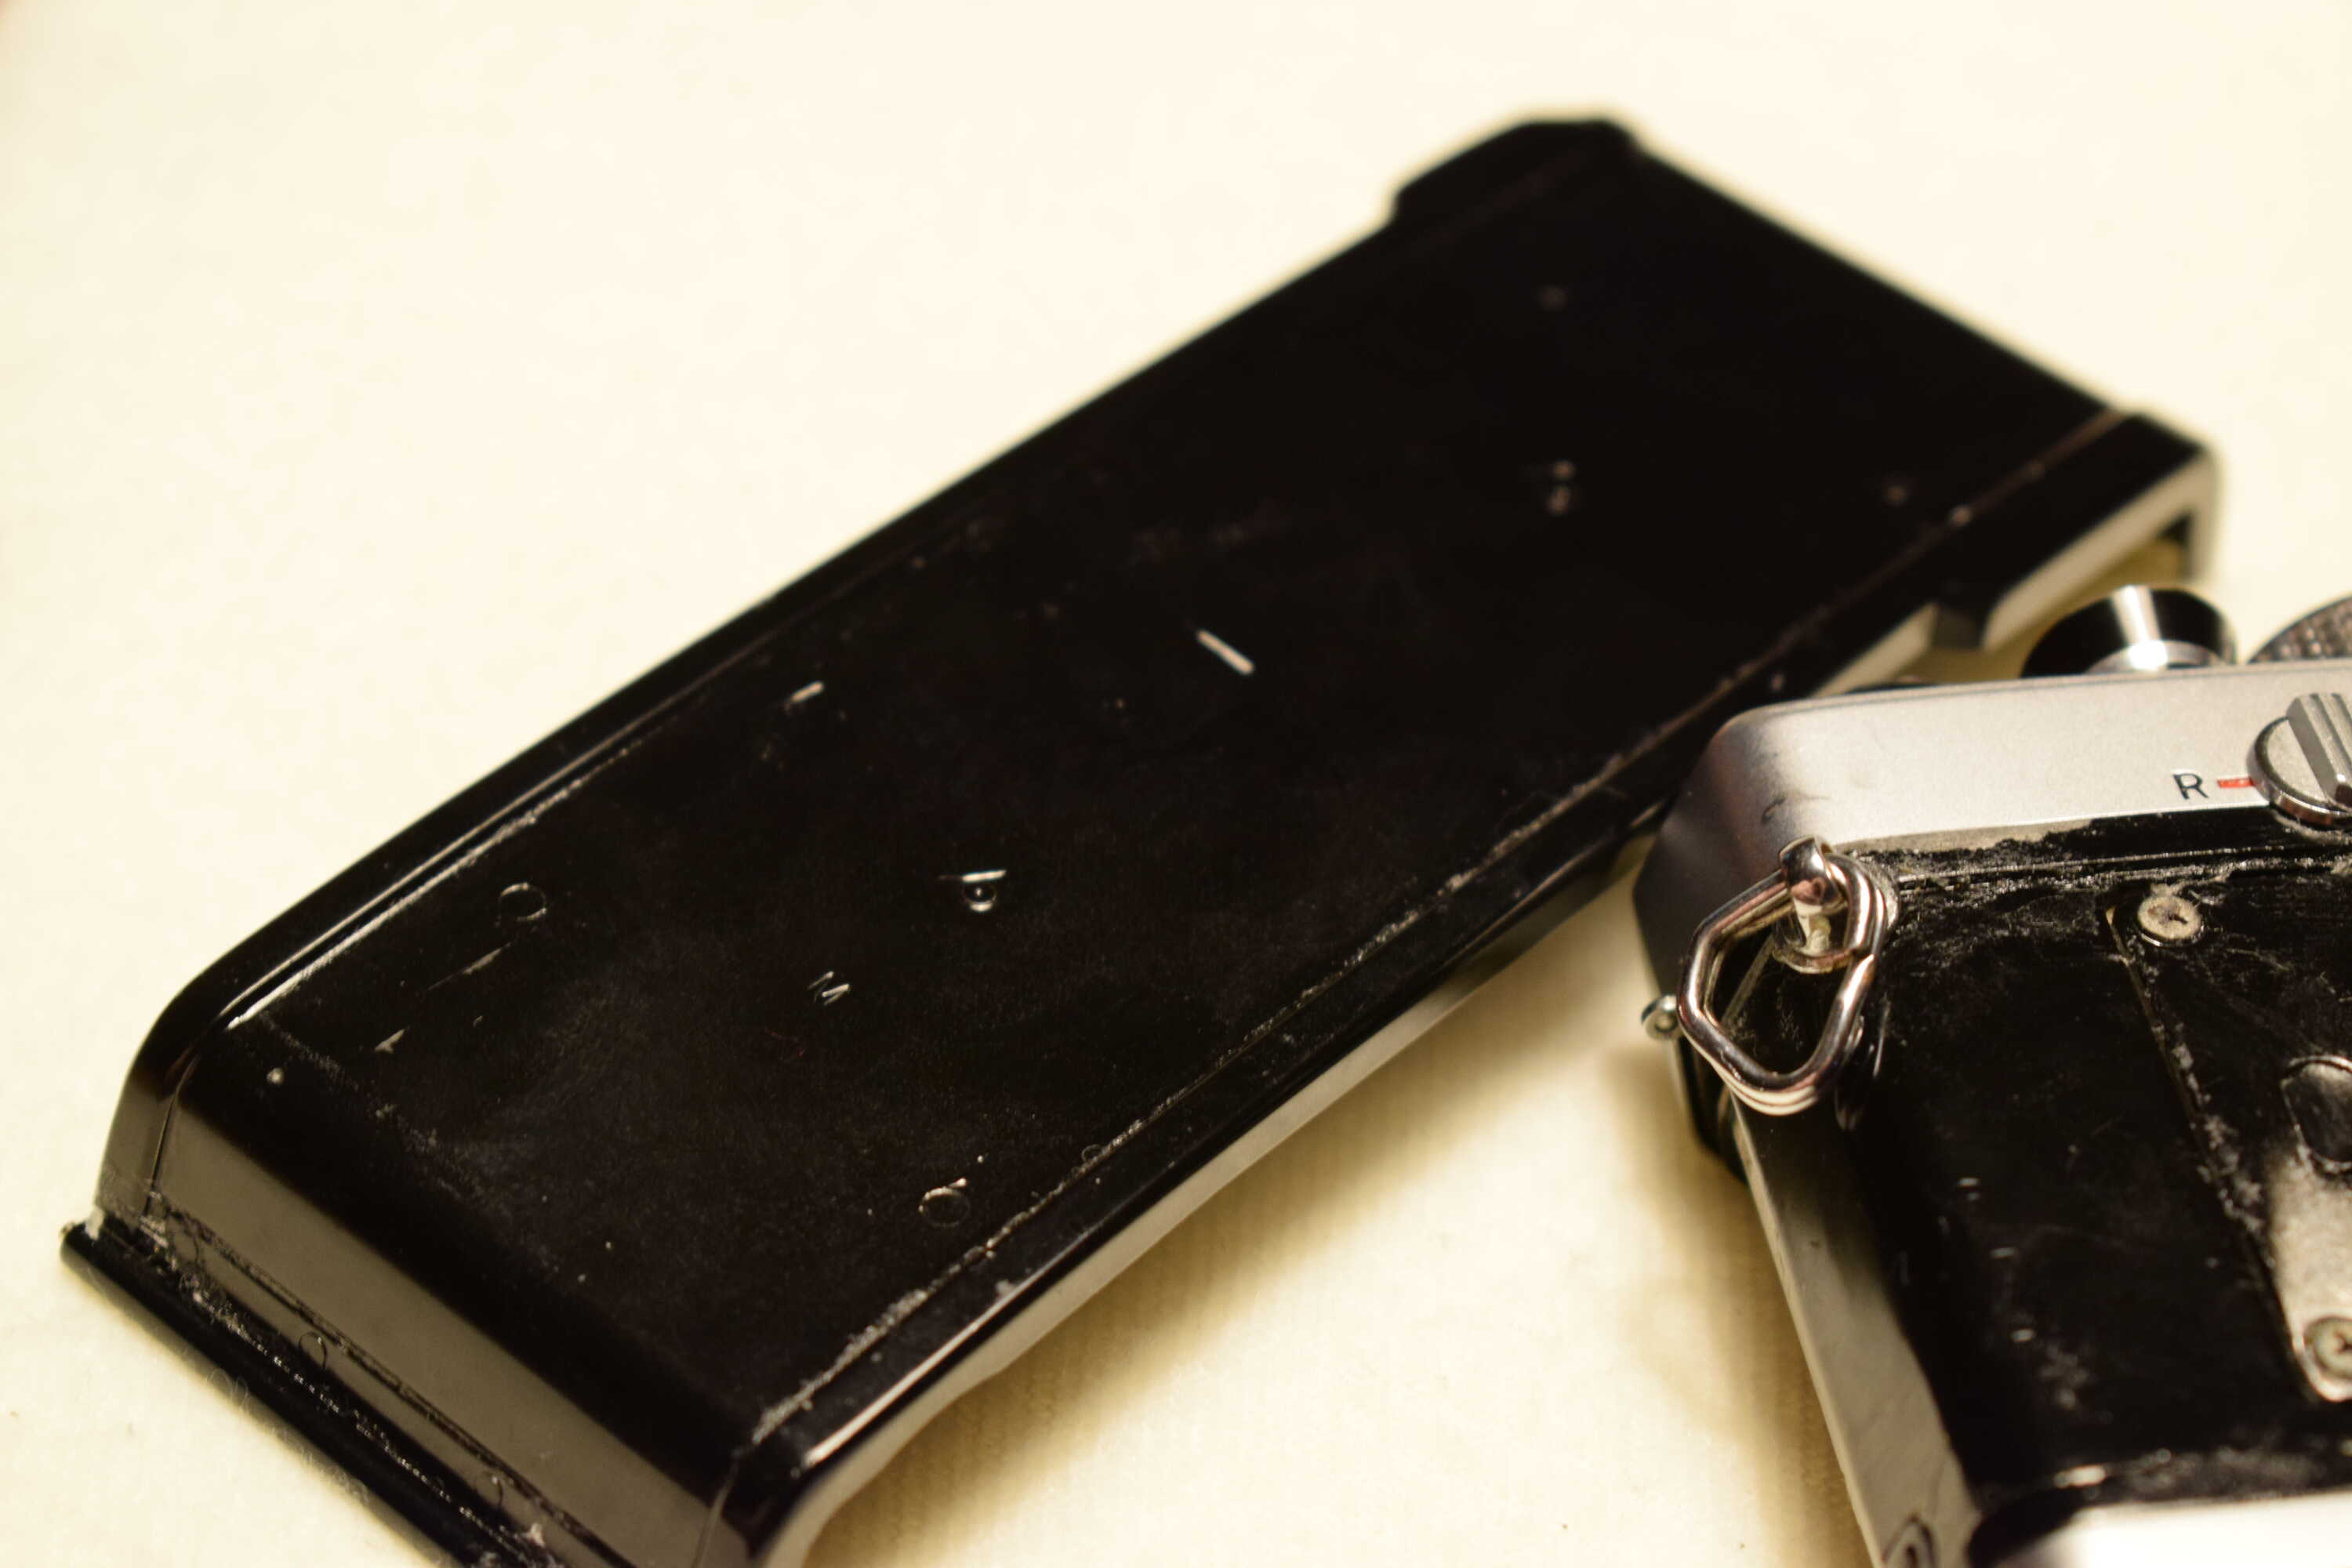
Like everything ordered from Japan it smelled strongly of oil and cigarettes. So strongly in fact I had to wipe it down a second time just to get the smell out of my apartment. The metal is in great condition, there is some dents up in the housing around the prism, but otherwise great condition. The plastics are also in great condition other than a slight crack near the viewfinder, and some rubbing where the camera strap connects. This considering that the camera is already most of its way through its midlife crisis is great! The leather however, is a different story. The leather was frankly nasty. It was so smelly. In some places it was sticky and impossible to wipe off. The leather was coming off in several places. Between the leather and camera body there was 50 years worth of nasty sticky buildup. The leather was just beyond saving, and so the solution would be to replace it completely.
Lets look through the viewfinder and see what we get!
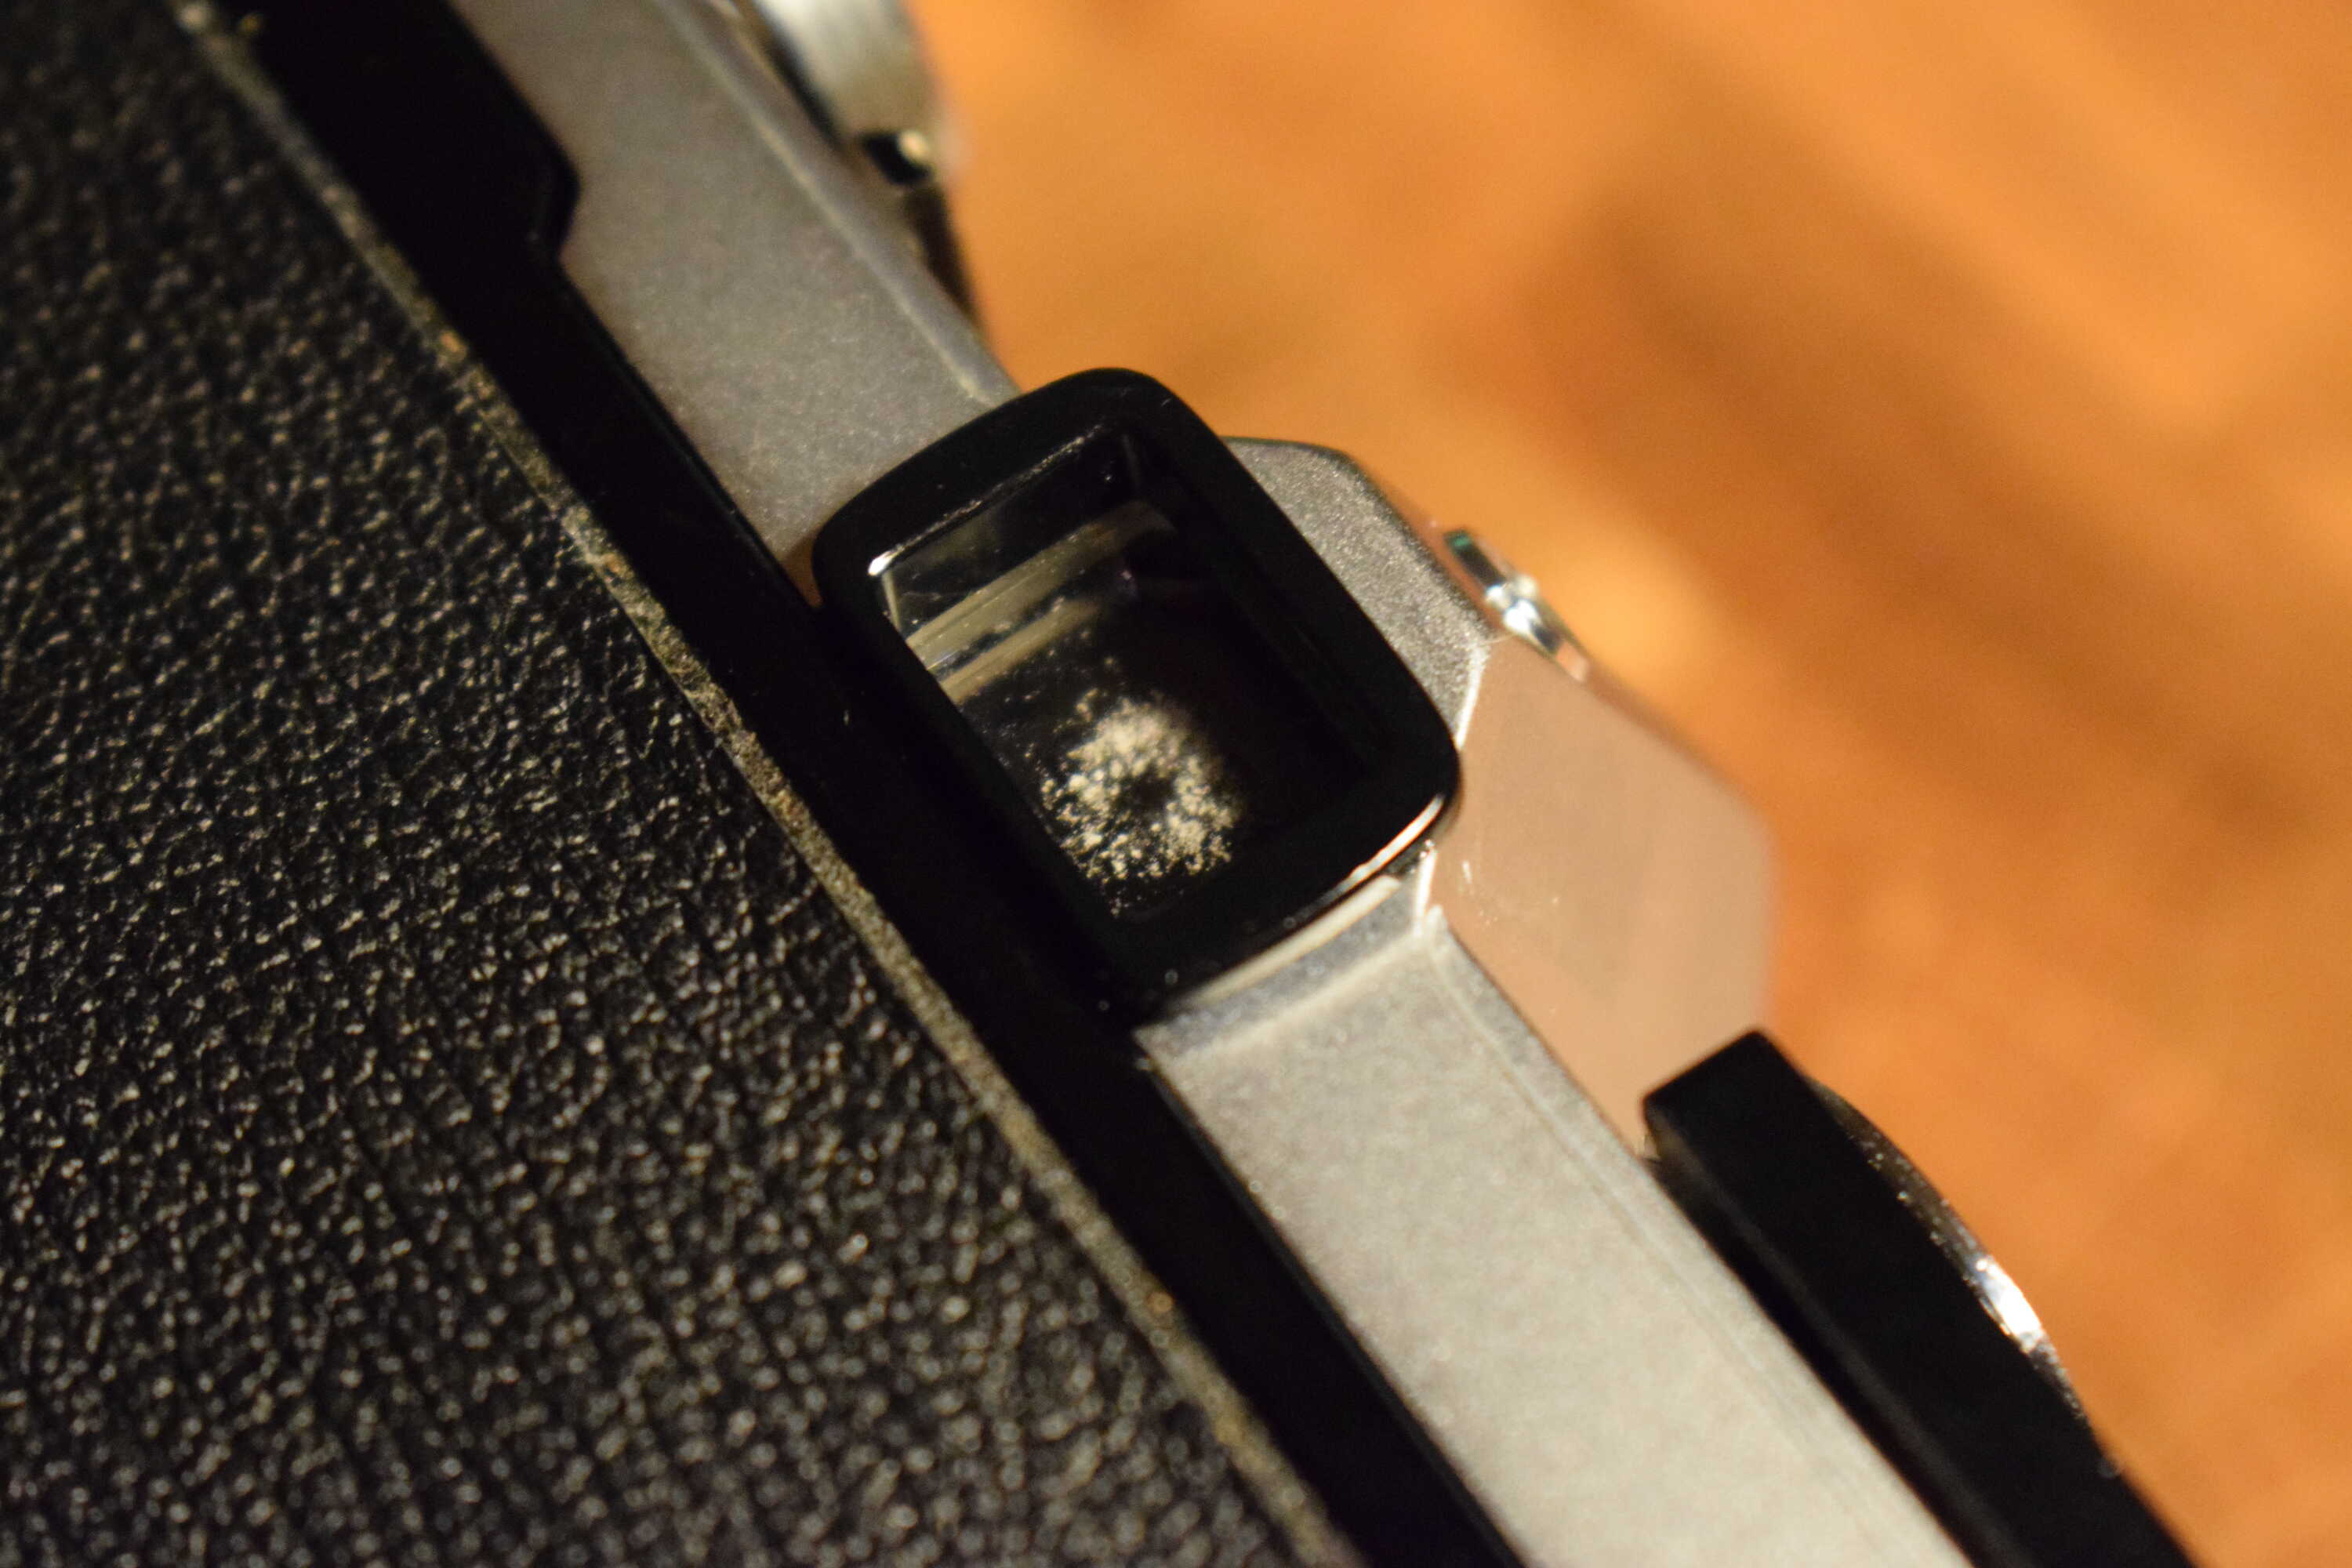
Oh…
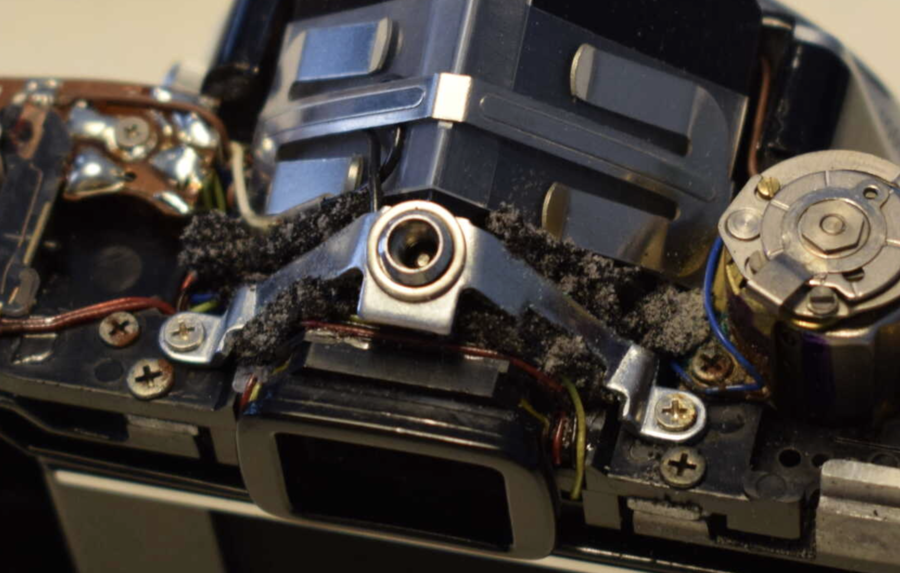
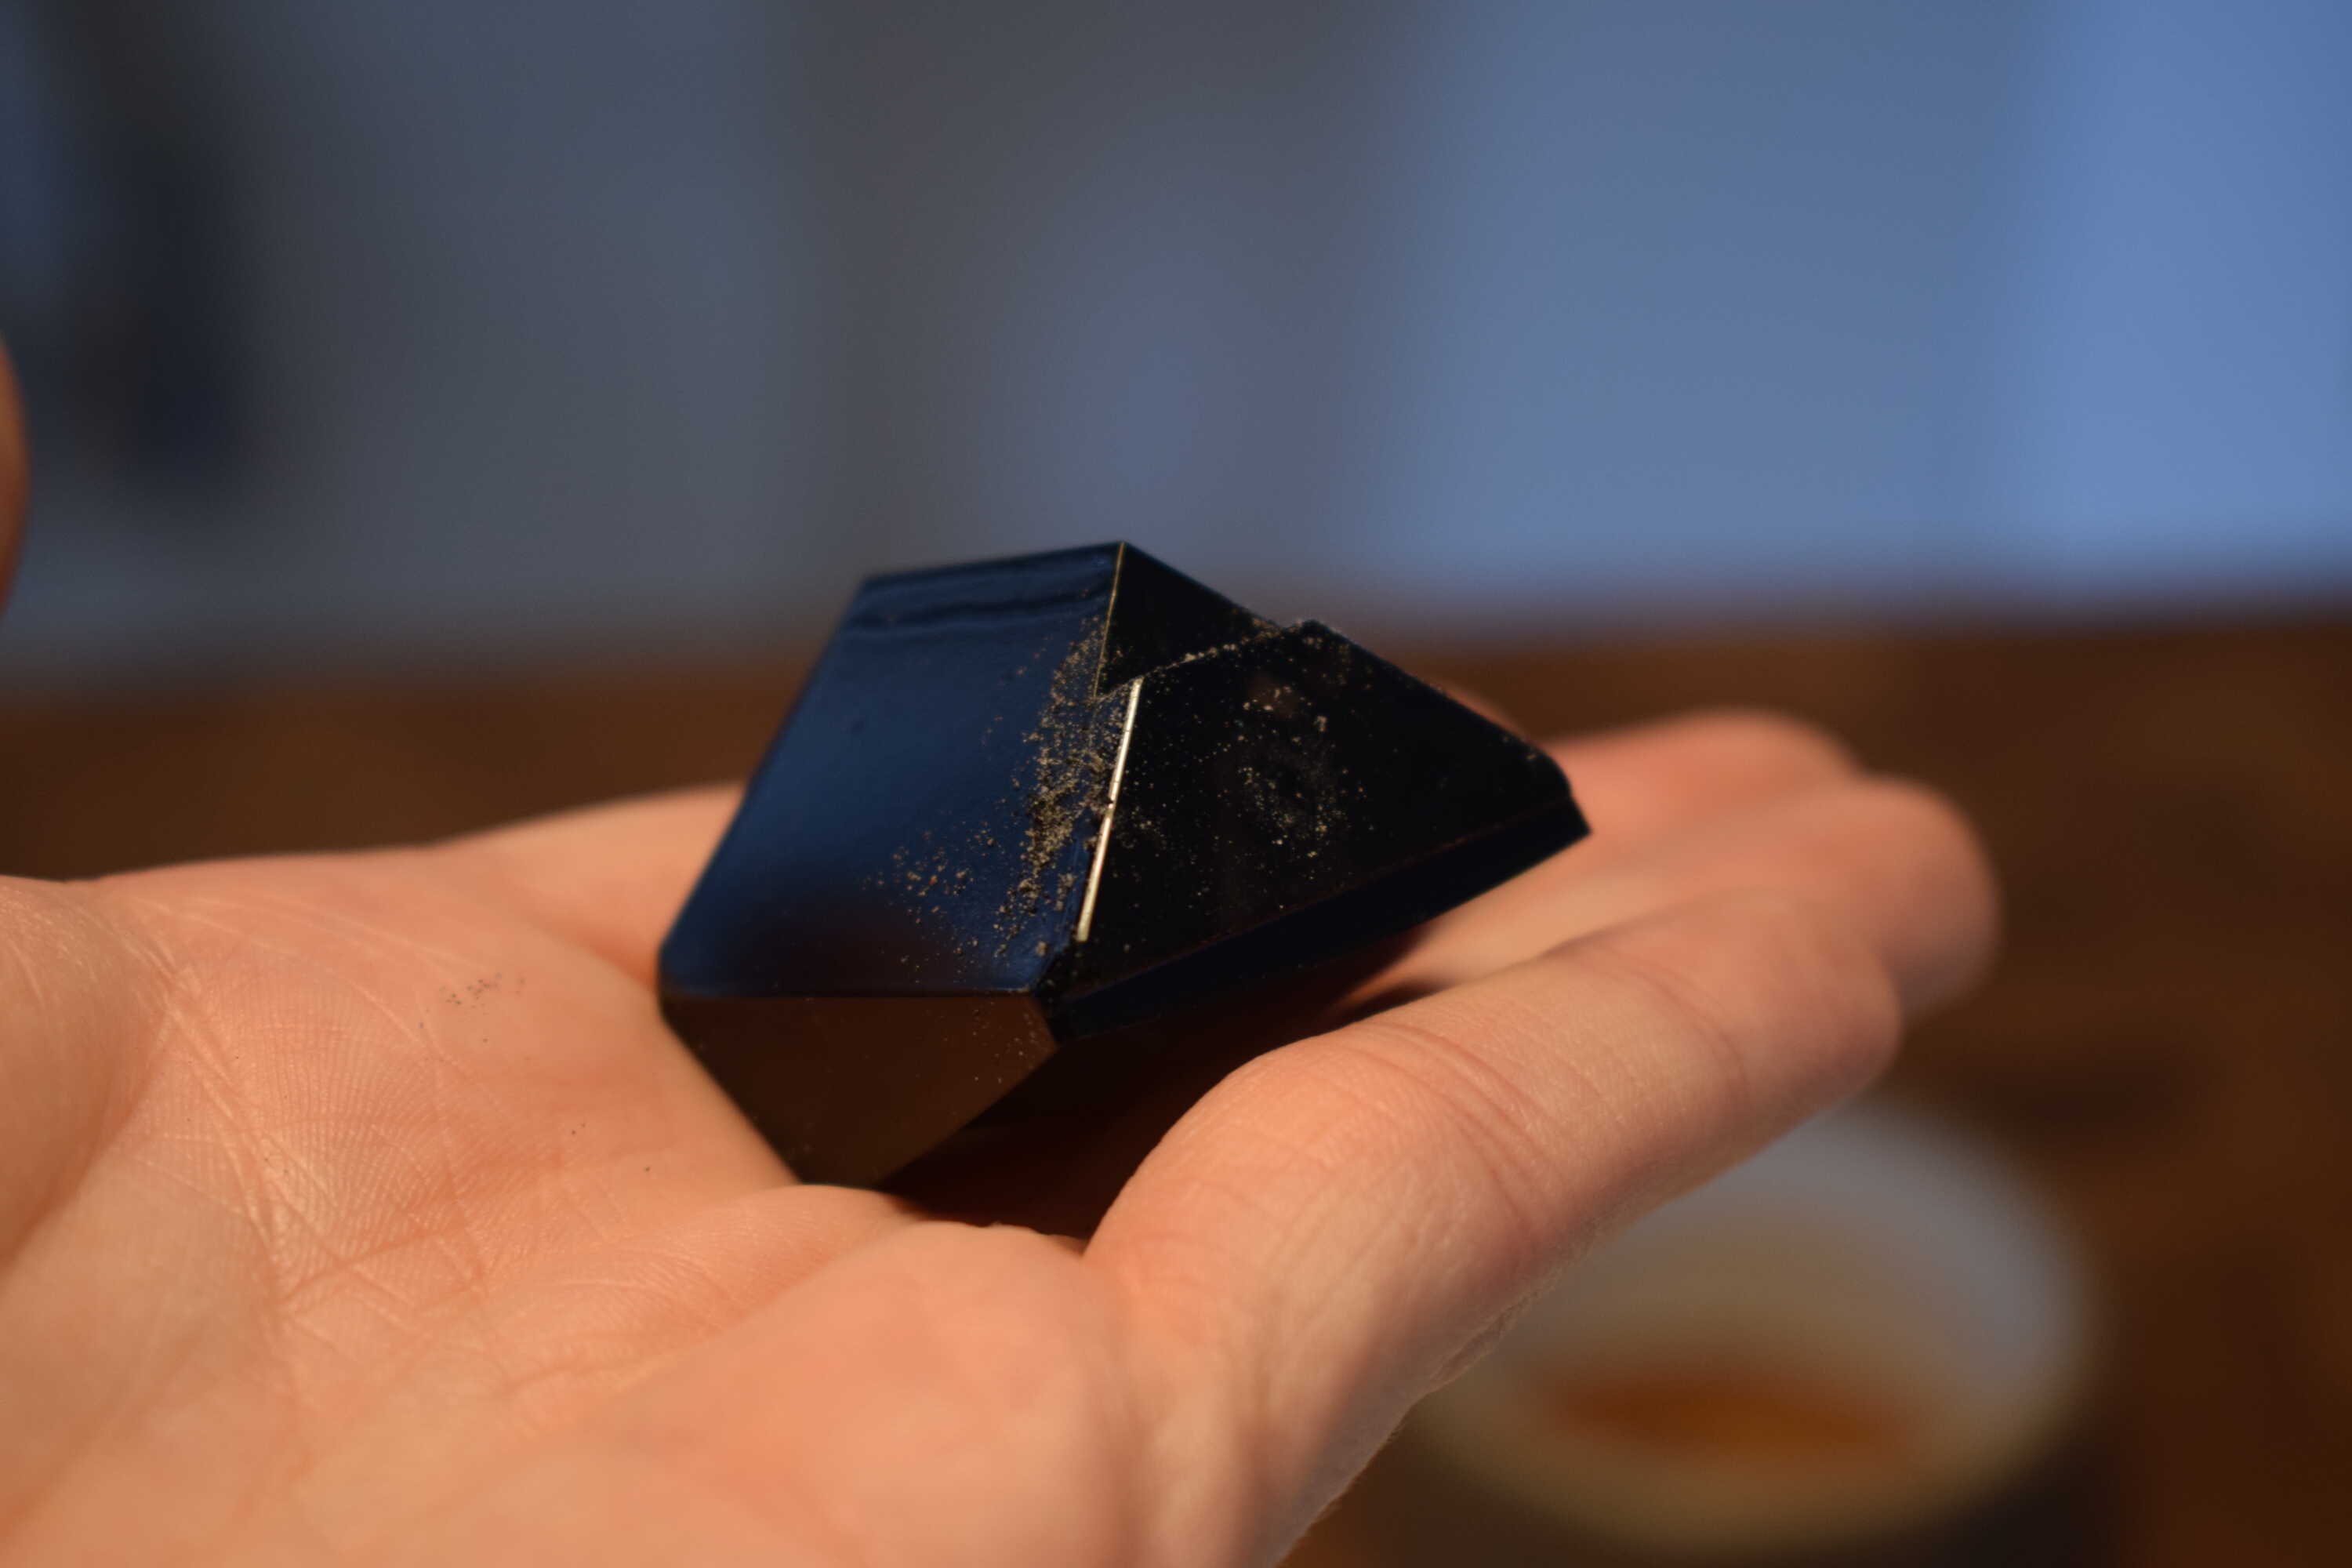
Yeah so the viewfinder was completely covered in what looked like a crumbly dust. It was almost impossible to look through it. What I didn’t know, but should have expected before deciding to buy a 50 year old film camera, is that materials degrade over time. Woah crazy right, yeah. These particular cameras, along with several other cameras from other brands during the same time period, has similar issues. The Olympus OM-1 like I said is an SLR camera. This means that in the viewfinder is a single prism. Light goes into the lens and hits a mirror directing it up, the light hits the prism and directs it out into your eye. Very simple. Around the prism and the bracket holding it in place, is black foam. This foam is there to protect the prism as impact absorption, and as light isolation. Thing is, this foam like so much else in the 70’s is petroleum based. Over the 50 years that the foam has sat inside these cameras in god knows what conditions in Japan, this foam starts to turn back into its petroleum origins. It turns into a toxic goo witch then starts to eat through the coatings of the prism, and finally eats away at the prism itself. What I was seeing in the viewfinder was the goo having surpassed goo stage into a crumbly toxic dust stage.
This was then my first real task on the camera. To open it up to inspect the prism. Worst case scenario the toxic disintegrated foam has eaten away at the prism, and I would have to find a new one and replace it. Best case, I simply remove and clean the foam out of the camera.
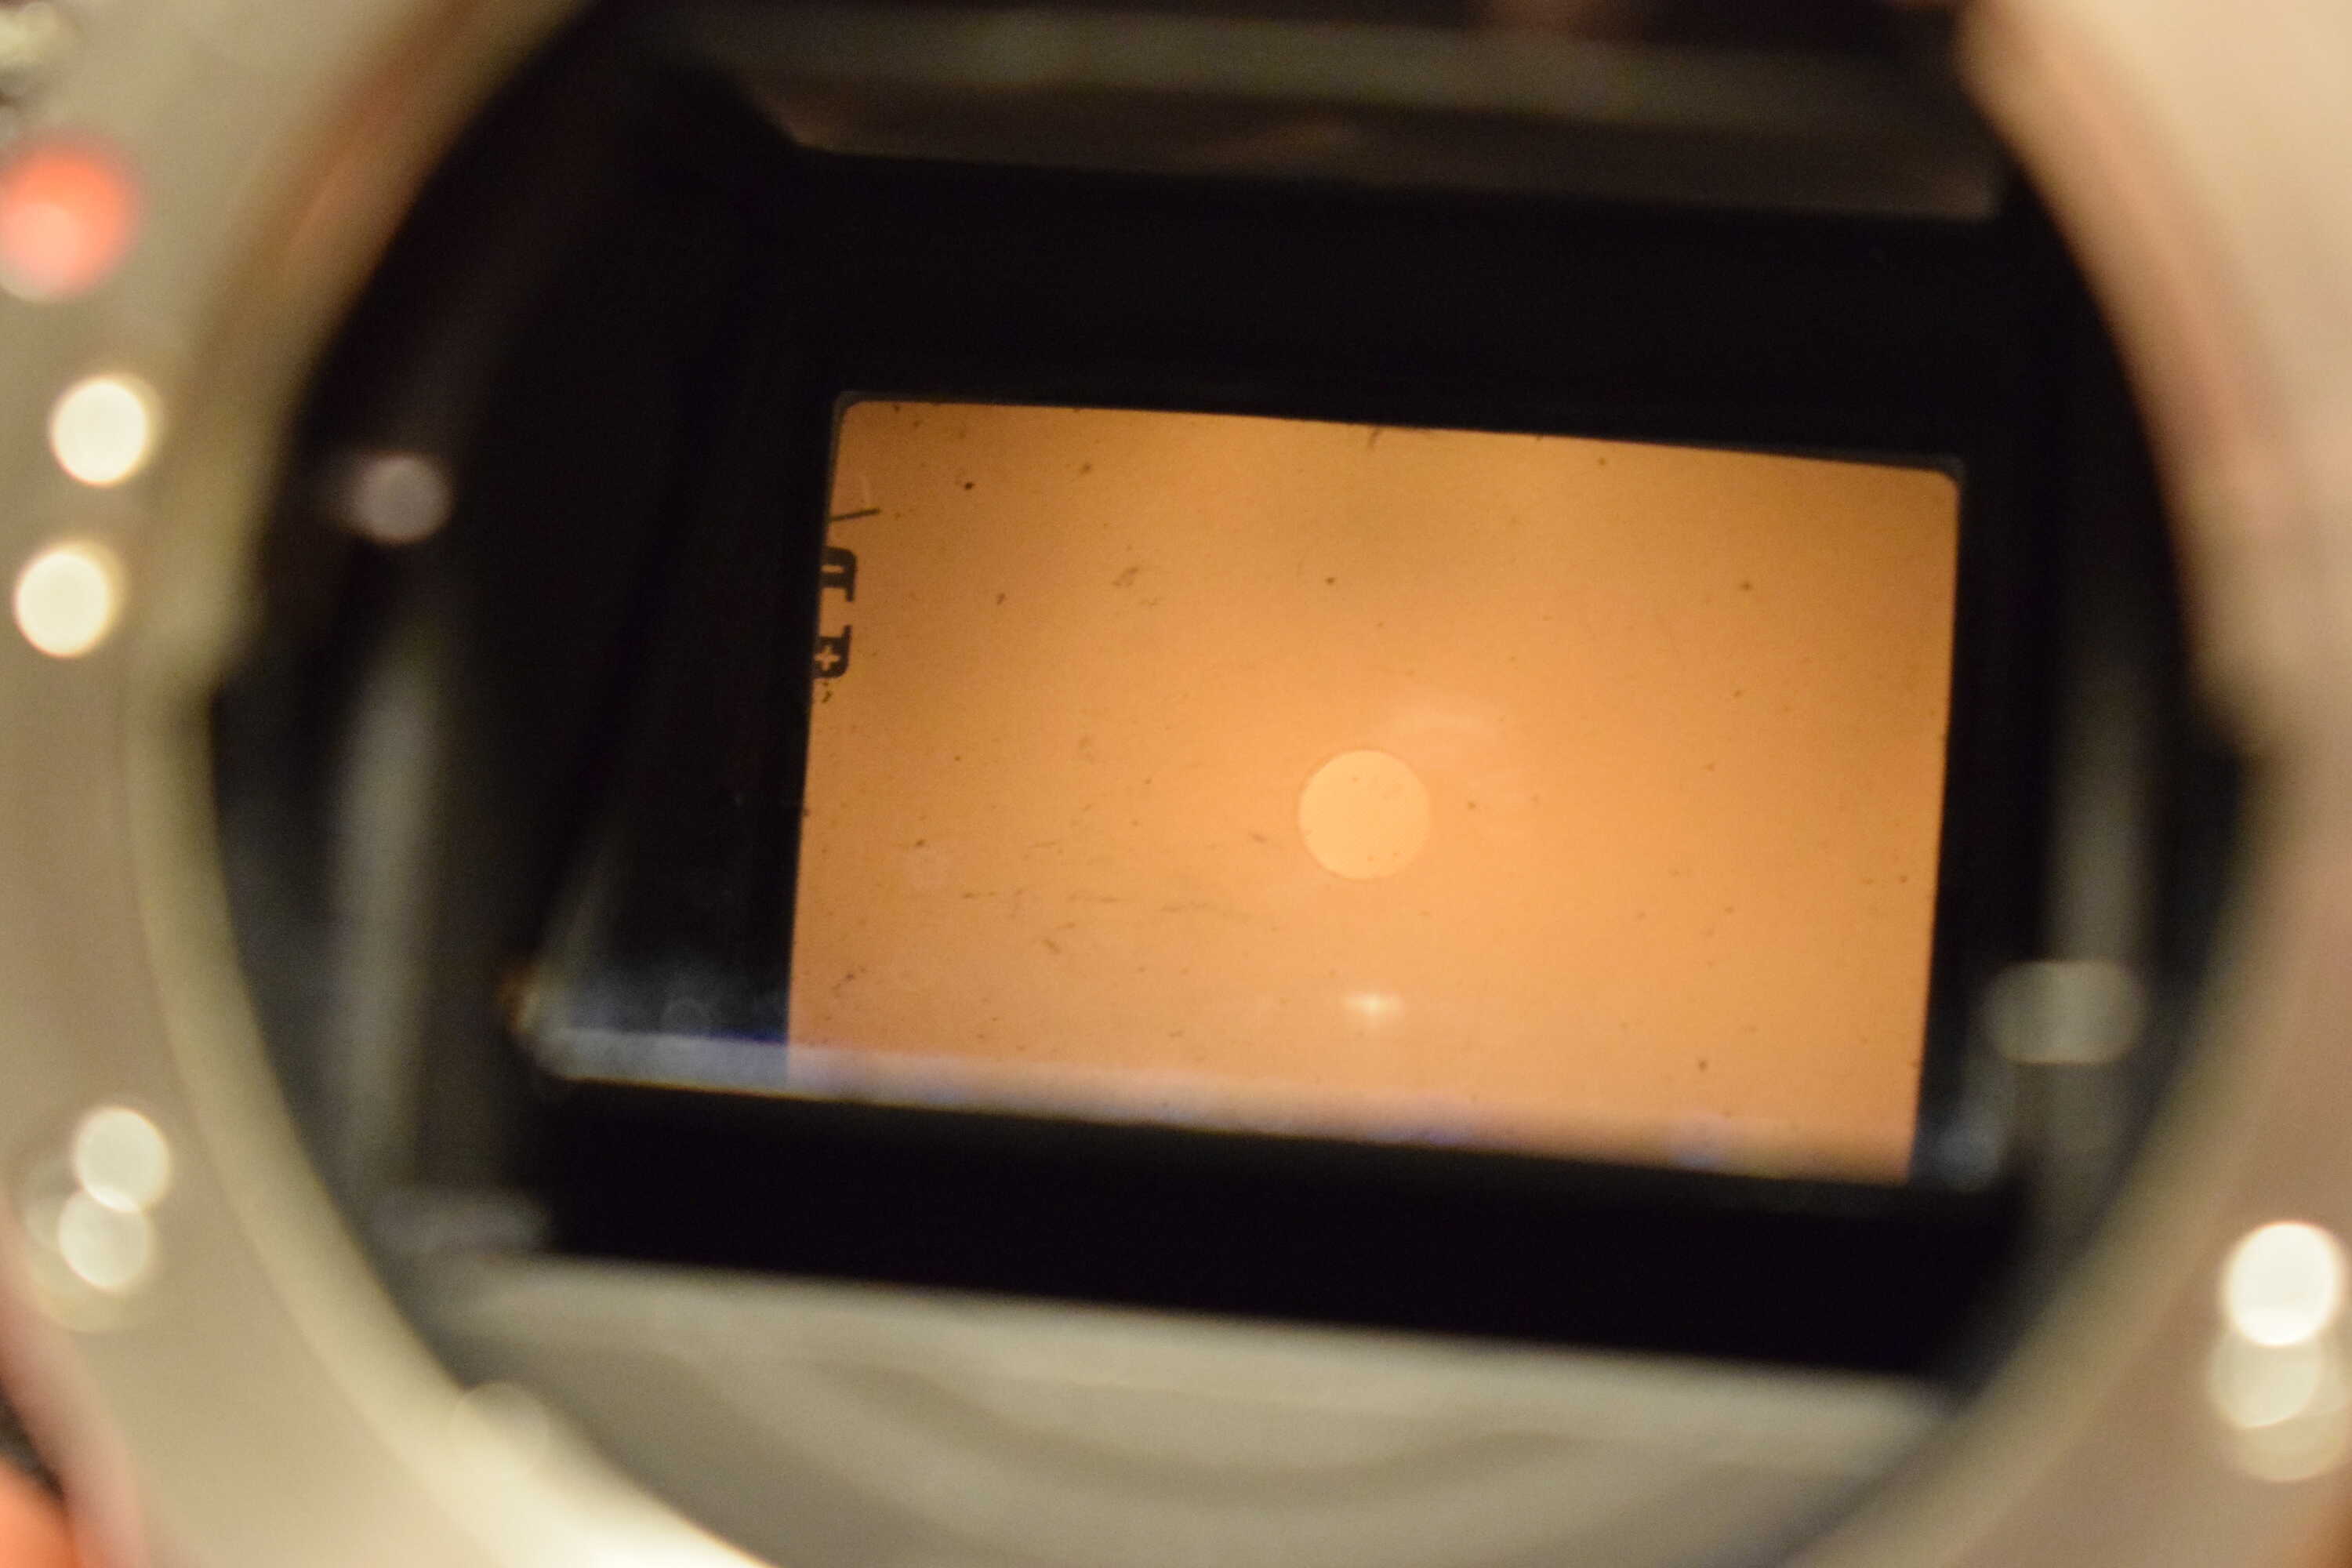
The focusing screen was also very dirty. This one is made out of plastic and it has some scratches on it. It has also yellowed slightly over the years. I was able to wipe off most of the dirt on it to get it clean enough. It’s not bad enough to justify a replacement. Side note, that image also shows the light sensor in the top left. In the viewfinder it will be mirrored and flipped, showing it in the bottom left.
After waiting for some tools to arrive, mostly a lens spanner, I got to work opening the camera up.

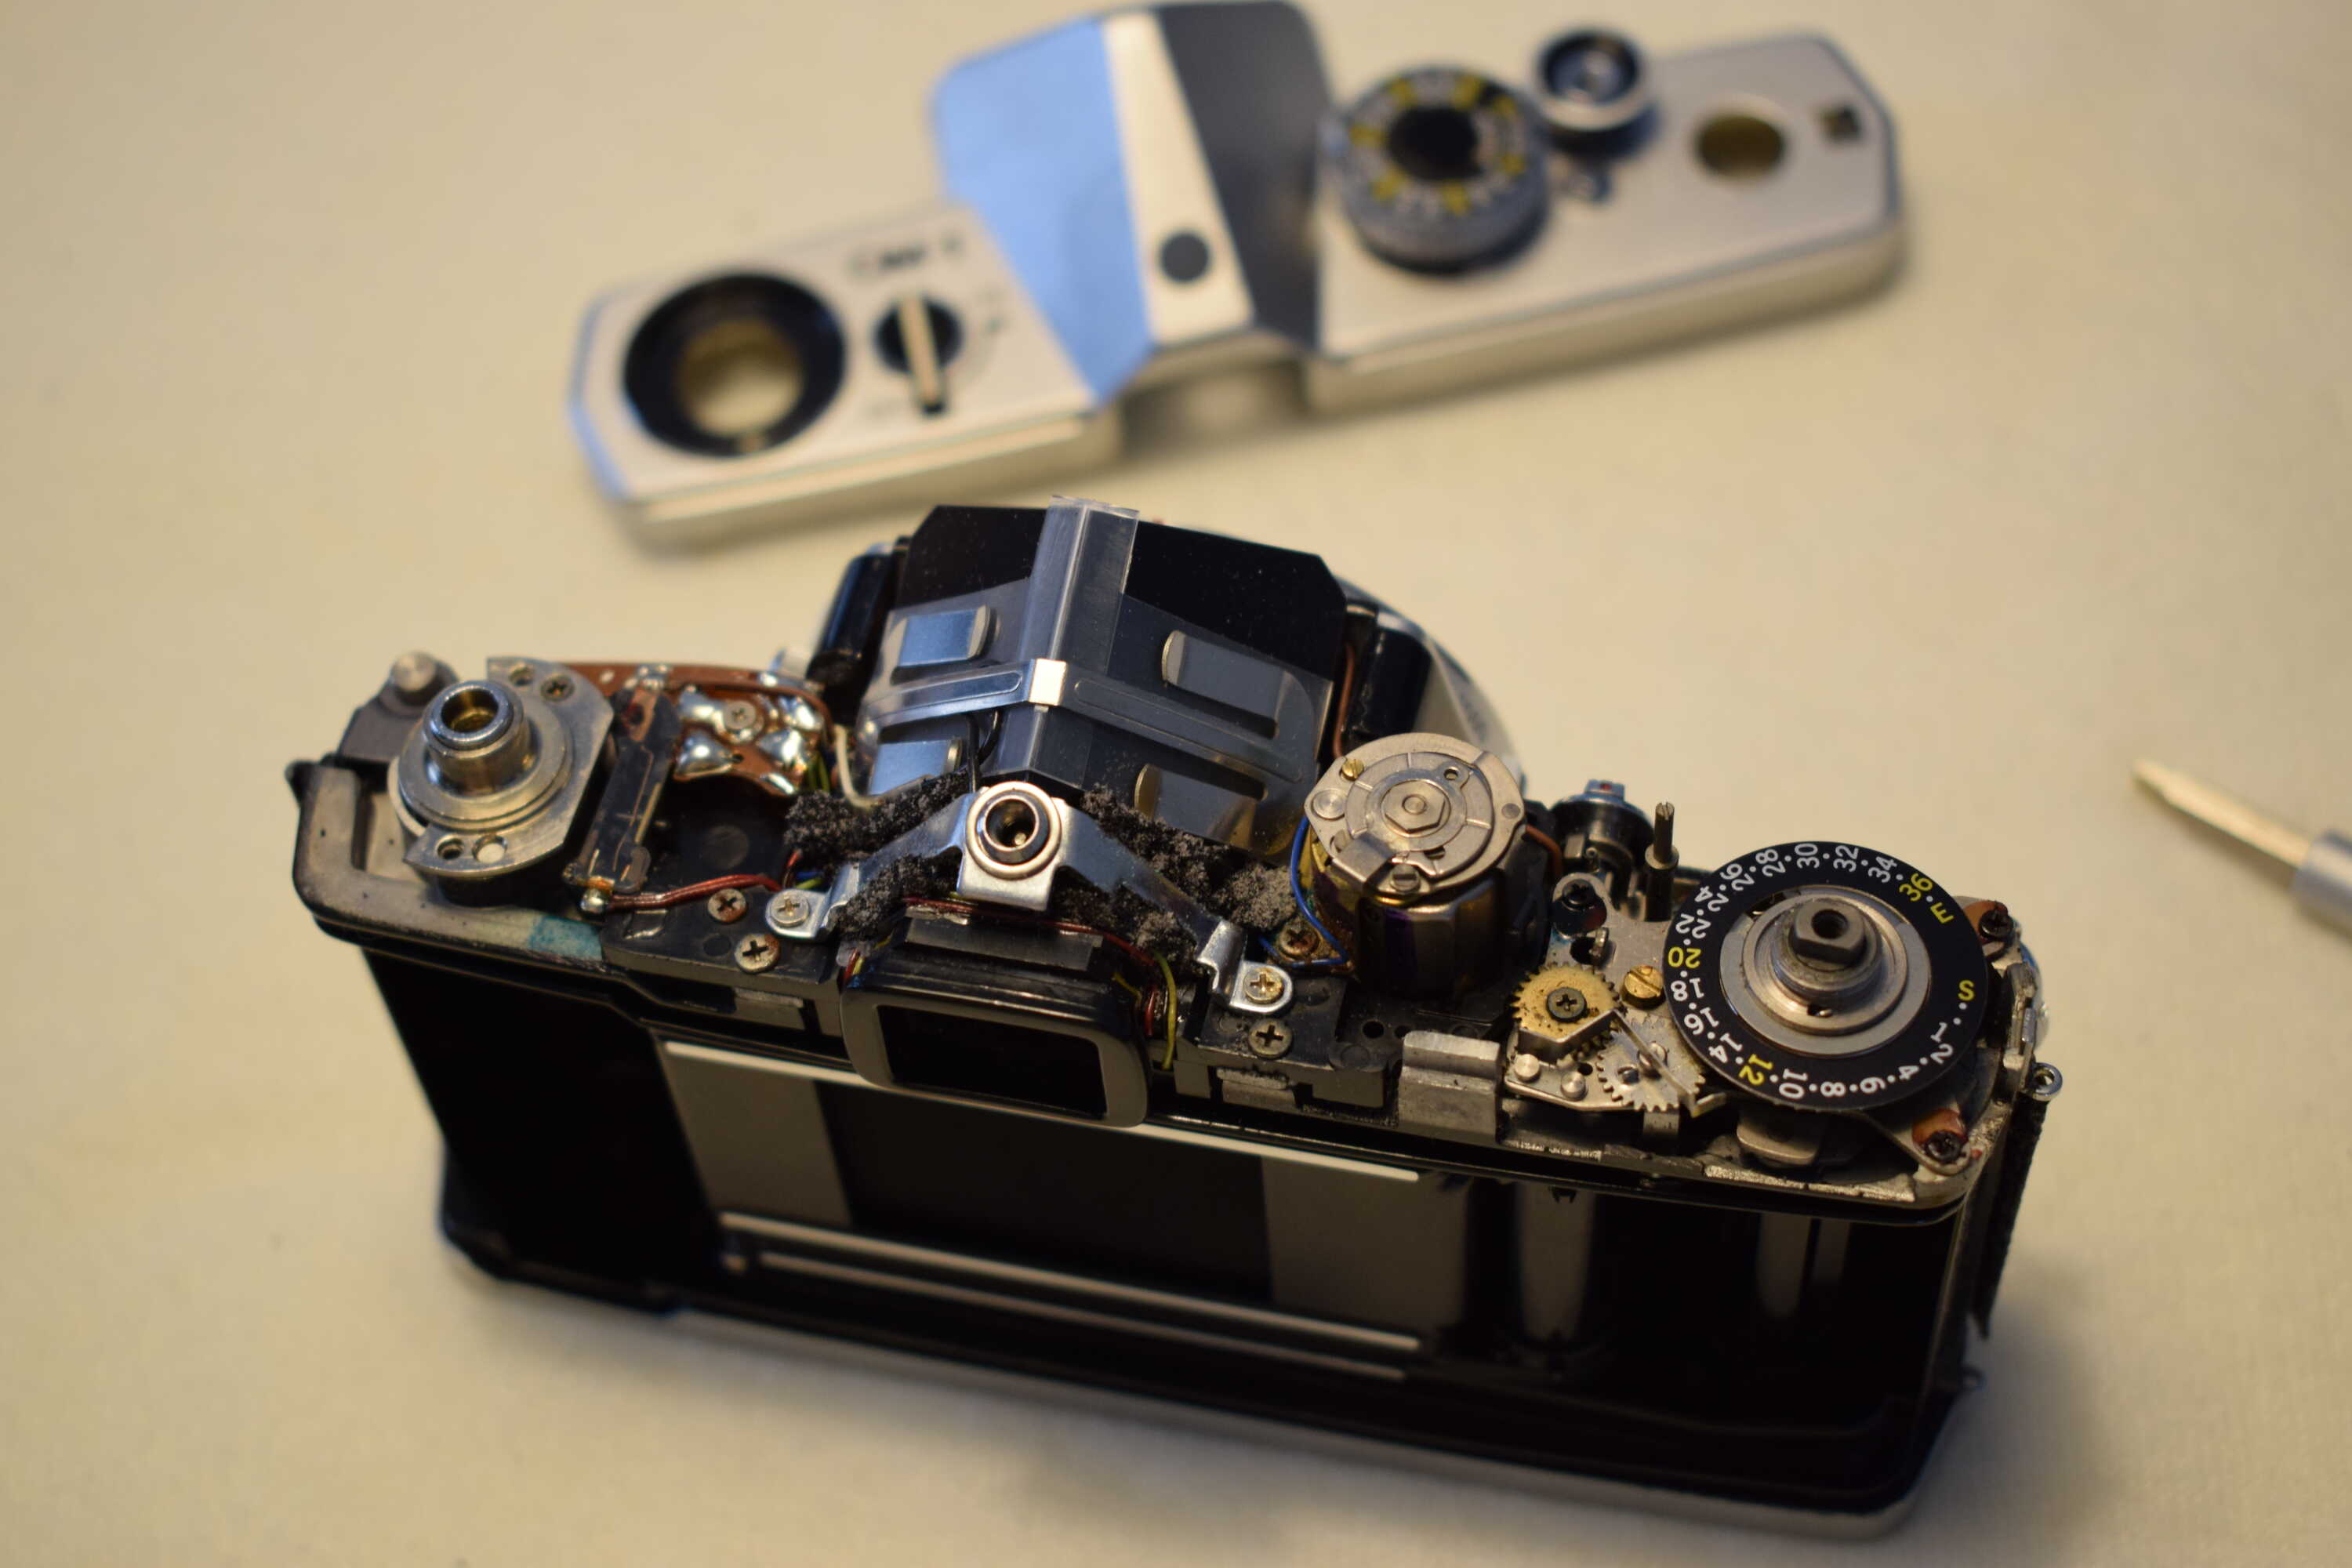
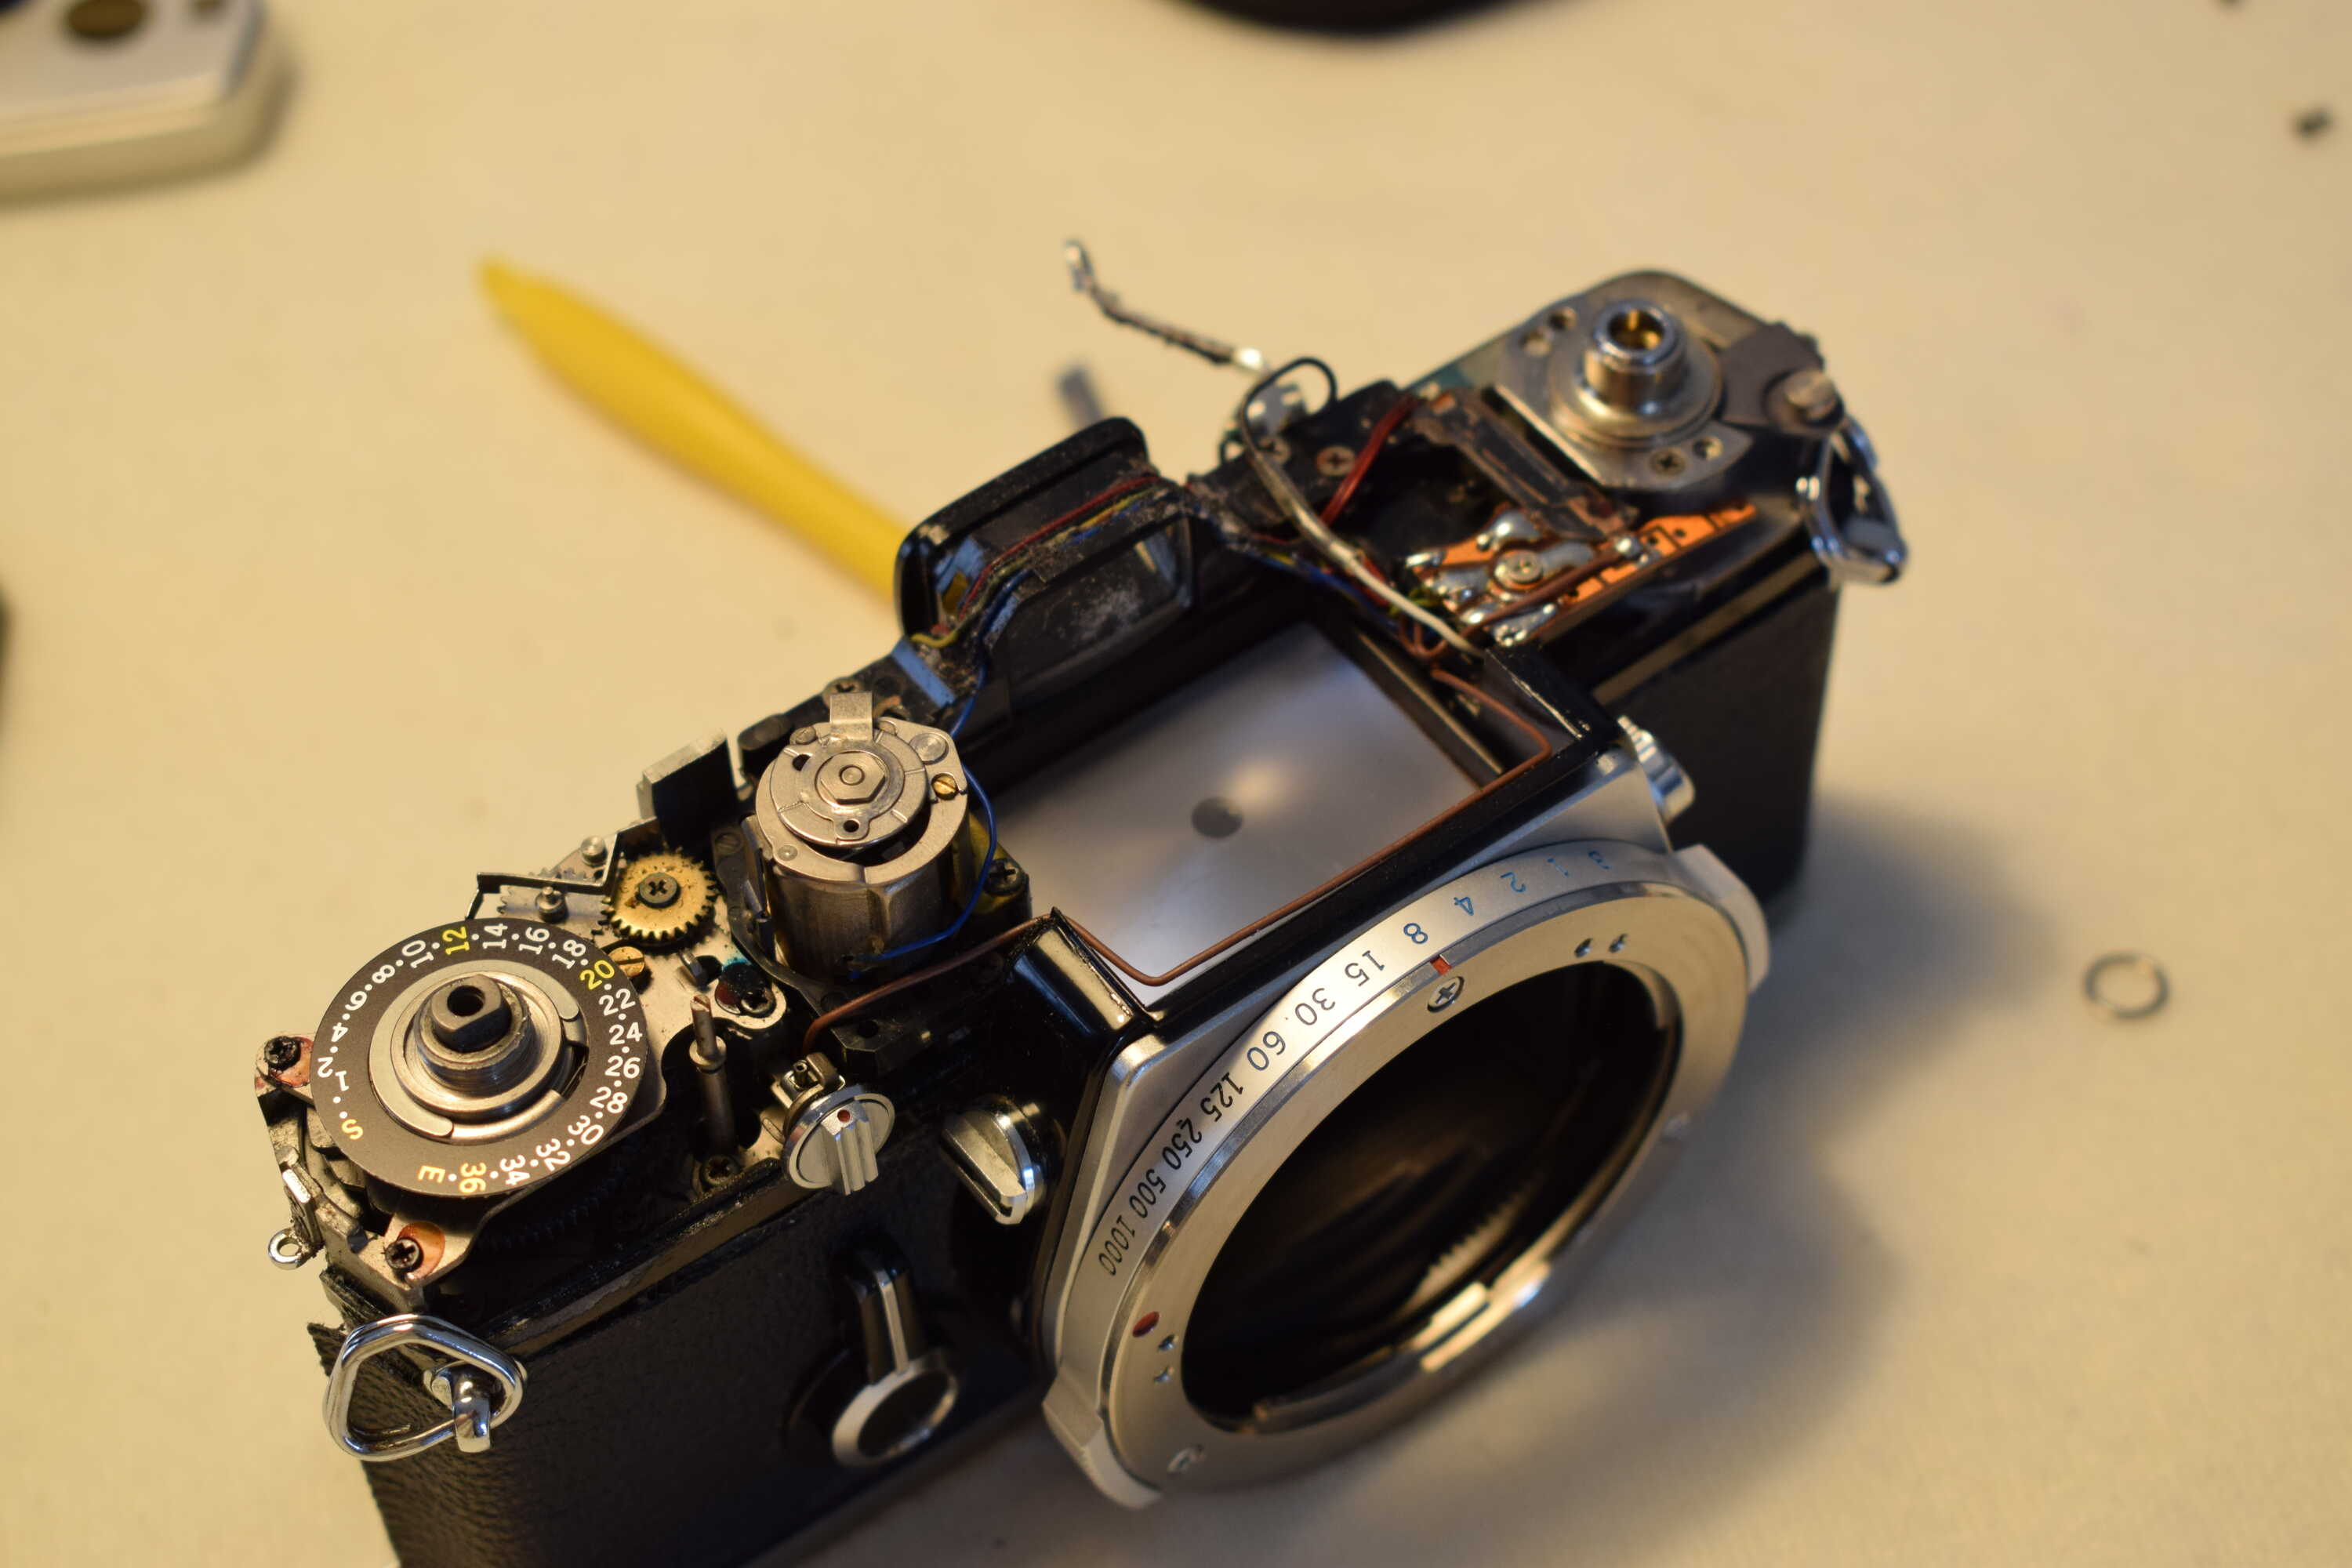
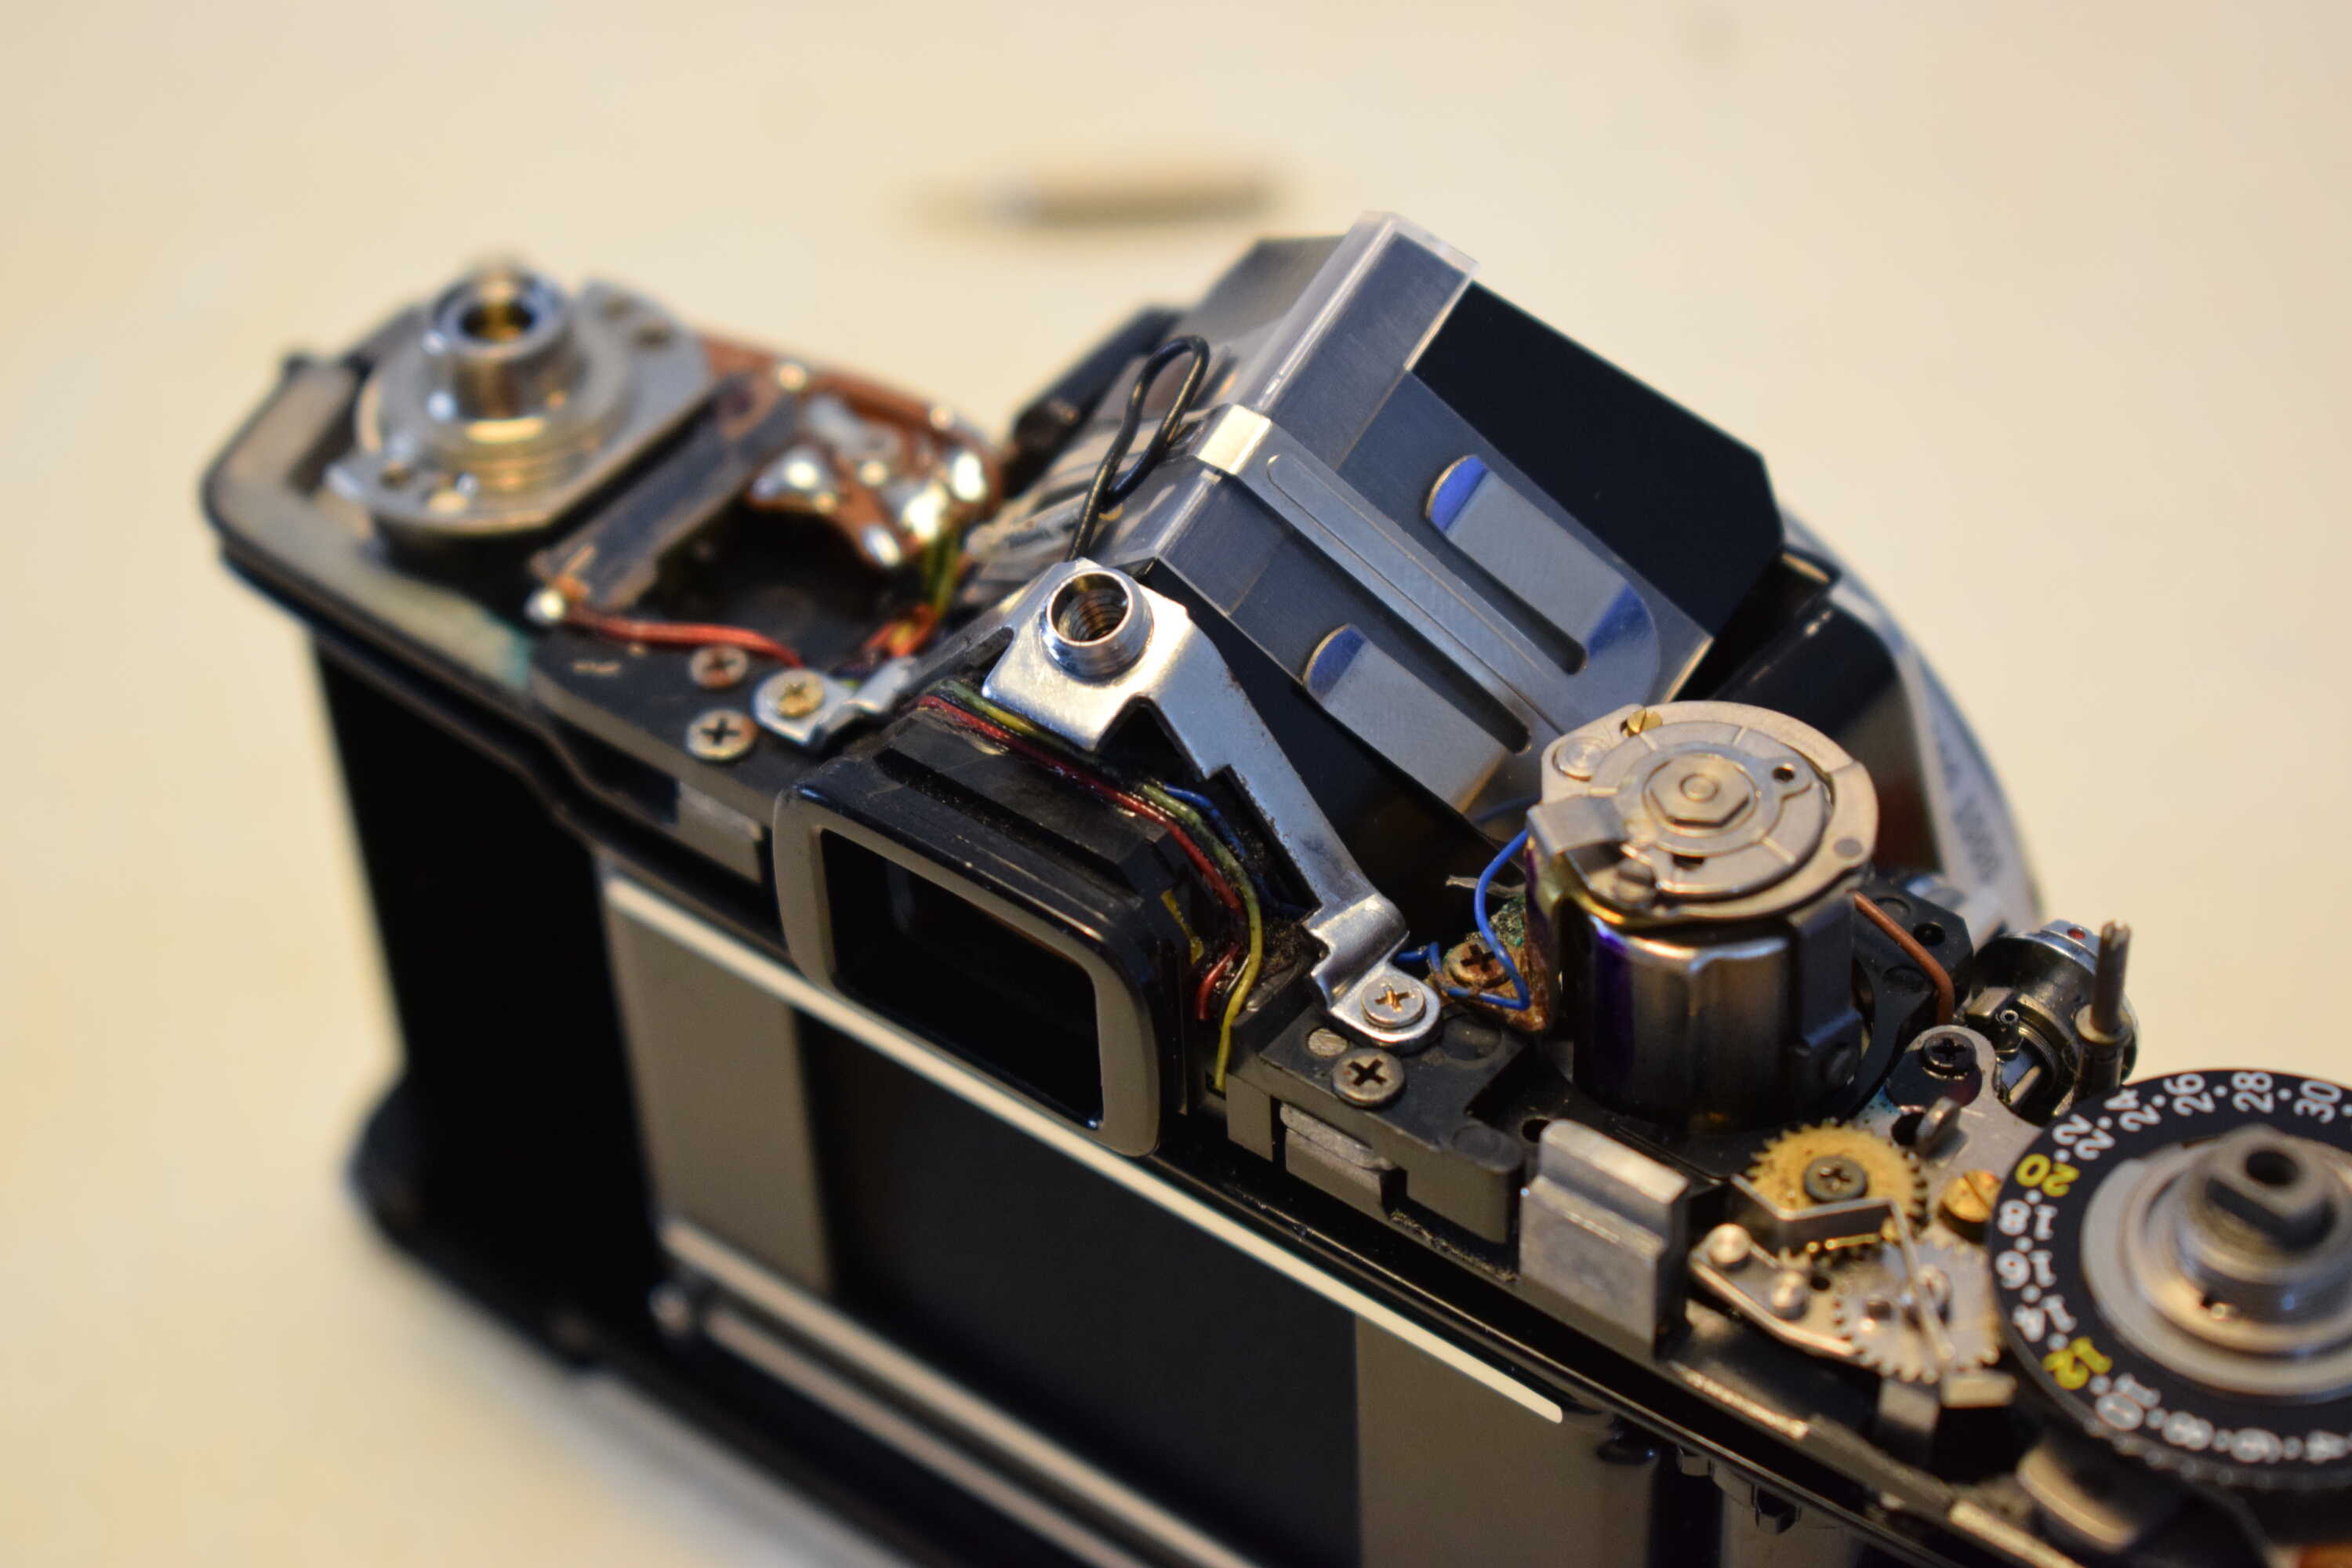
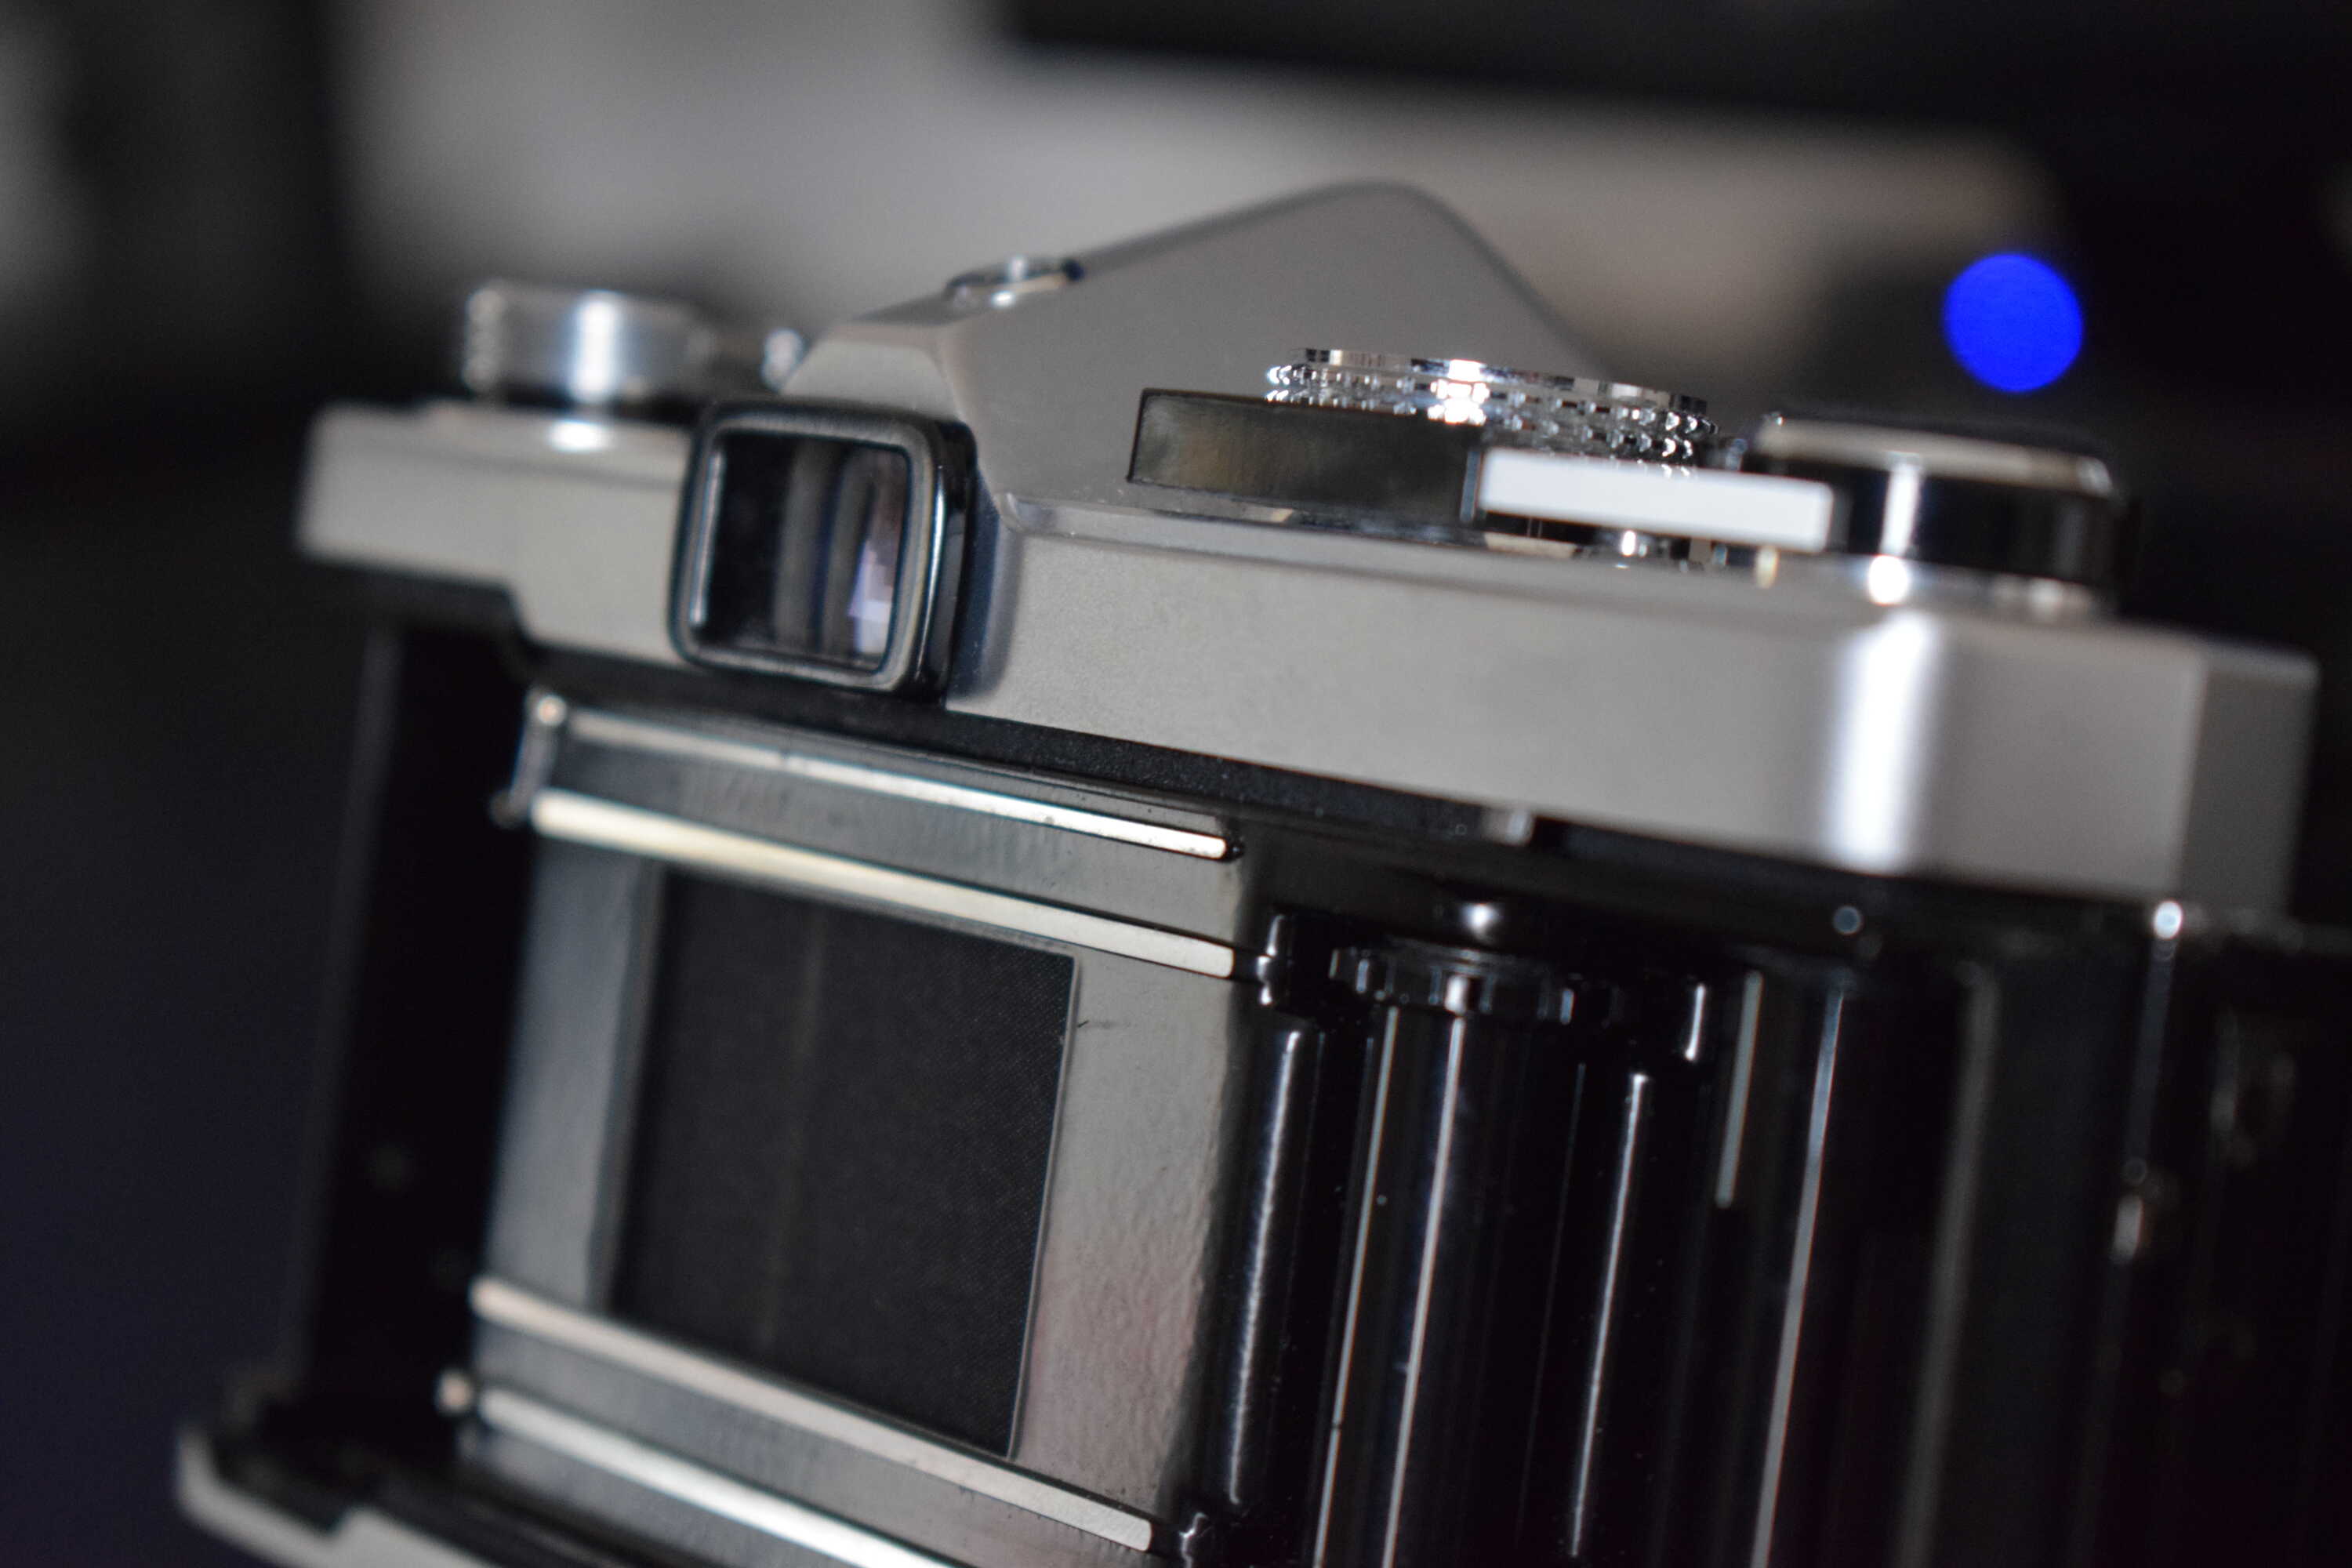
After using the lens spanner to unscrew the plate covering the film advancing lever(numbered disc on the right) and totally not scratching the shit out of it, and then using the lens spanner again to unscrew the plate under the lever, I was able to remove it. Next the film rewinding lever needed to be removed(far left), which came off easily. After, the little screw holding in the hot shoe(middle) was removed, and the whole top assembly of the camera was able to be lifted off from the body.
Here we can get a better view of the toxic foam. Very nice and toxic looking.
After unscrewing the bracket holding the prism in place, it was able to be carefully lifted out while avoiding to break the fairly delicate wires lining the internals of the camera. Looks really cool I think!
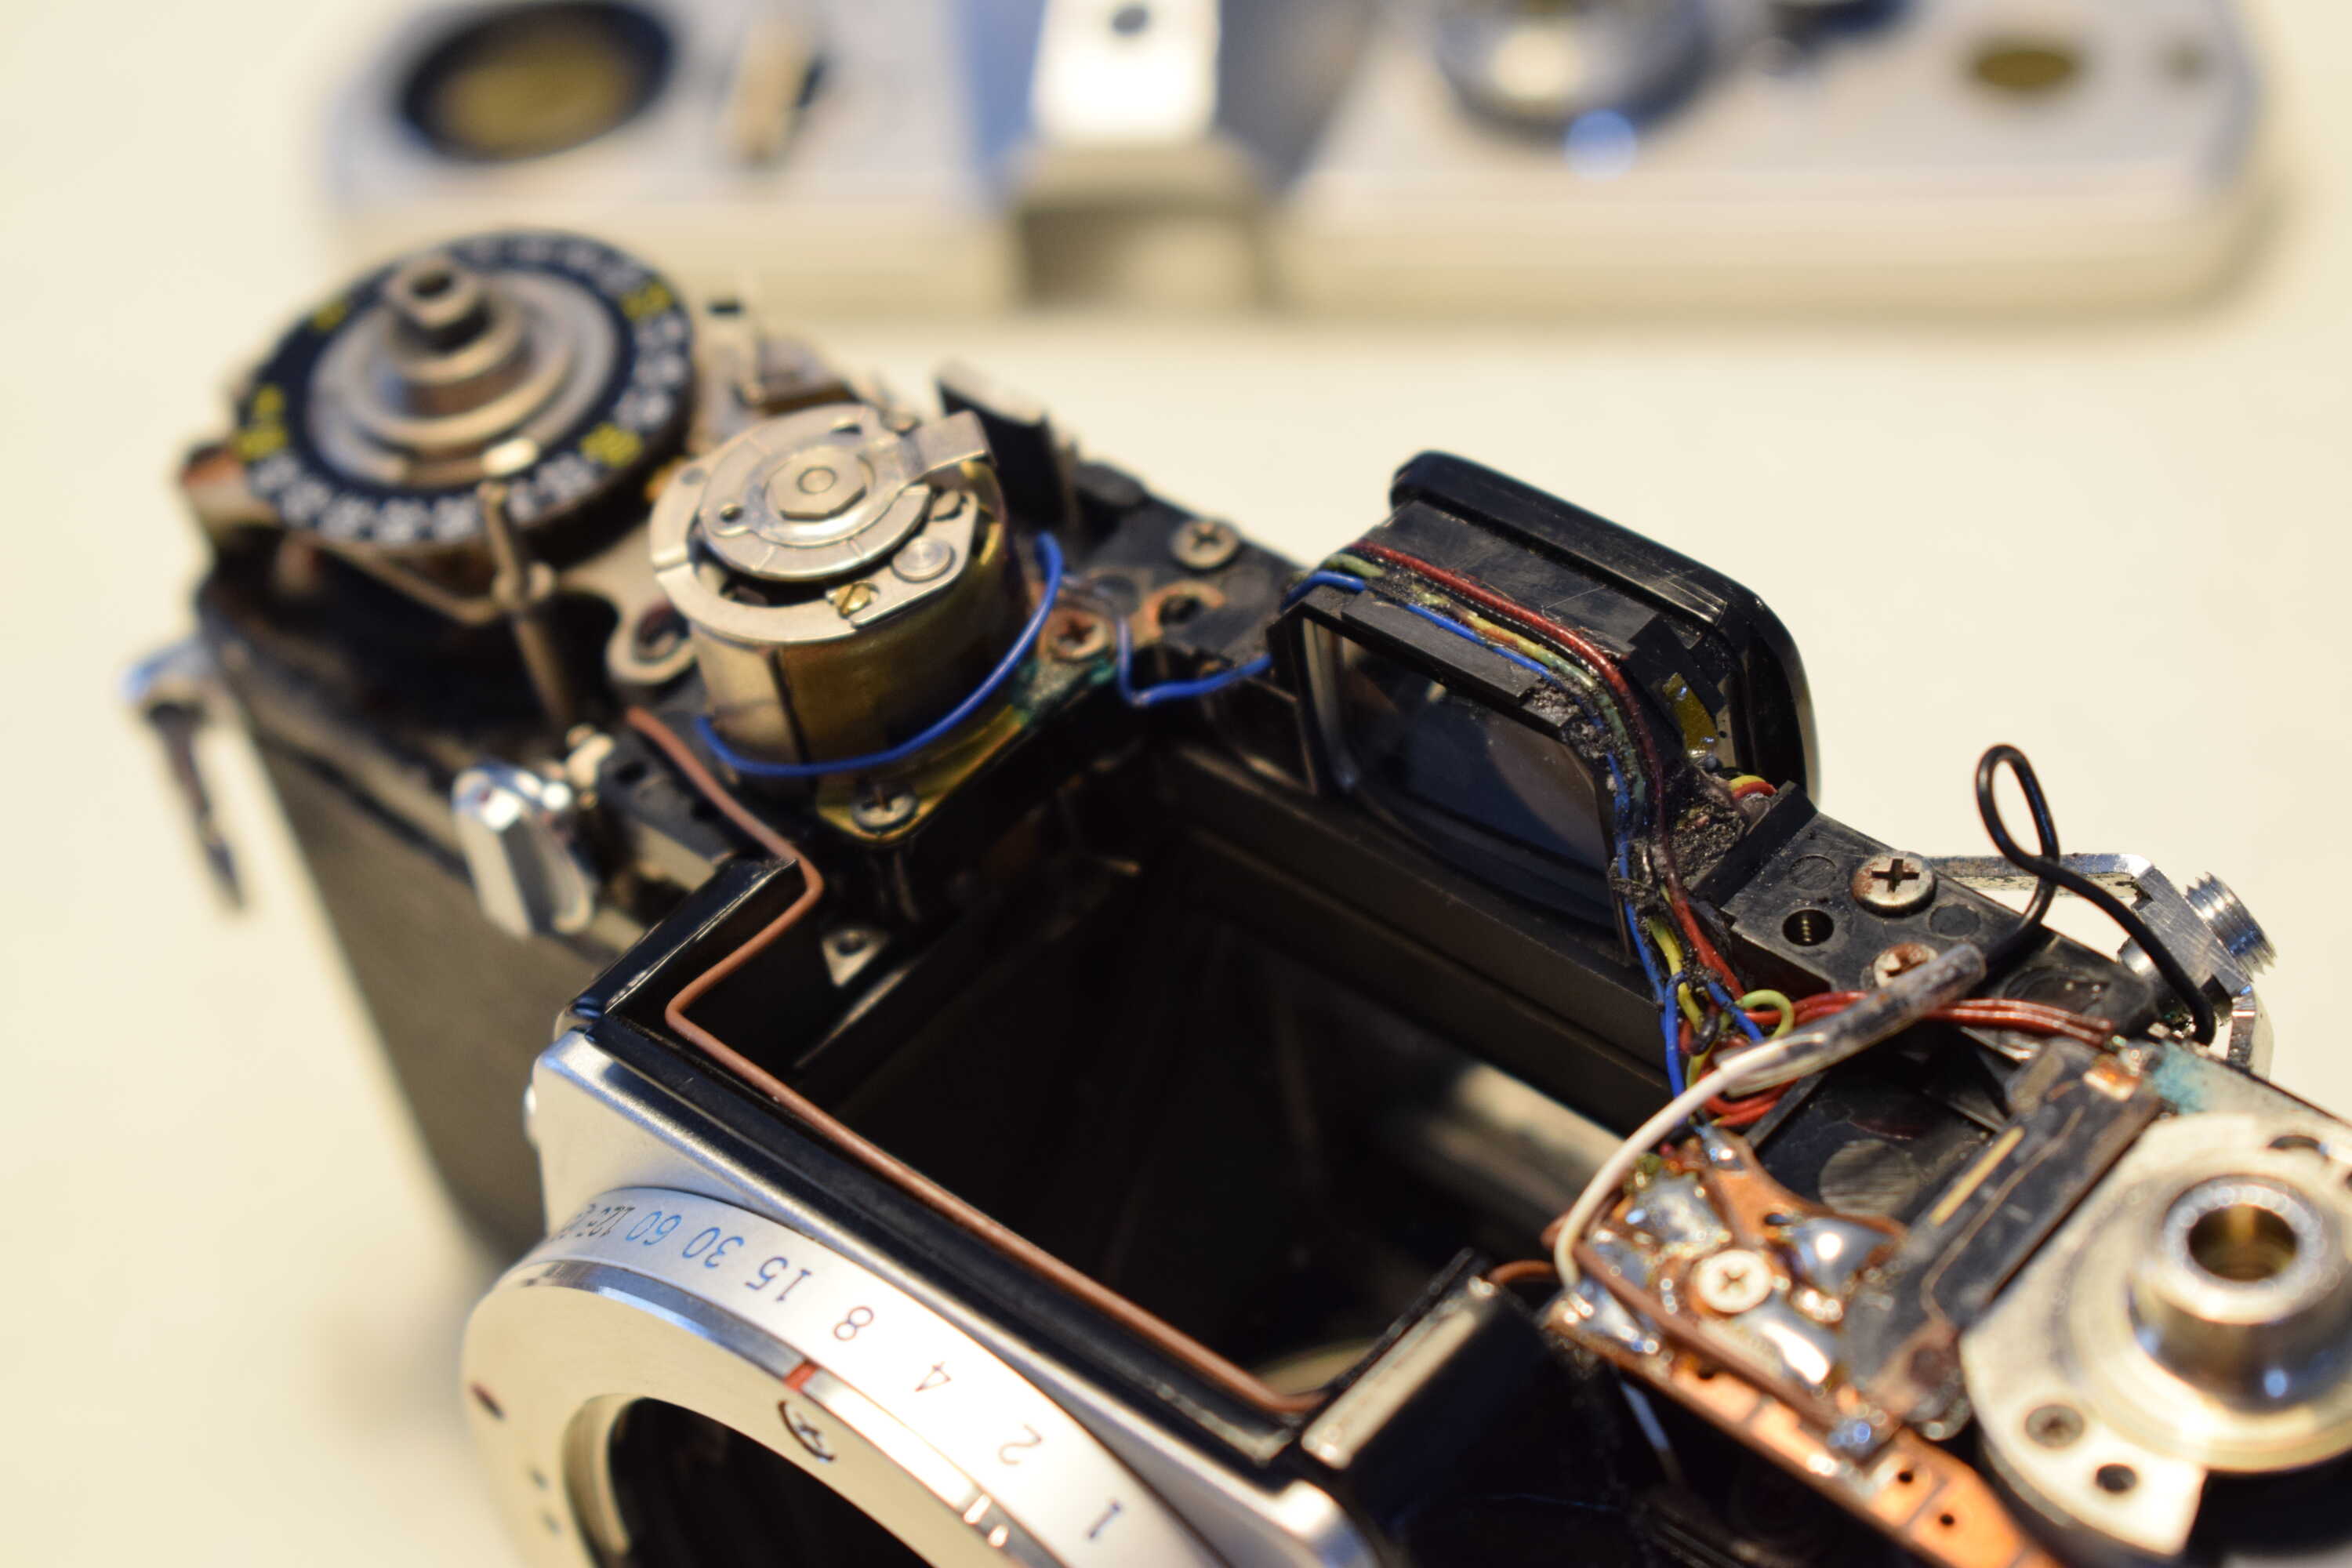
Most of the foam cleaned out of the camera body. Some residue still left but I didn’t want to risk damaging the wires more, so a tiny bit stayed. Very interesting how tightly they managed to press all of these wires in here.
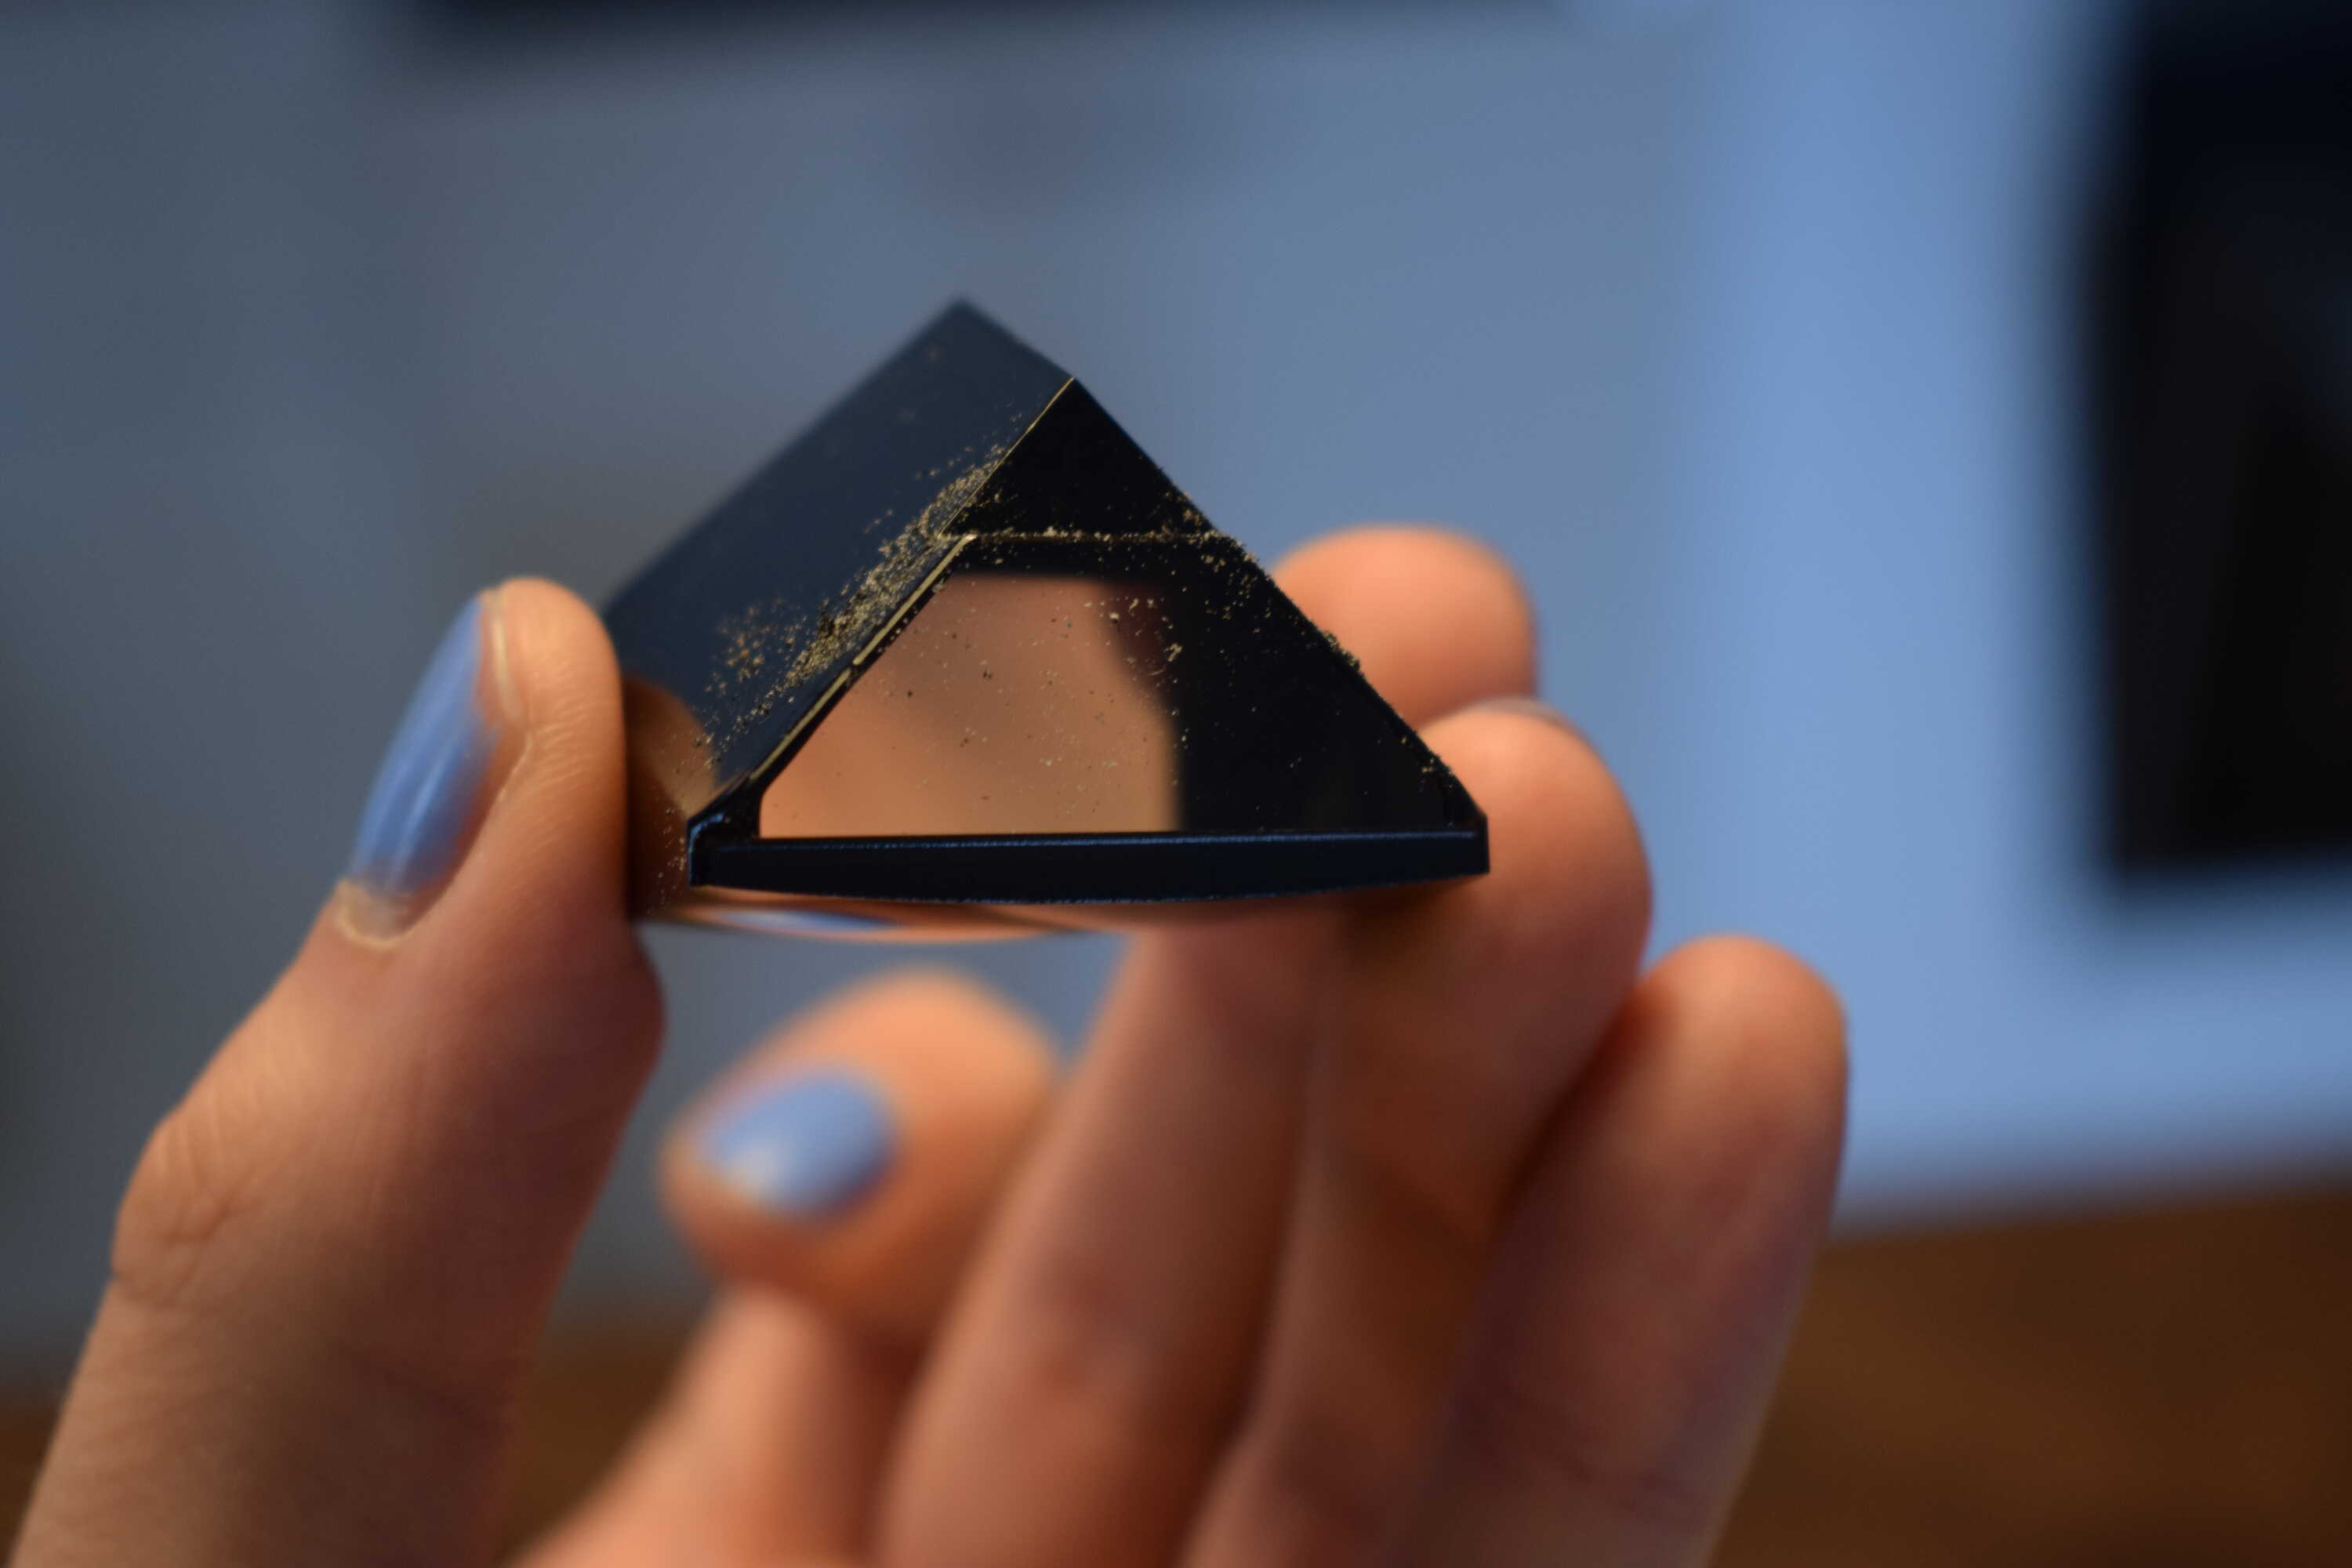
The stuff on the viewfinder glass was able to be simply wiped off, with no trace left on the glass. That was a real relief since replacing that glass seems like it would have been a real pain in the ass. Big win.
Now for the prism. I was a little nervous that it was going to be really damaged, I didn’t really want to buy a replacement since they are sort of expensive. Around €40-€50 for a good one.
It was of course covered in the now dry dusty previously goo-y toxic foam. But there wasn’t a trace of damage on it! After just wiping it off with a microfiber cloth it was perfect. I have no idea how it wasn’t damaged after that stuff had been eating at it for 50 years, but ill take the win.
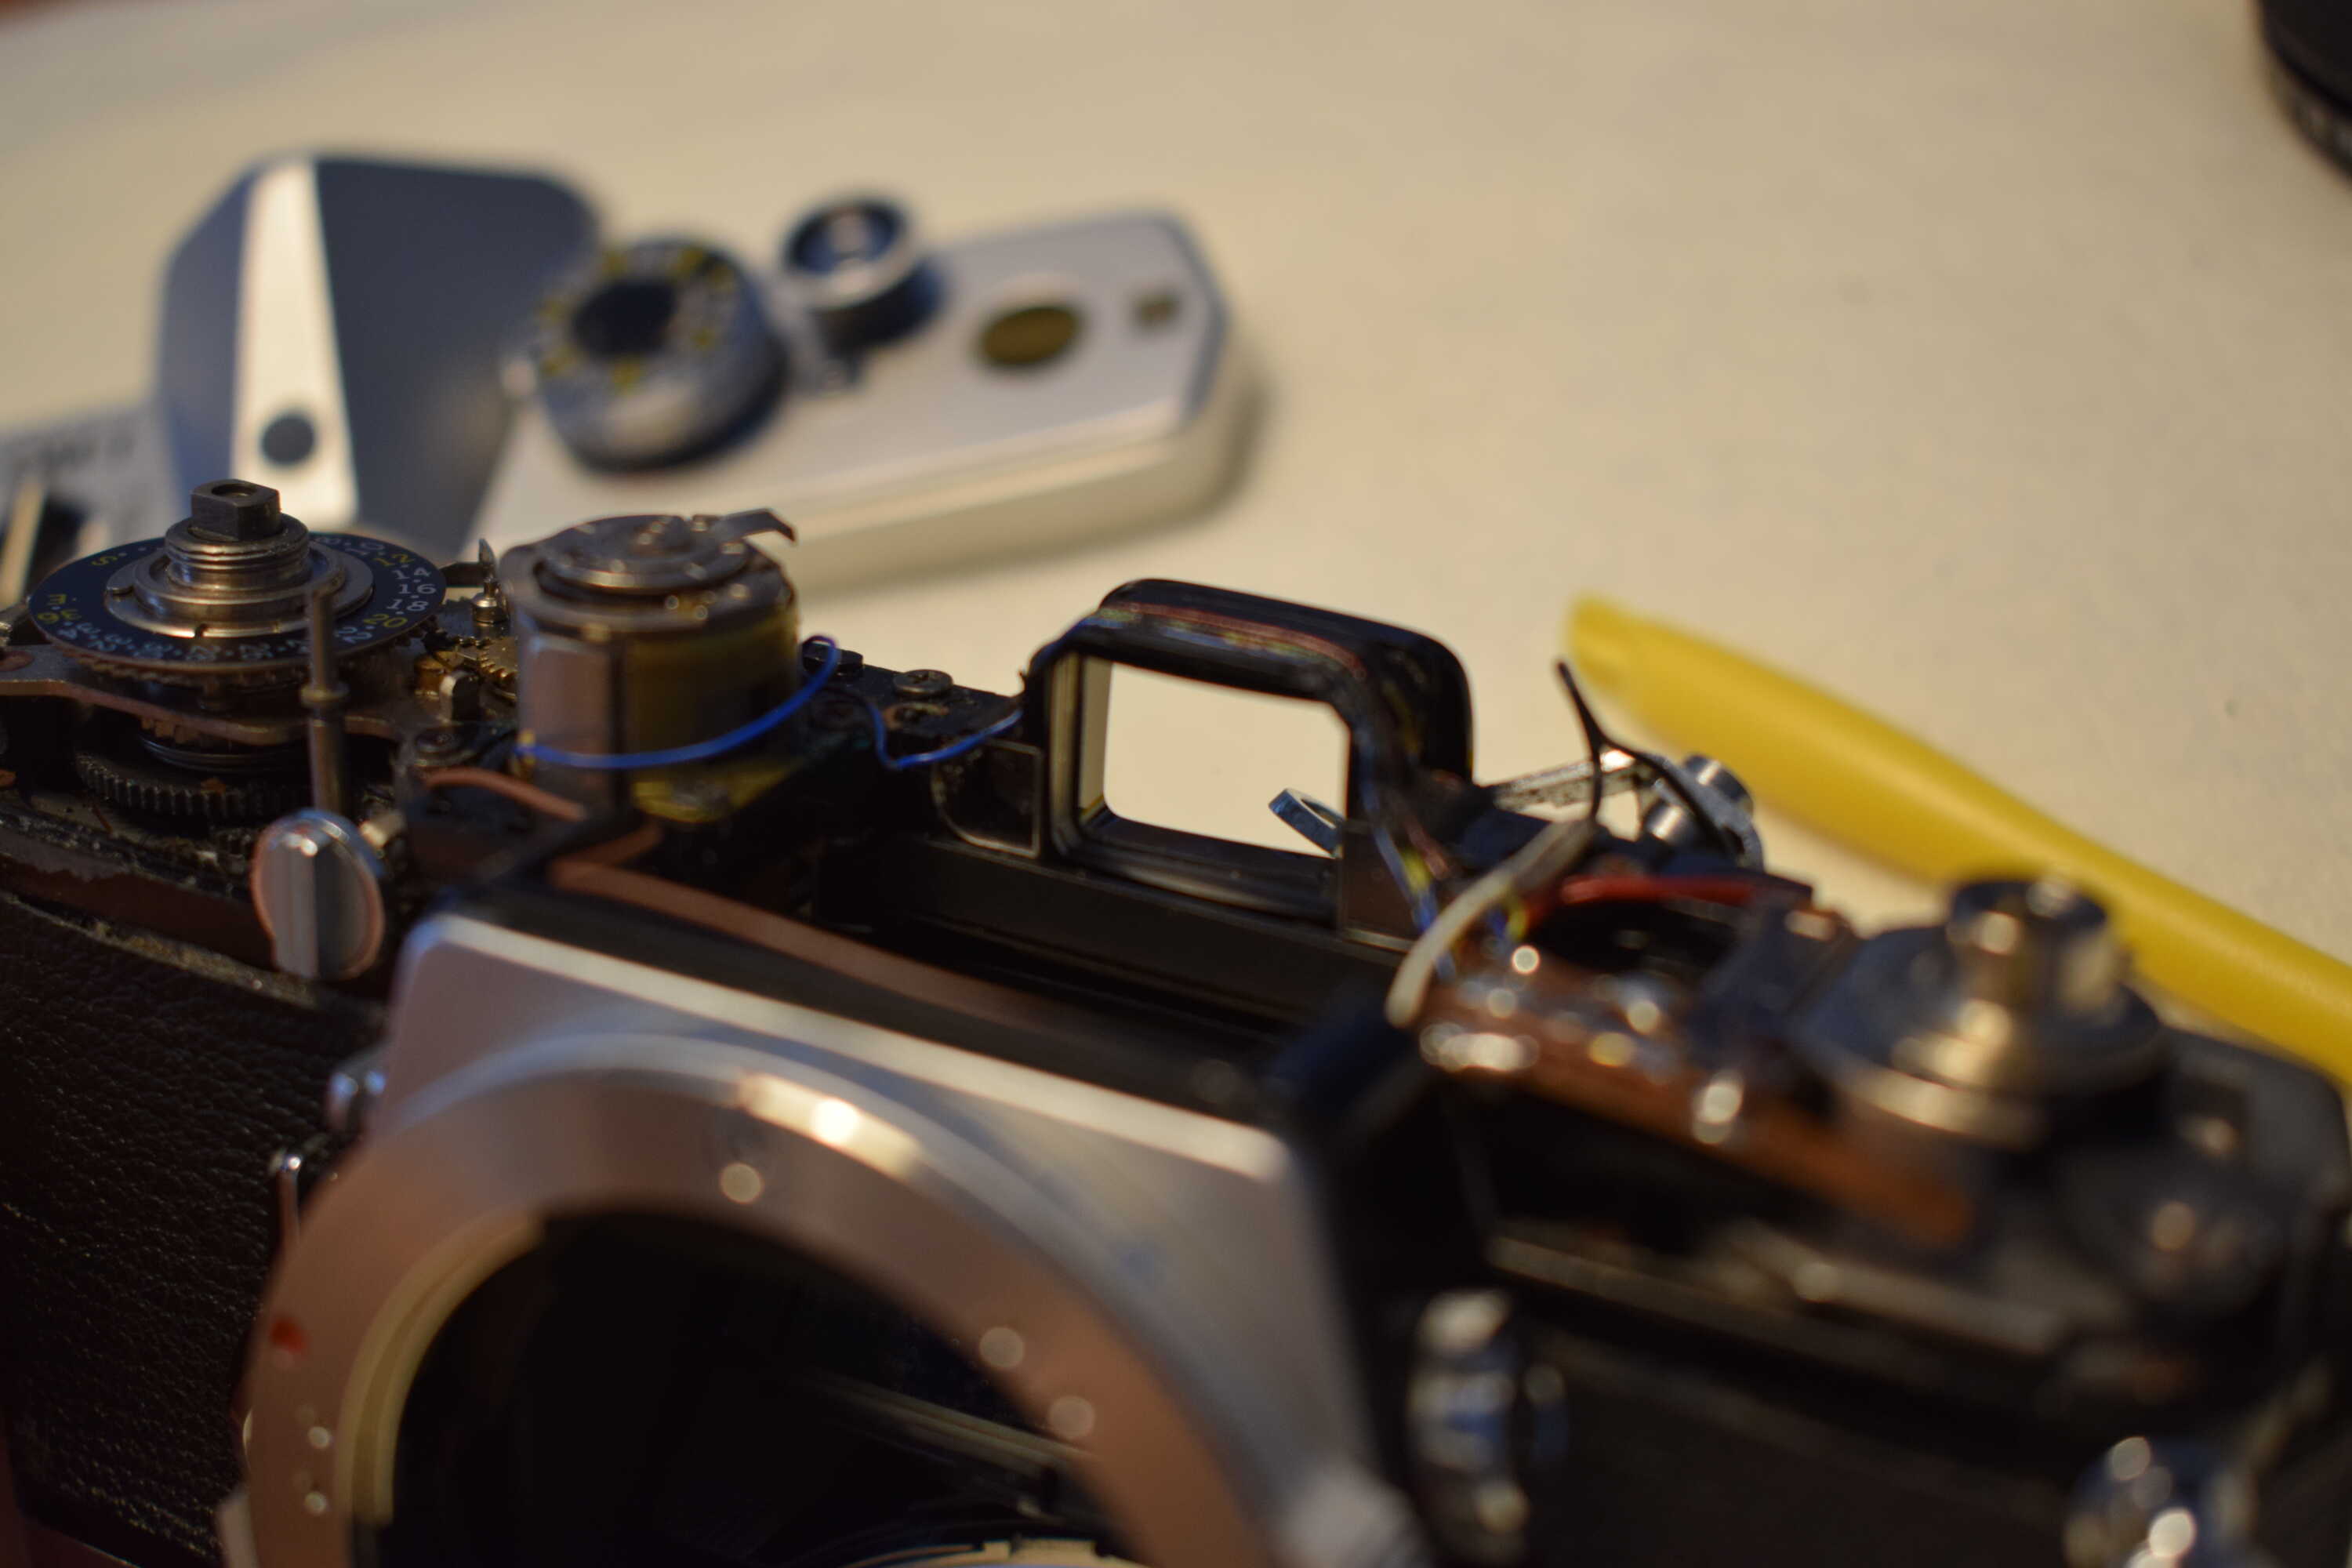
After another wipe down, the prism was aligned and screwed back in. It turns out that Olympus stopped putting the foam into these cameras because it was completely useless, shockingly. It was never needed for light isolation, and it didn’t protect the prism at all in case of impact. Only these first OM-1 models manufactured around 1972 had it installed.
After putting the top assembly back on the body I noticed that the plastic ring over the film advancing lever had cracked. This caused an issue where the advancing lever was very hard to… lever. This kinda sucked because buying a new tiny little plastic ring from eBay+shipping wasn’t exactly what I wanted to do. After fiddling around with the positioning of the ring I was able to screw everything back on, and it hasn’t been an issue since. Only very slightly cosmetic, it’s barely noticeable with the top cover on.
I also opened up the bottom plate to clean out the mechanism and give it some slight lubrication. I however for some reason forgot to take pictures of it, probably because I stared at all the cogs in the mechanism turning and flipping levers for a solid hour. It’s by far the coolest part of the camera. Here’s a picture stolen from the internet.
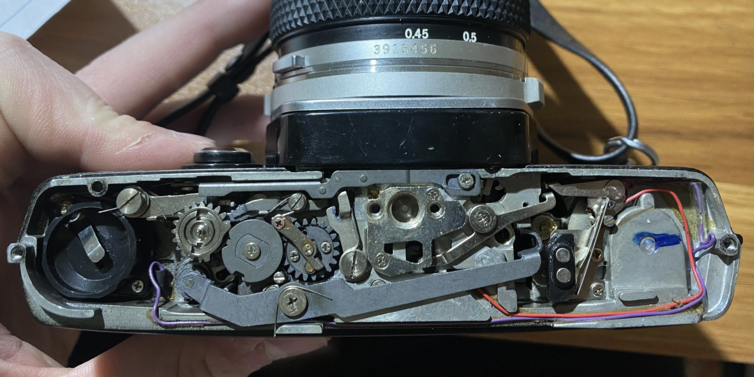 u/Lost-Operation9952 on Reddit
All of the mechanical aspects of the camera work perfectly, which I was very surprised about. The film advances smoothly, the shutter speed works without issues, shutter release works. Even the timer release works!
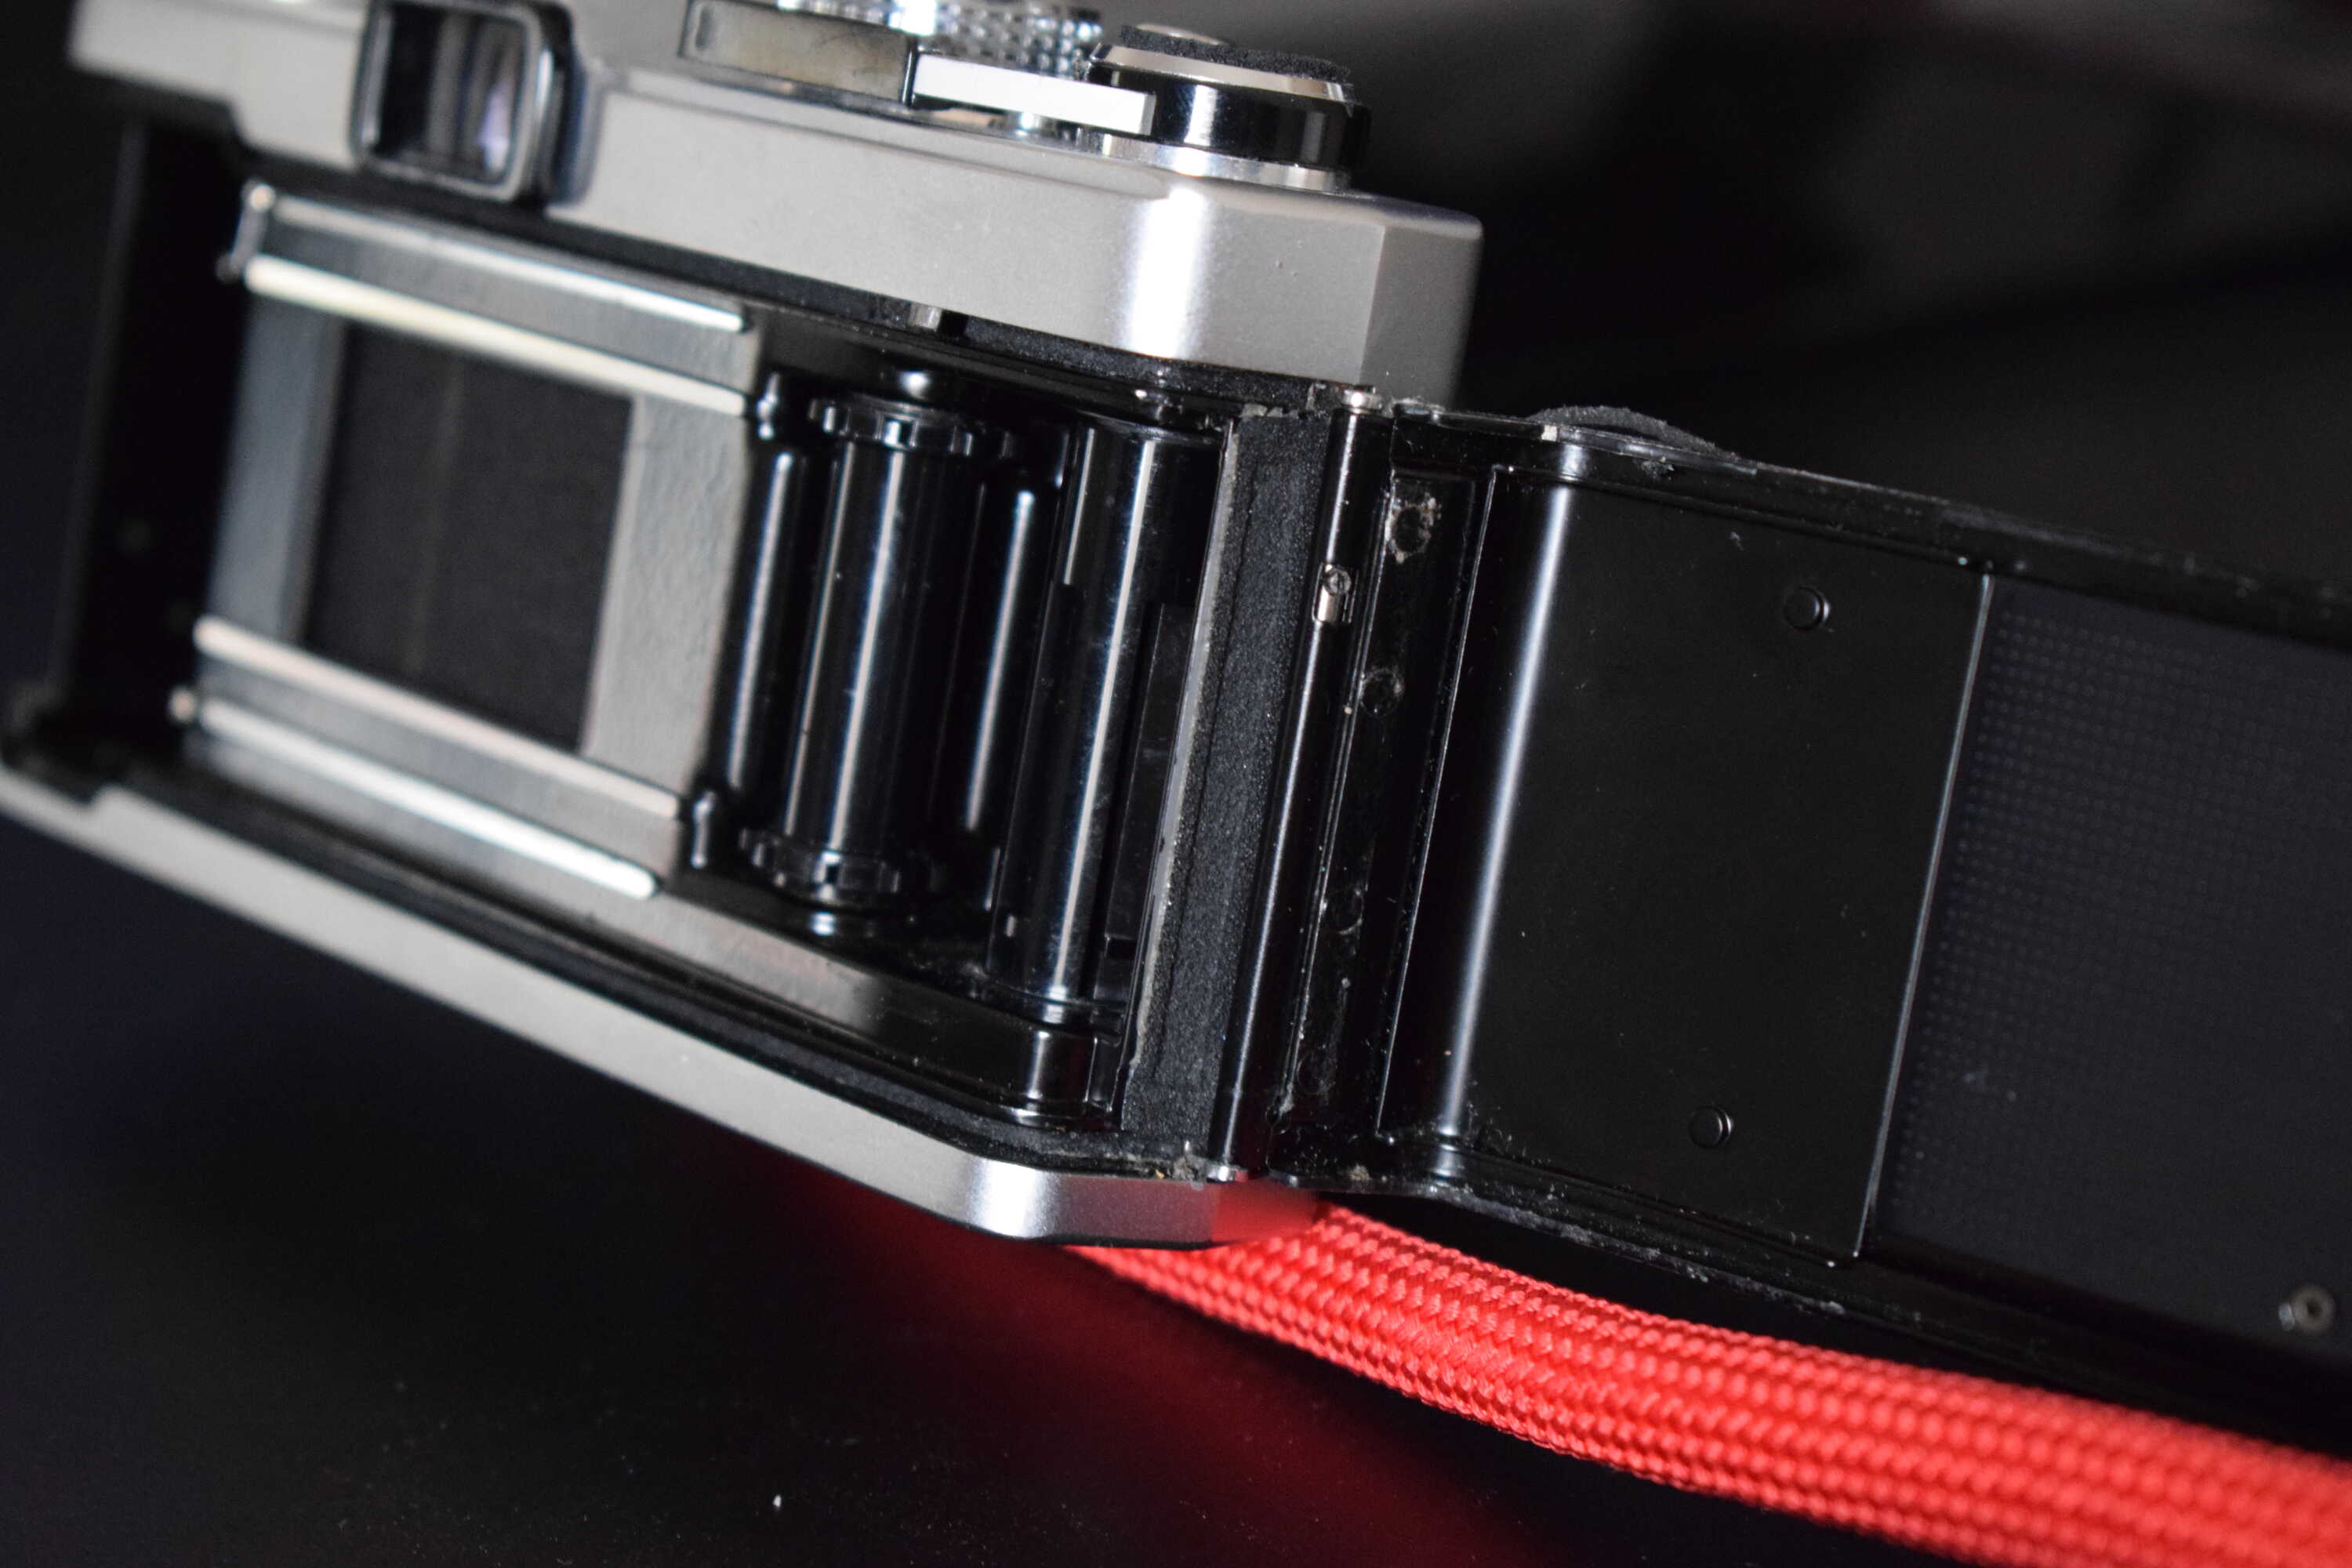
While we’re here I might as well talk about the Mercury battery. Compartment can be seen far left. As I said, the Mercury battery has not been sold since the middle ages. However, turns out people actually still use these cameras and I’m not as unique as I thought. There are replacement batteries you can just buy as a drop in replacement. They were cheap, so I bought one. It dropped in and worked with no problems. Well, no problems except that the light sensor seemed to be doing the reverse of what it was supposed to be doing. More light was telling the sensor it was too dark. I thought the sensor might be broken, which sort of really bummed me out for a moment, until I looked at the battery and realized it was backwards. The revered polarity of the battery, instead of making things not work at all like in modern electronics, made it work in reverse. Funny little 70’s electronics quirk. The sensor works without issues. User was problem.
Next, the most time consuming job of the whole project. Replacing the leather. I started with the backplate since it was the easiest, and yet it was a pain in the ass. The leather is attached with the stickiest substance I have ever encountered. I COULD NOT pull it off the backplate like I thought I would be able to. Instead I used a precision knife to slowly cut away at the sticky substance while pulling on the leather. Eventually it was all off and leaving the sticky substance all over the backplate. I tried several methods of removing it, including isopropyl alcohol, multiple oils, dish soap to name a few. None really worked that well and what did work was just going at it rubbing until it was gone. Eventually I had a nice clean backplate.
For the left side of the camera body I had to remove the timed shutter release lever using the lens spanner. After that was removed it was the same process again. Except this time much more difficult. This side, took AGES, and in the end it still looked pretty bad and was still a bit sticky. It was good enough, I just could not bring myself to make it look better when I was going to cover it with new leather anyway. Moving on.
The right side was much easier. While removing this side I made an effort to go slowly and cut away the adhesive as cleanly as I could. That method worked really well. Afterwards some isopropyl alcohol was able to easily remove remaining residue.
Time for a new coat of paint. Instead of the same old boring black leather I decided to go with a red one. I bought a precut leather kit from from a person I found on Etsy. It came on very nicely, no issues what so ever. Started with the backplate.
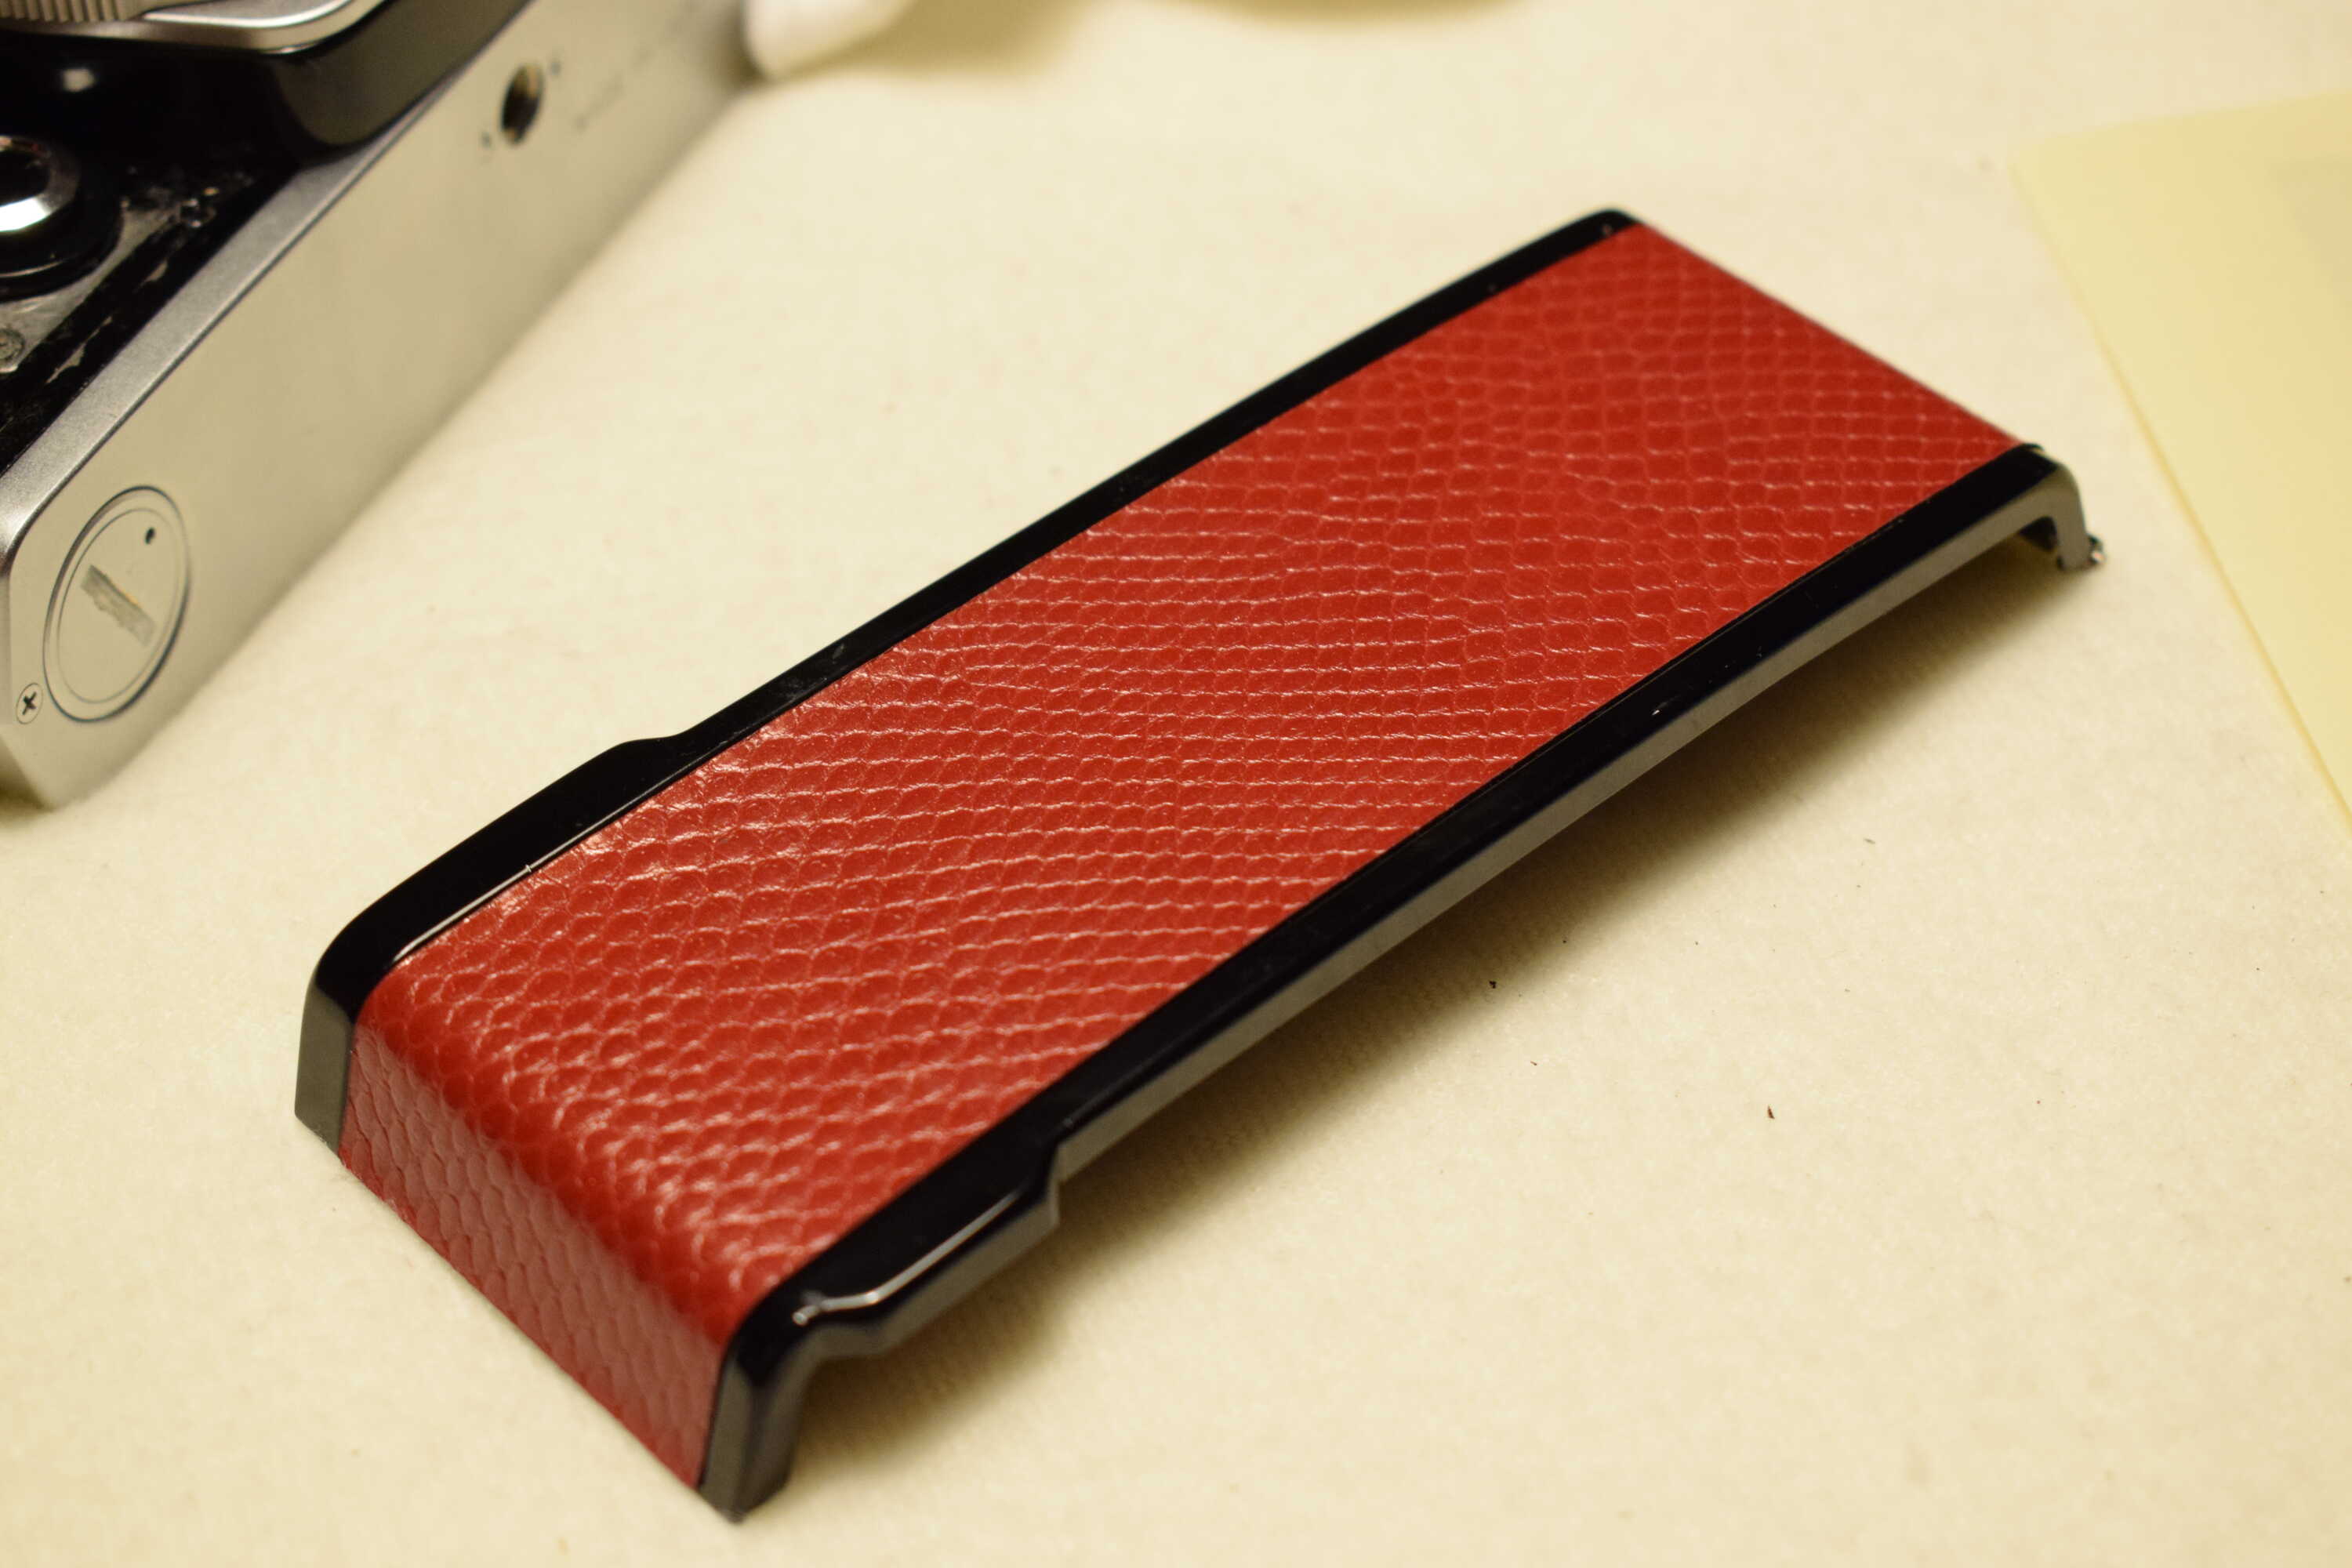
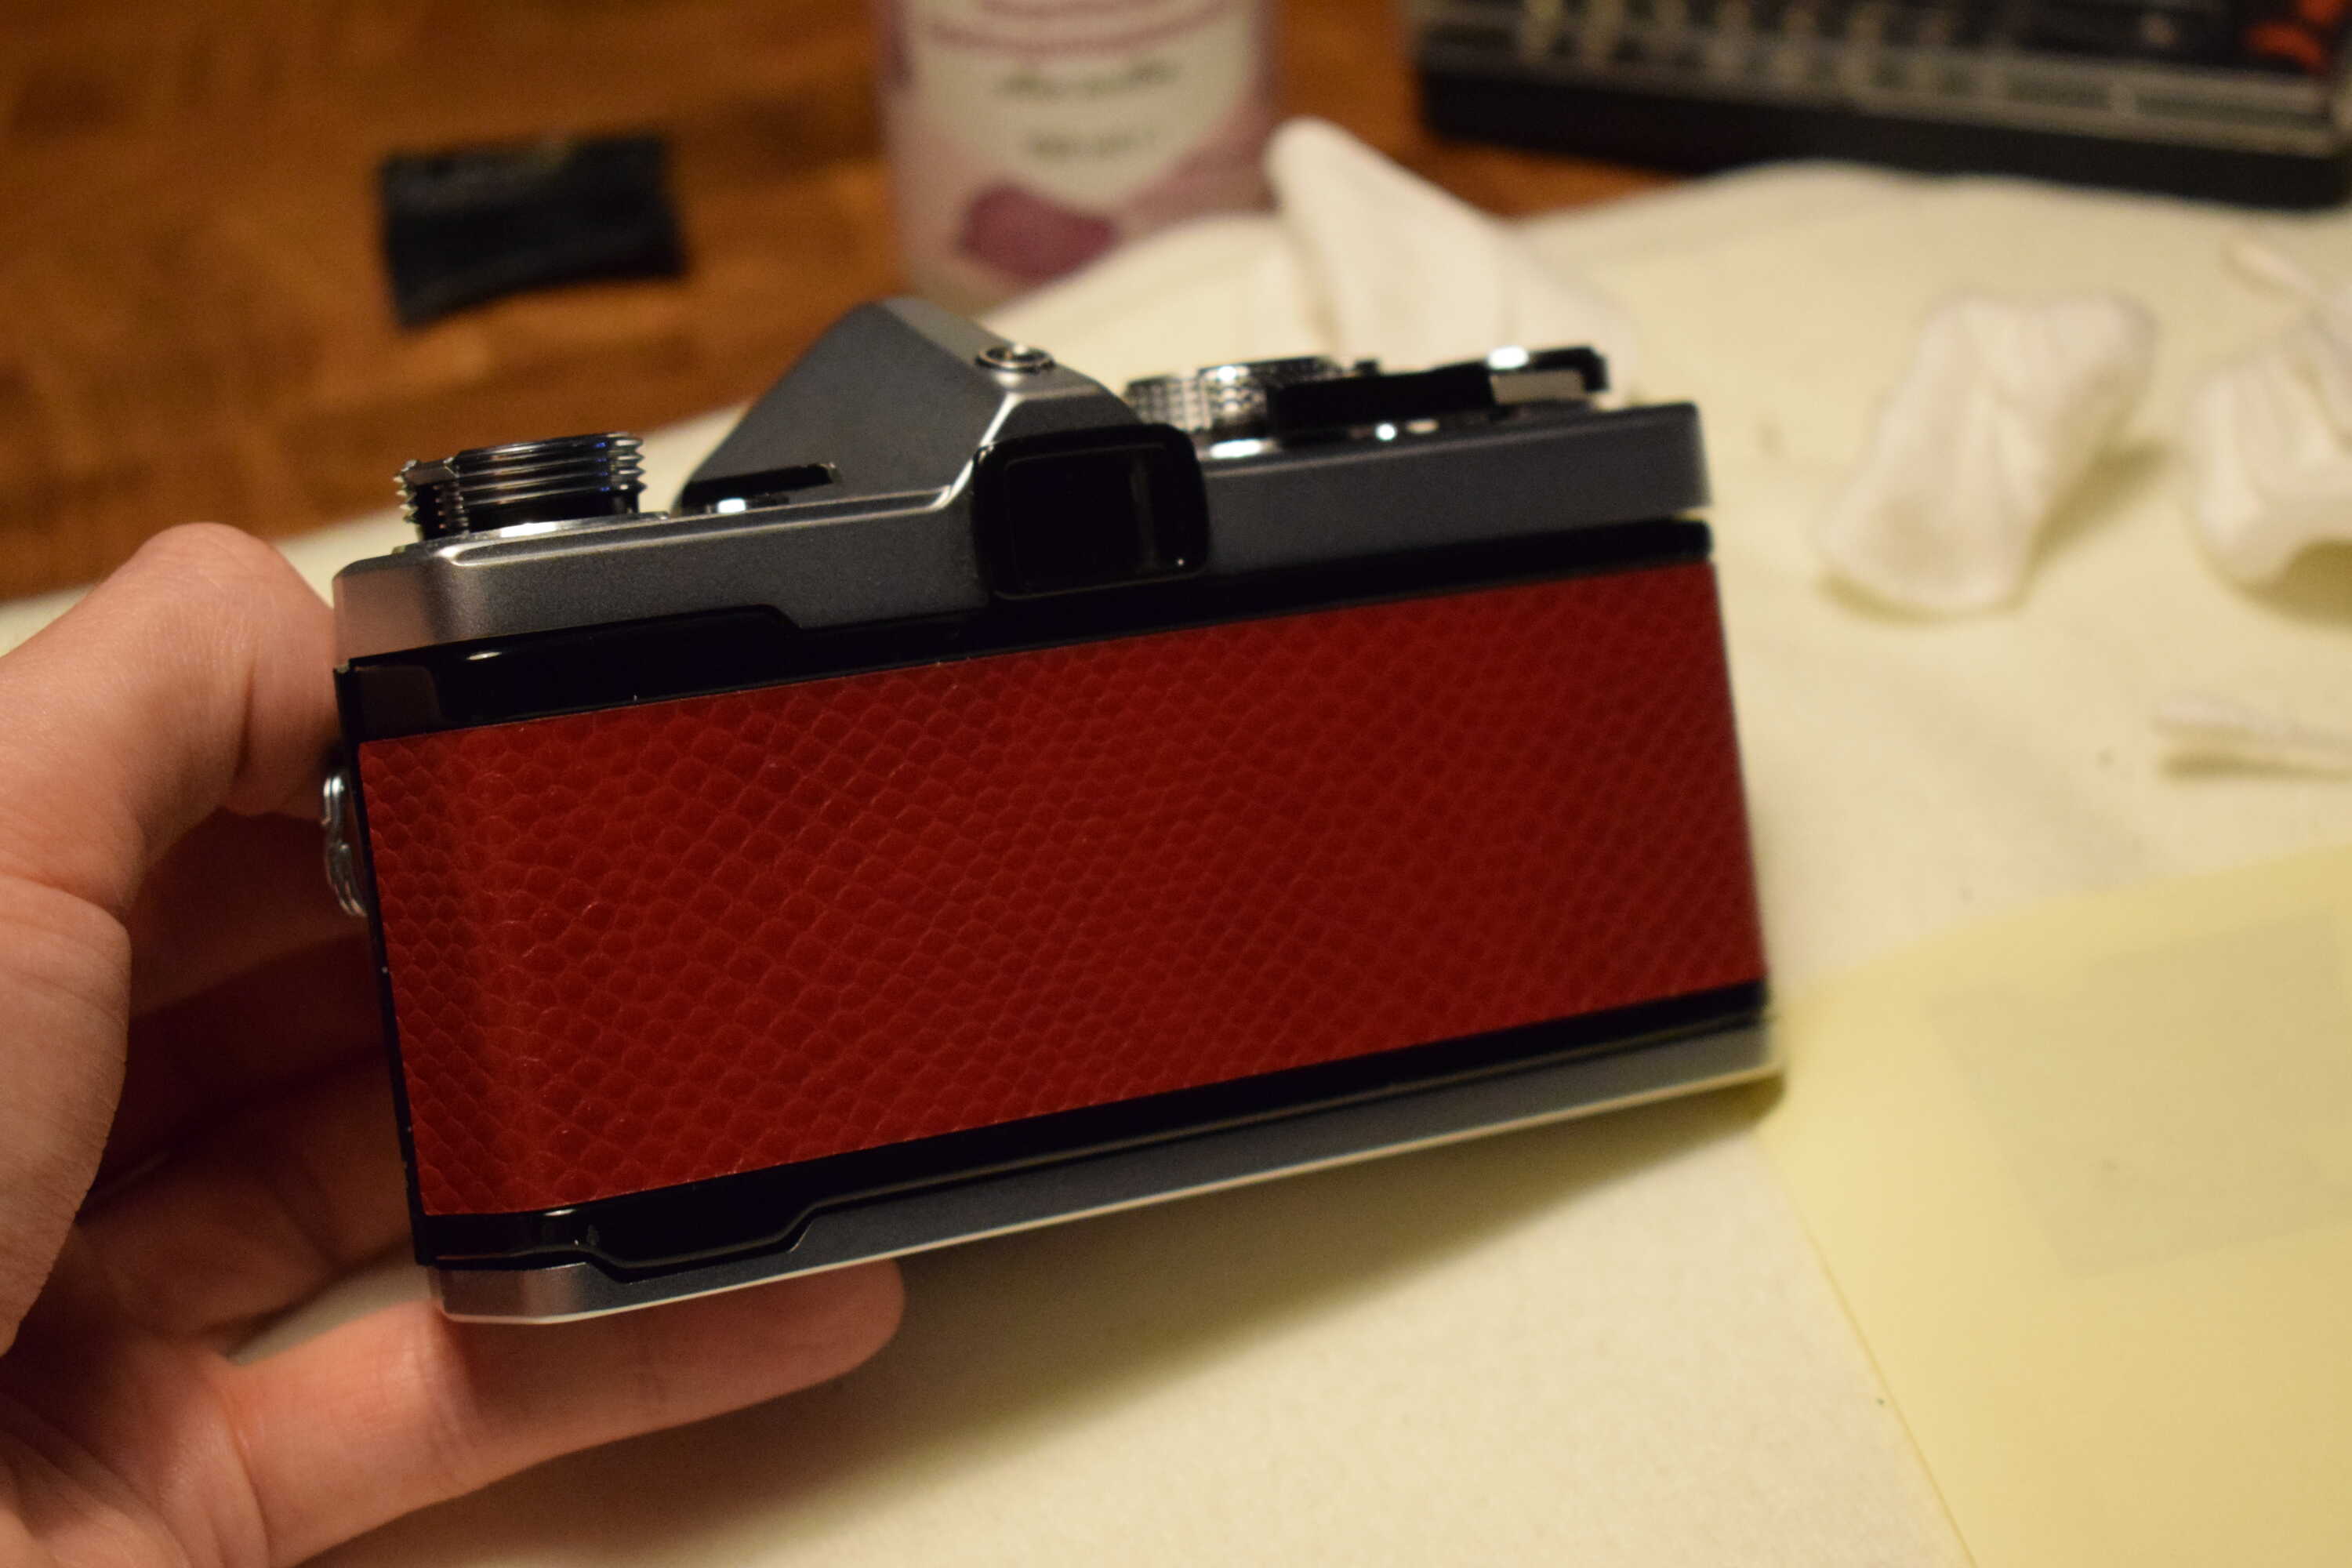
And then the rest of the camera. Looking really nice!
The final step was to replace all the old crusty light isolation foam. The foam used for the light isolation is the same foam that was used inside the camera over the prism. This foam however was mostly gone, it had crumbled out long ago. Scraping it out was no problem, and after cleaning it out I cut and put in new similar foam(but foam that wont turn toxic this time). Bottom light isolation.
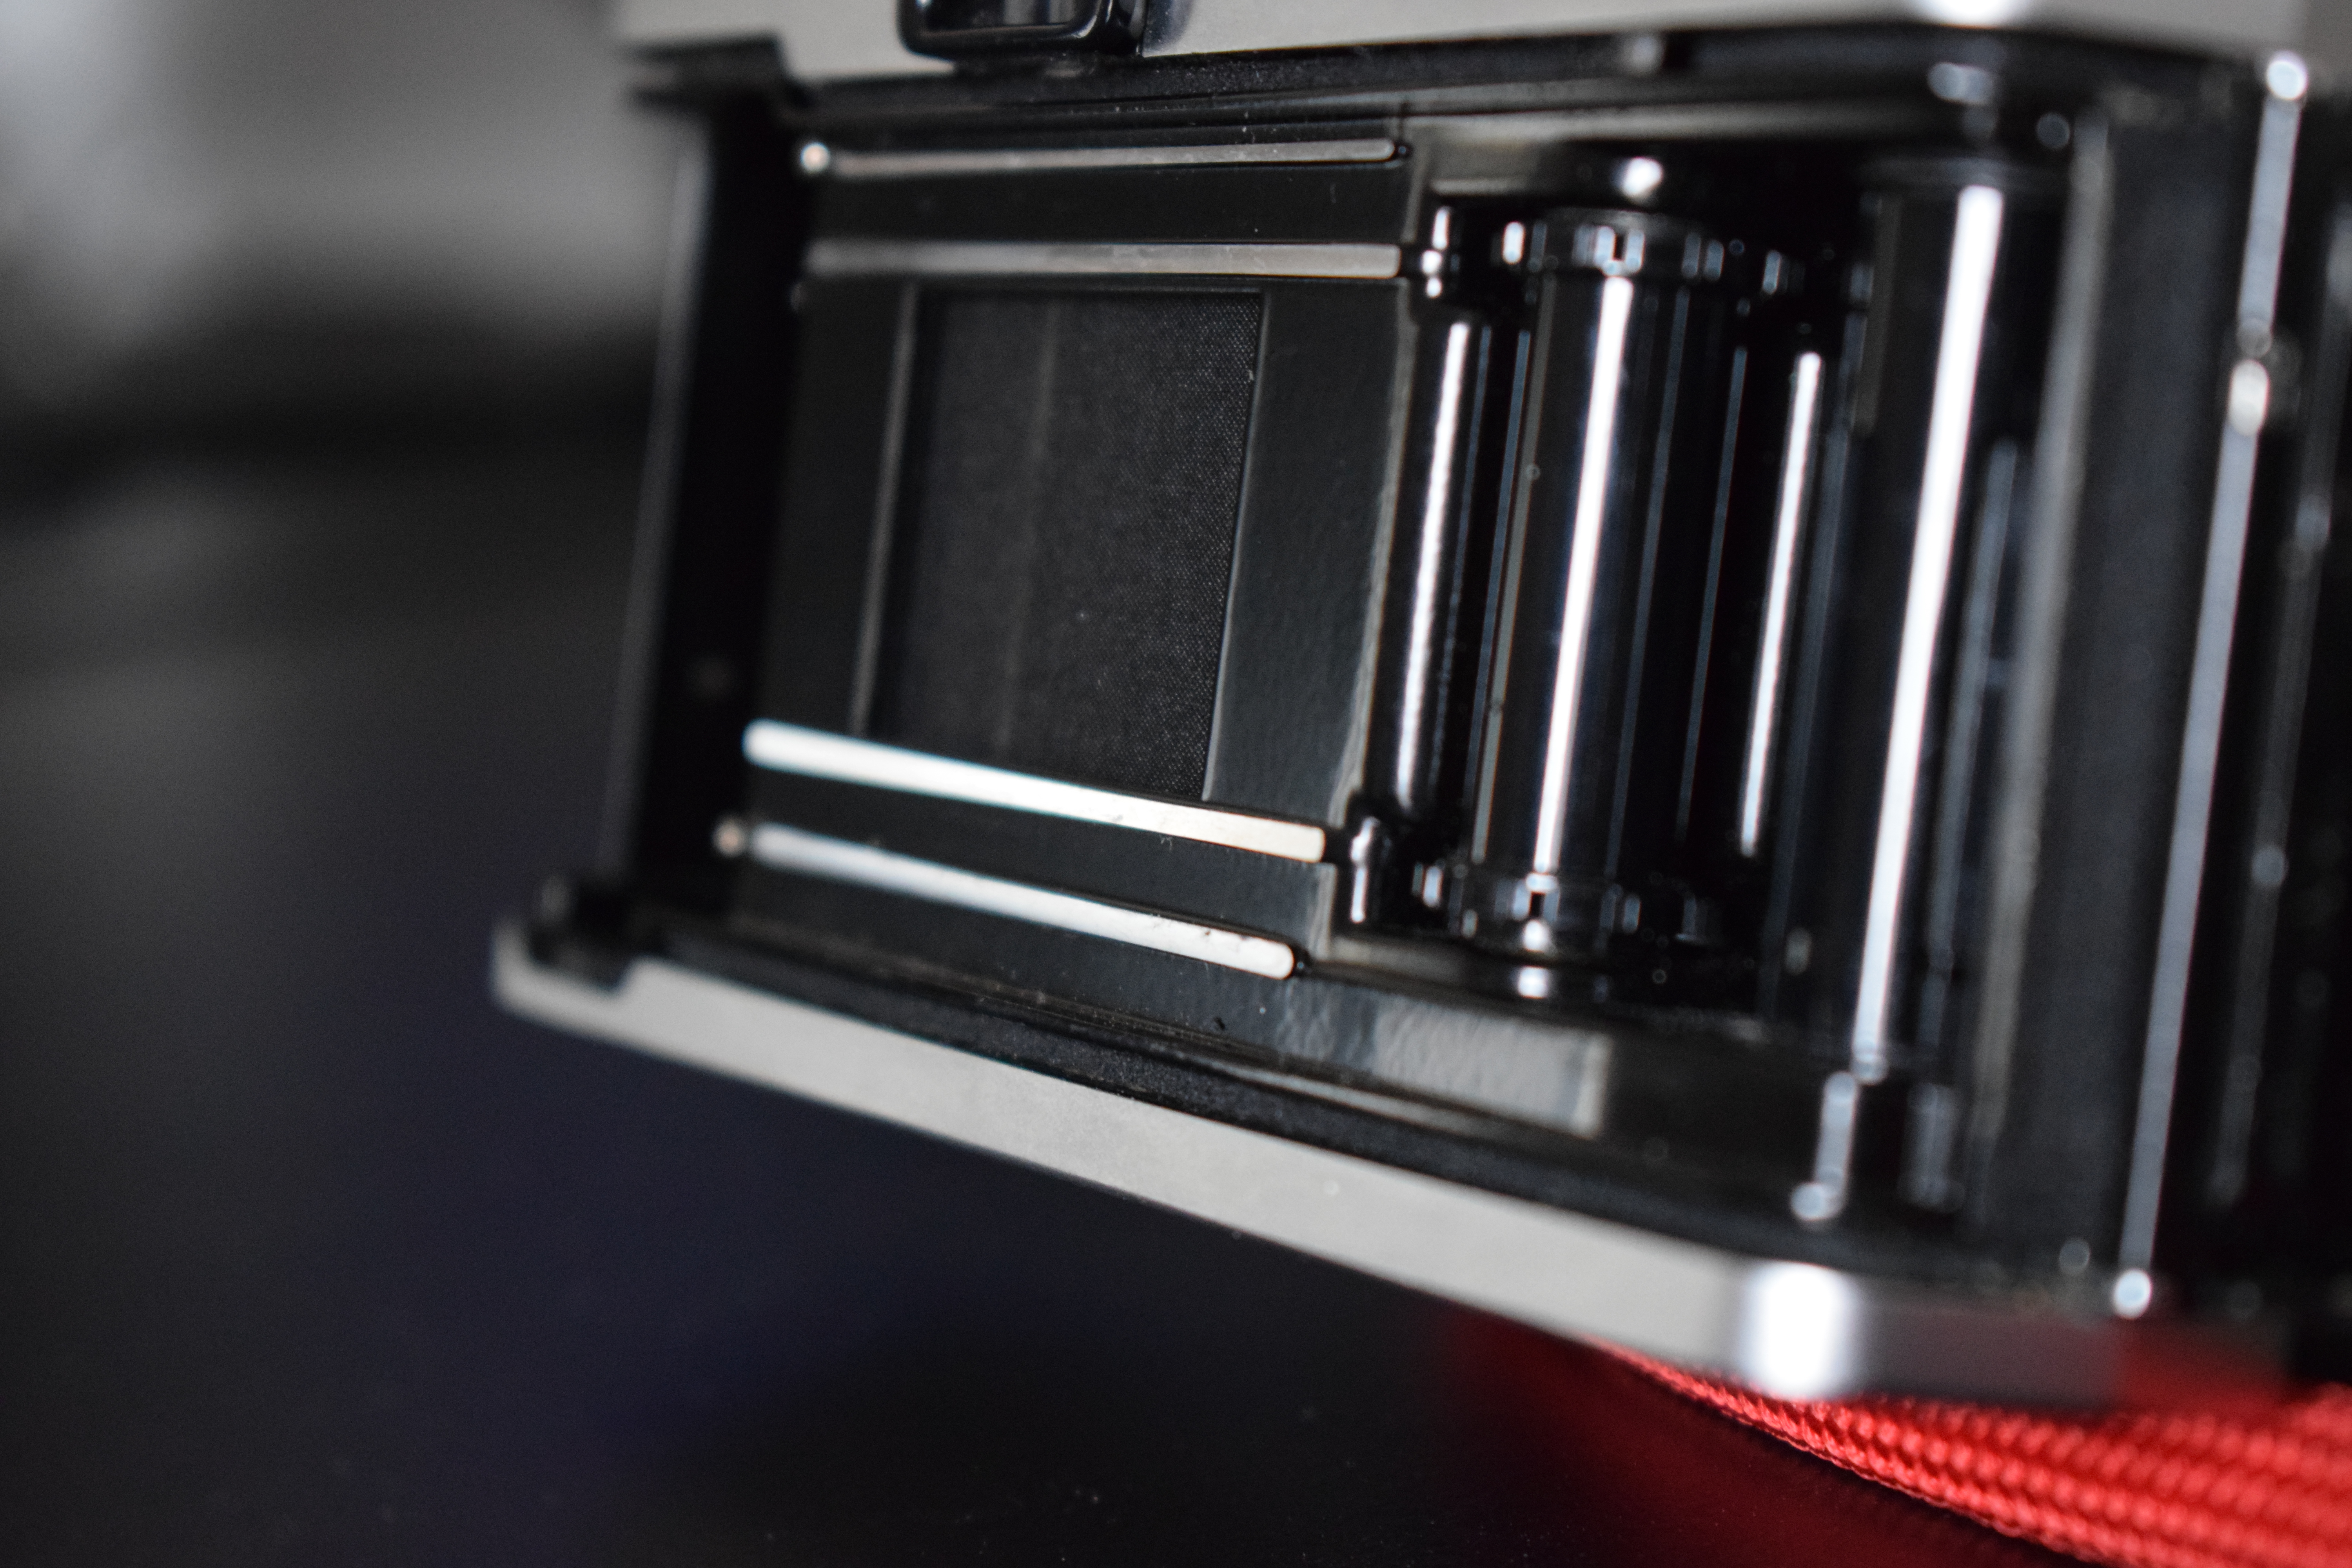
Top light isolation.
Hinge light isolation.
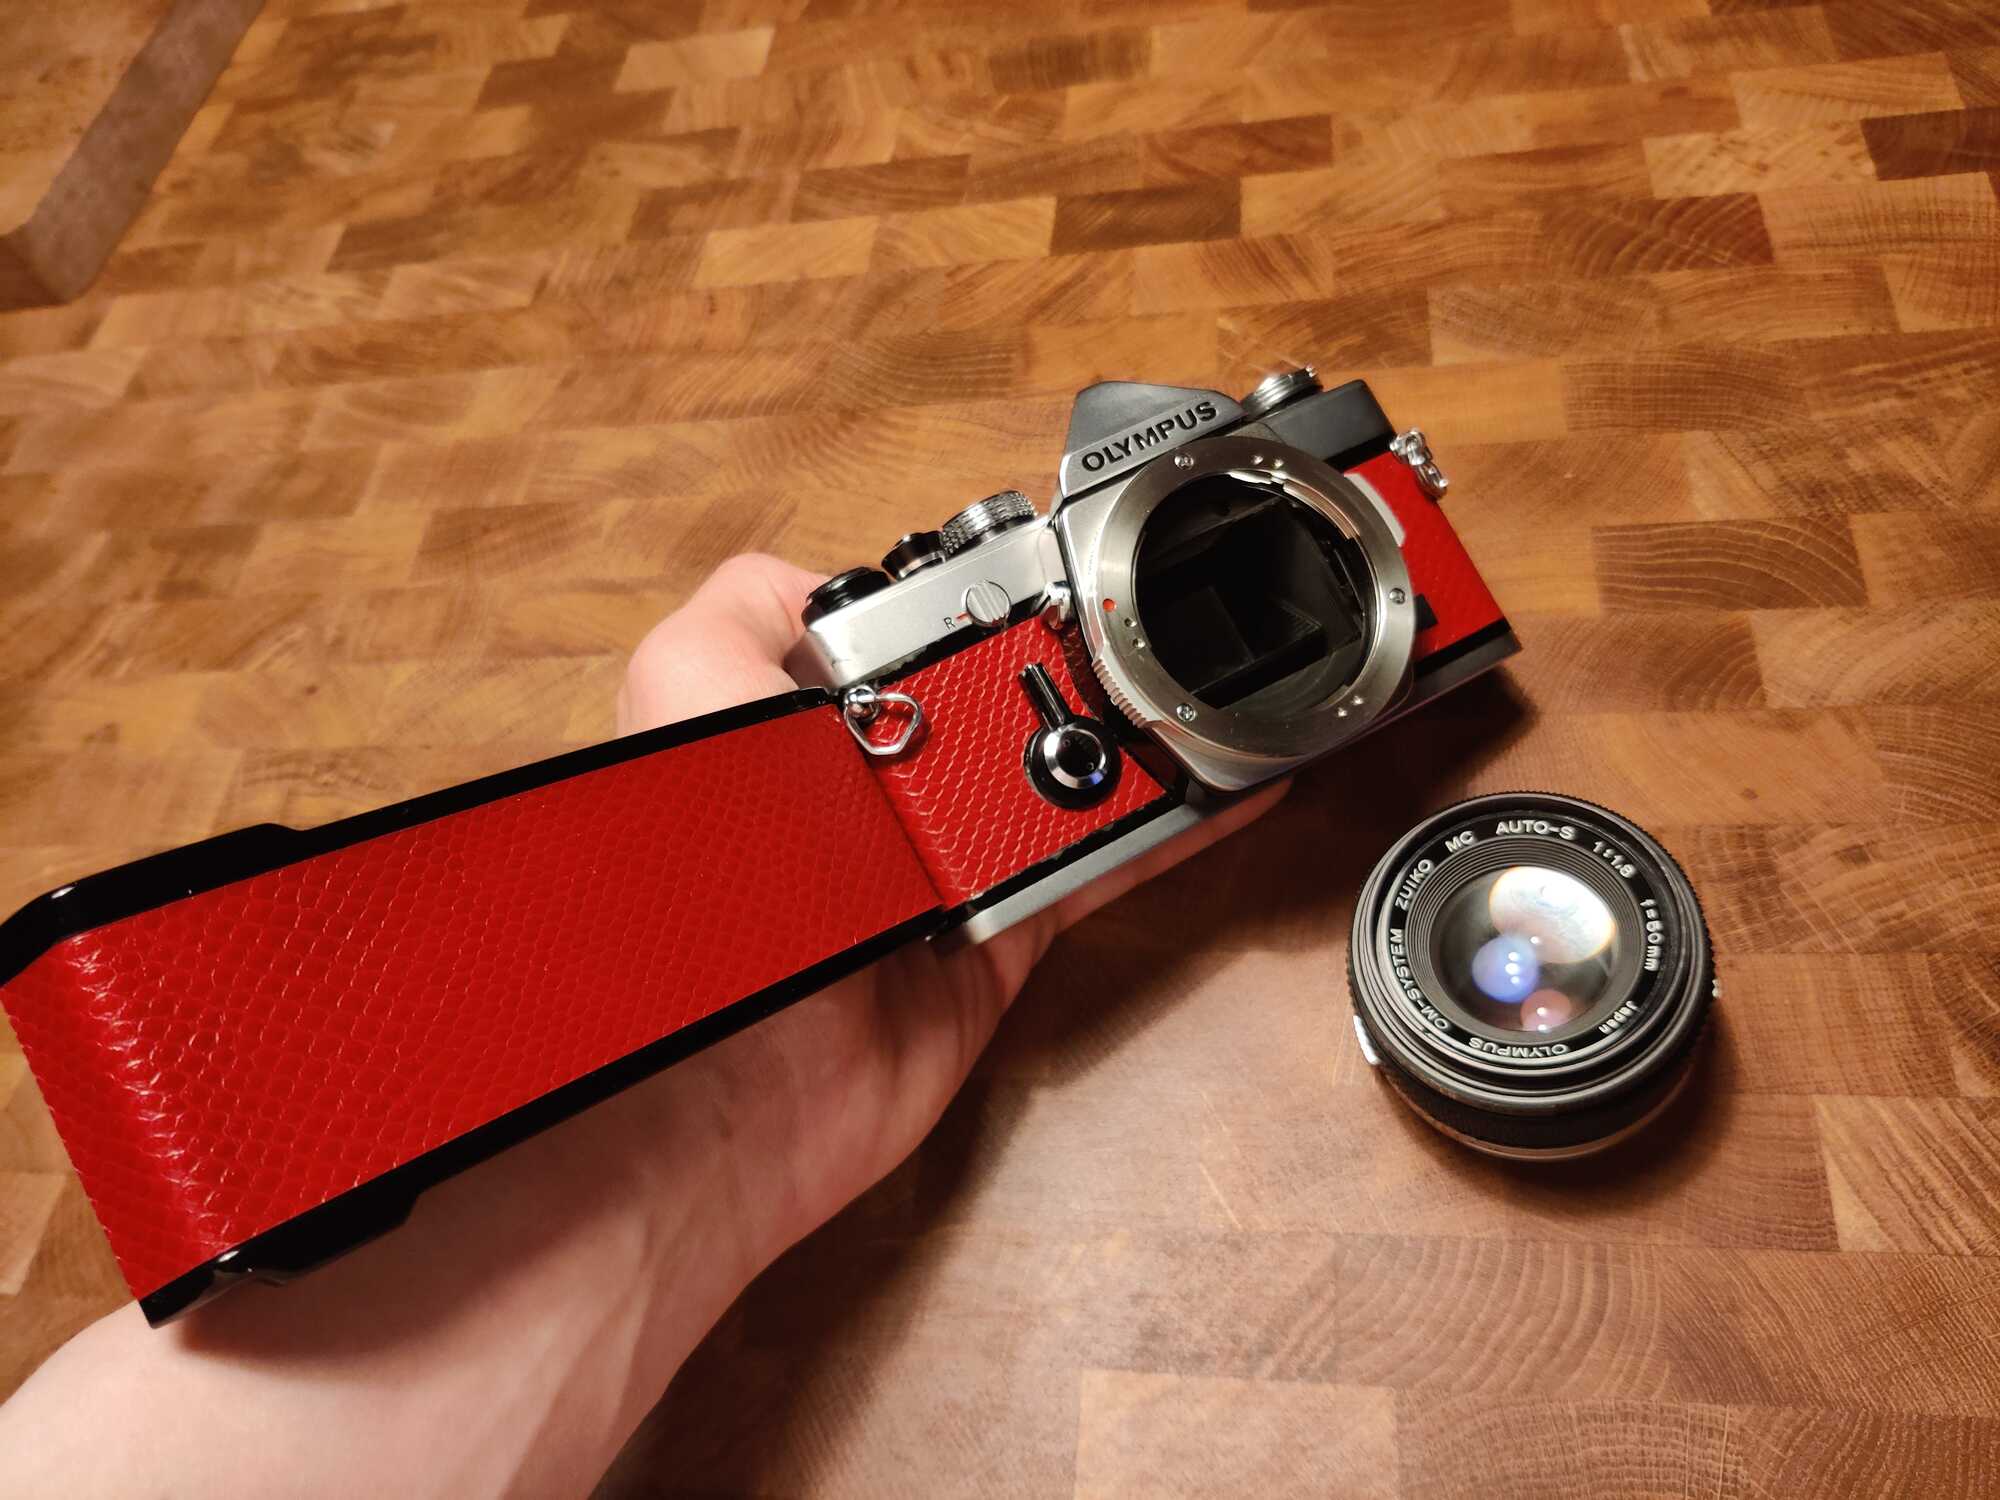
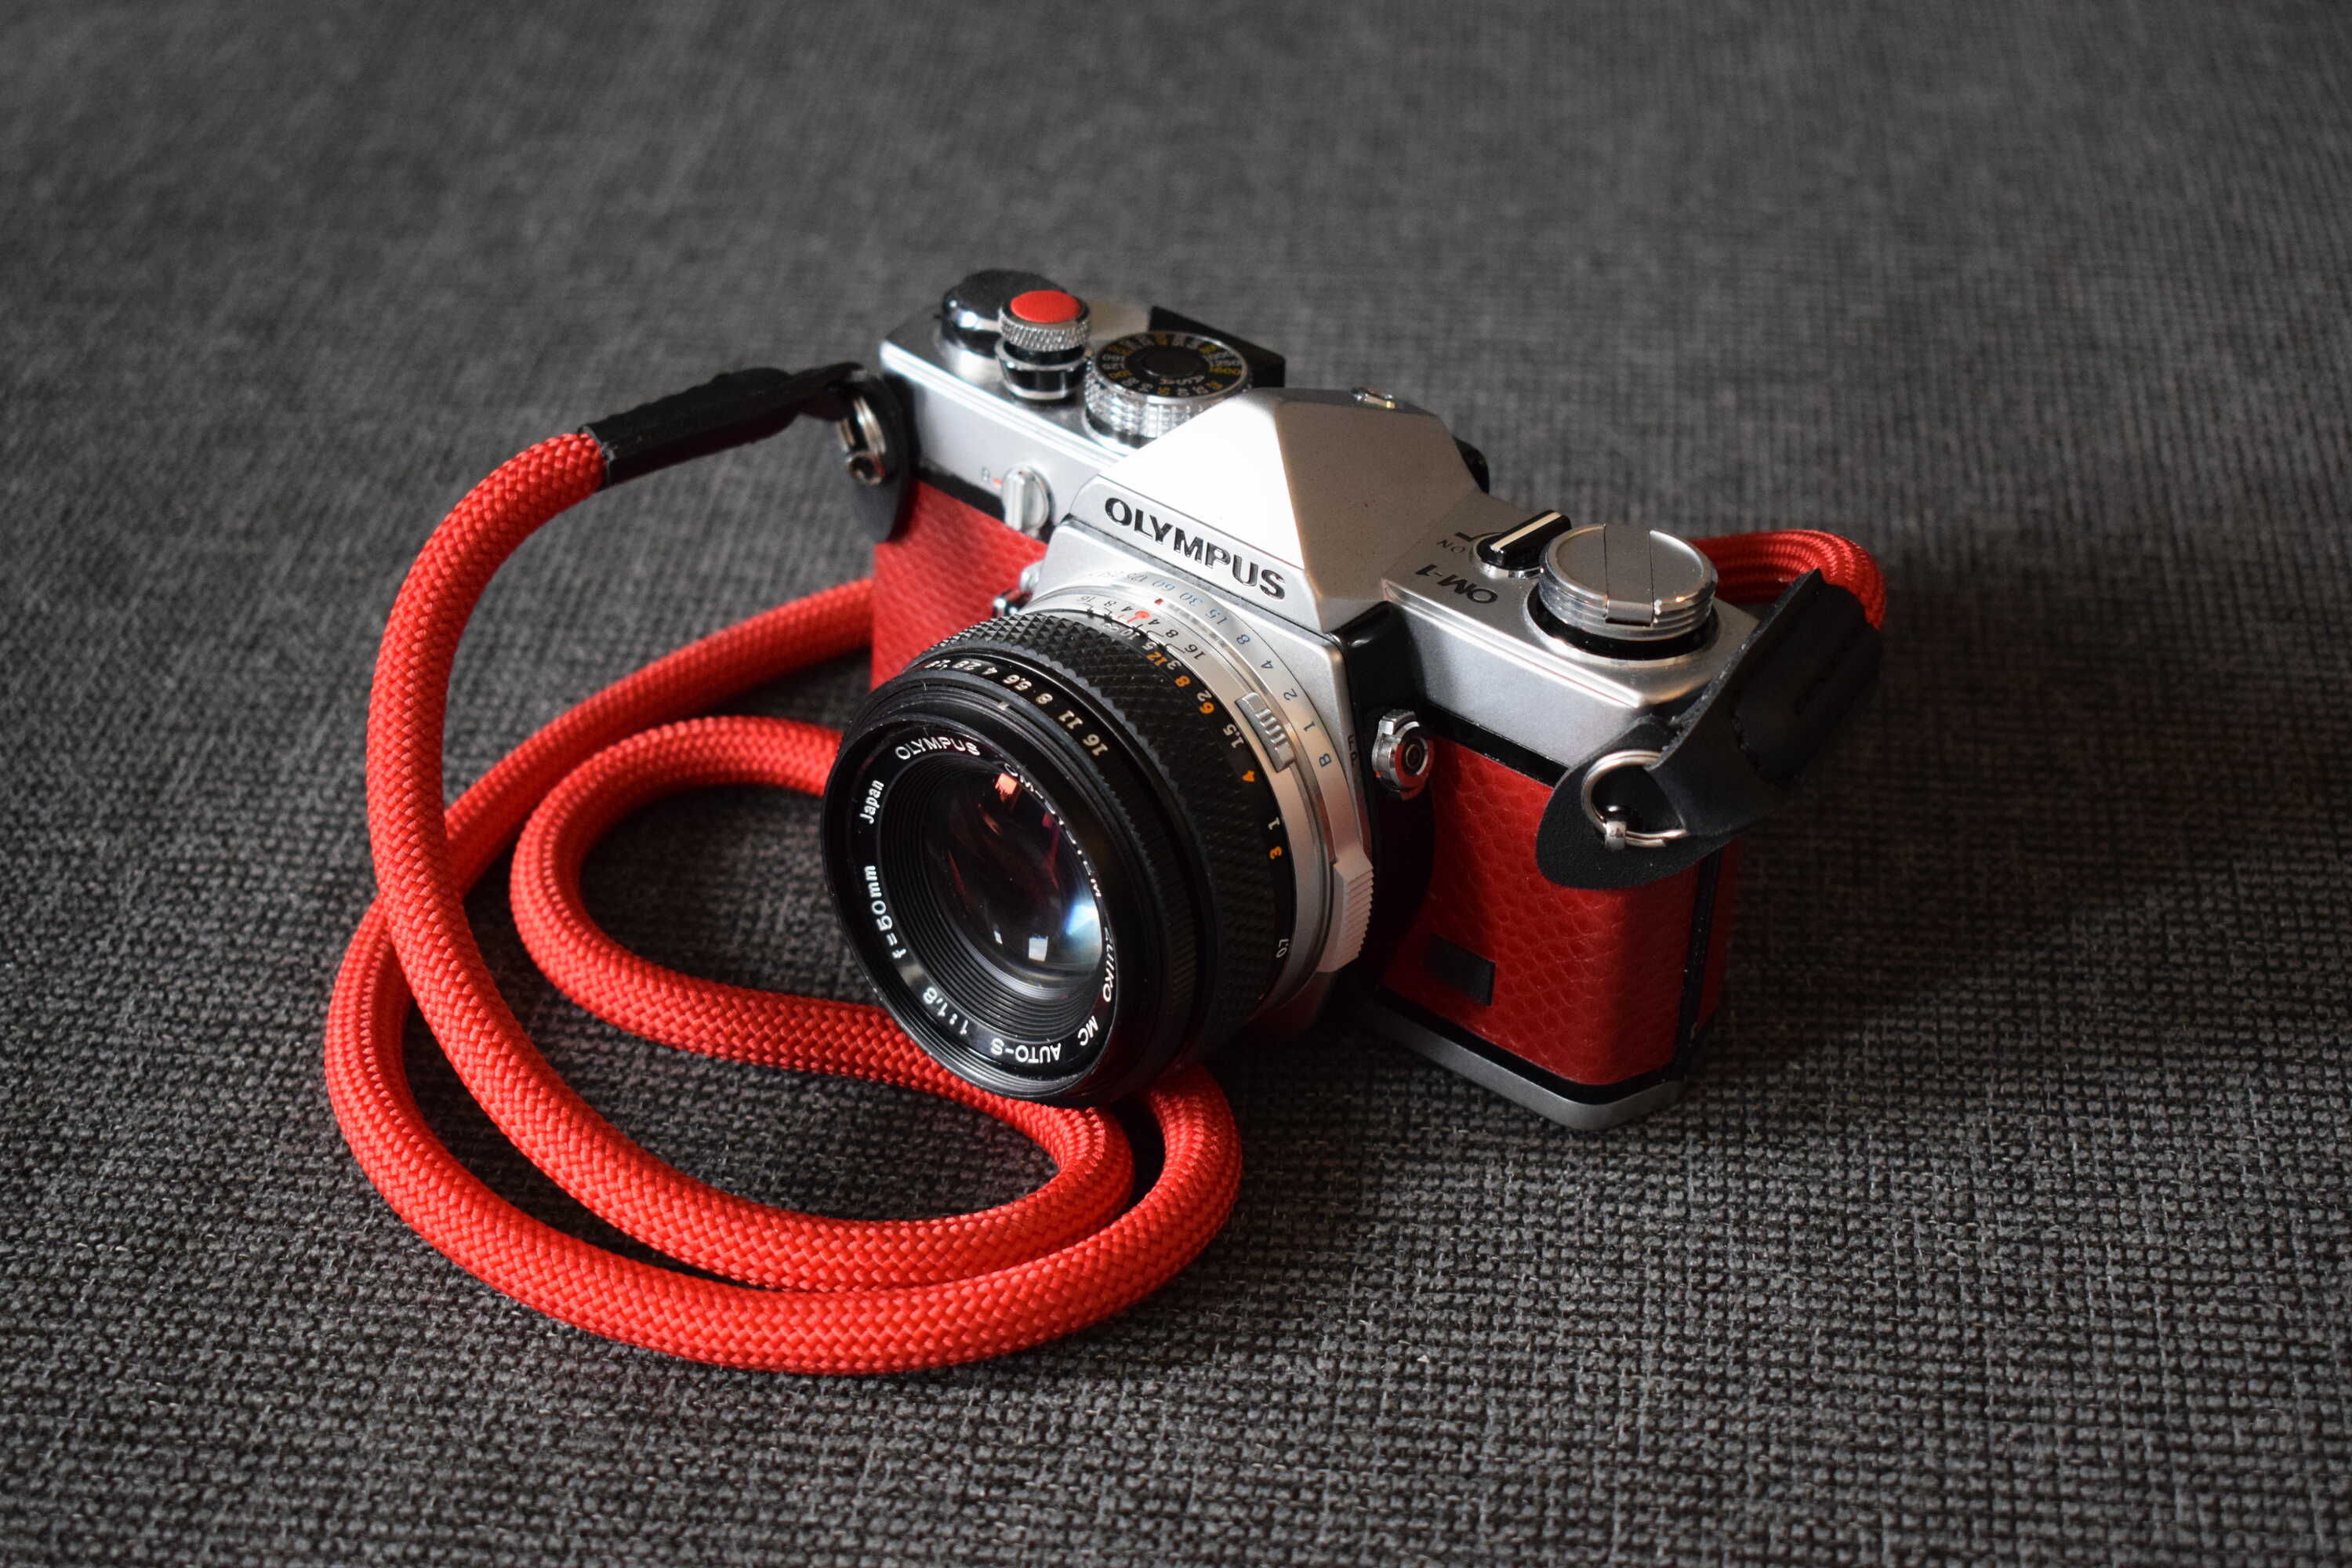
And that is the camera done! I bought a nice red strap for it to match the new red leather, and a red shutter button as a cherry on top.
This was the first time I ever refurbished something. I thoroughly enjoyed it. In total the project probably cost around €450 with the camera body, parts, tools, and shipping/import fees. This project was done over a period of a couple months. From waiting on stuff to arrive to failing to acquire enough energy to work on the camera I was not able to finish it during just my vacation alone. I also purchased film, developing chemicals, developing tools and equipment, a light board for negatives and a new lens for scanning negatives. Those items were several hundred euro more. I plan on writing about my process of developing the film and converting the negatives in the future, once I actually get around to doing it. Until then, thank you for reading, and stay safe!
/e